I was getting the below error while using the react-helmet to dynamically change the head section - meta tags, title etc, also the pages were not loading.
scheduler.development.js:171 Uncaught TypeError: Cannot read properties of undefined (reading 'add')
at e.r.init (Dispatcher.js:53:1)
at e.r.render (Dispatcher.js:67:1)
at finishClassComponent (react-dom.development.js:17485:1)
at updateClassComponent (react-dom.development.js:17435:1)
at beginWork (react-dom.development.js:19073:1)
at HTMLUnknownElement.callCallback (react-dom.development.js:3945:1)
at Object.invokeGuardedCallbackDev (react-dom.development.js:3994:1)
at invokeGuardedCallback (react-dom.development.js:4056:1)
at beginWork$1 (react-dom.development.js:23964:1)
at performUnitOfWork (react-dom.development.js:22776:1)
at workLoopSync (react-dom.development.js:22707:1)
at renderRootSync (react-dom.development.js:22670:1)
at performSyncWorkOnRoot (react-dom.development.js:22293:1)
at react-dom.development.js:11327:1
at unstable_runWithPriority (scheduler.development.js:468:1)
at runWithPriority$1 (react-dom.development.js:11276:1)
at flushSyncCallbackQueueImpl (react-dom.development.js:11322:1)
at workLoop (scheduler.development.js:417:1)
at flushWork (scheduler.development.js:390:1)
at MessagePort.performWorkUntilDeadline (scheduler.development.js:157:1)
To fix the issue
Replaced react-helmet with react-helmet-async
npm install react-helmet-async or yarn add react-helmet-async
Wrap the App element with HelmetProvider
import { HelmetProvider } from 'react-helmet-async';
ReactDOM.render(
<React.StrictMode>
<HelmetProvider>
<App />
</HelmetProvider>
</React.StrictMode>,
document.getElementById('root')
);
Now the helmet can be used in individual components to change the dynamic header elements
After this, I saw the behavior, non of the existing meta tags defined in index.html apart from the title, replaced with the new values. To fix that, I added data-rh="true" to the metatags in index.html that require the change.
The AEM internationalization framework(i18n) uses dictionaries in the repository to store English strings and their translations in other languages. The framework uses English as the default language. Localized strings can be stored in several dictionaries in the repository, e.g., component level. The AEM internationalization framework combines the dictionaries and makes them available in Sling as a single ResourceBundle object. The i18n can be used in slightly, JavaScript, and Java to display the language-specific labels and values.
In some cases, we may have the use case to share the i18n dictionaries externally.
There are a couple of options to share the dictionaries externally.
ResourceBundleExportServlet:
By default the dictionaries are exposed using the ResourceBundleExportServlet (com.adobe.granite.i18n.impl.ResourceBundleExportServlet) registered under path /libs/cq/i18n/dict.
The ResourceBundleExportServlet collects all the dictionaries defined in the AEM system for a particular language and(or) country and exposes them as JSON.
By default, the /libs path is blocked from Dispatcher; the dictionary path should be allowed to access externally. The challenge with this approach is all the available dictionaries are exported as part of the JSON response but will not be able to export the selected dictionaries.
Client library JSON:
Another option is to share the i18n JSON as a client library resource e.g
Define the i18n dictionary as a json under the /apps folder(ui.apps) and copy the i18n from /apps(ui.apps) to corresponding clientlibs resource folder through Front End build script.
Custom servlet with sling:basename:
Another approach is defining a custom servlet combined with sling:basename for the dictionary to share the specific dictionary values externally.
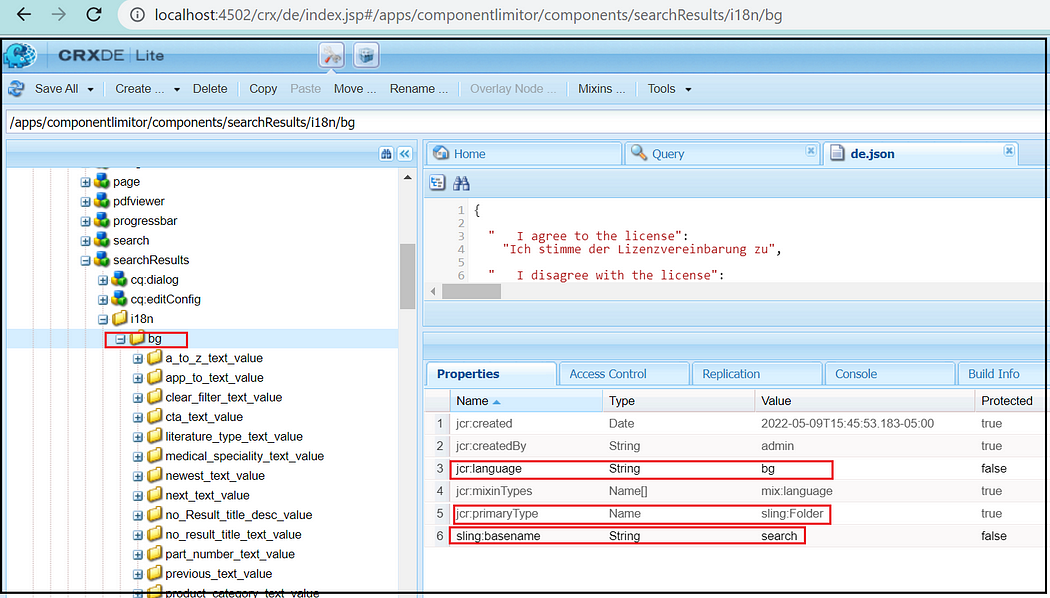
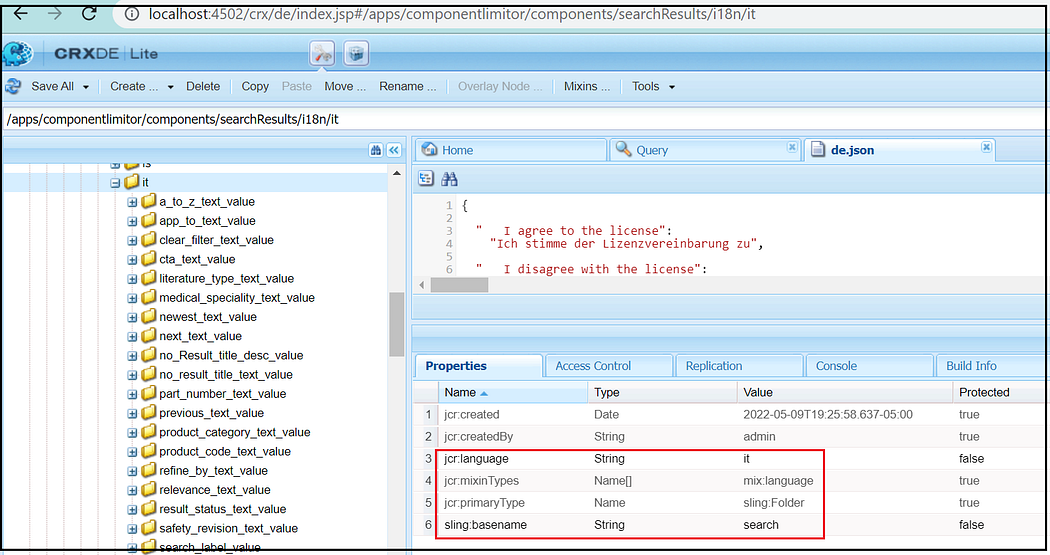
As a first step, enable the sling:basename for the all language nodes( mix:language node), e.g., sling:basename=search, and the sling:basename will be used to select the specific dictionary. You can define i18n dictionary-specific sling:basename’s(e.g., search,search1, etc.), so those particular dictionaries can be selected by specifying the sling:basename. Ensure the jcr:primaryType of the language node is sling:Folder, the nt:Folder won't support adding sling:basename property.
Now enable a custom servlet(refer below), the path is defined based on the sling:basename enabled e.g./bin/fetchi18nvalues/search, you can specify multiple paths to support different sling:basename.
The language can be added as a selector to the URL; the language selector is validated against the predefined list of languages.
The servlet selects the i18n dictionary based on the sling:basename on the request path and the language selector and shares the data as JSON.
The custom servlet shares only the specific dictionary/languages tagged with the same sling:basename; the servlet can be customized to add additional functionalities.
In this post, let us see the approaches to limit the components in container components; in some cases, we may have the use case to limit the number of child components allowed to be added into the container due to the business rules.
Option1 — Limit through FE logic:
Limit the number of components through Front End Javascript; refer to http://mnmaem.blogspot.com/2018/02/aem-parsys-customisation.html for more details on this approach. The challenge of this approach sometime may create incompatibility issues or out-of-sync issues during the AEM level changes.
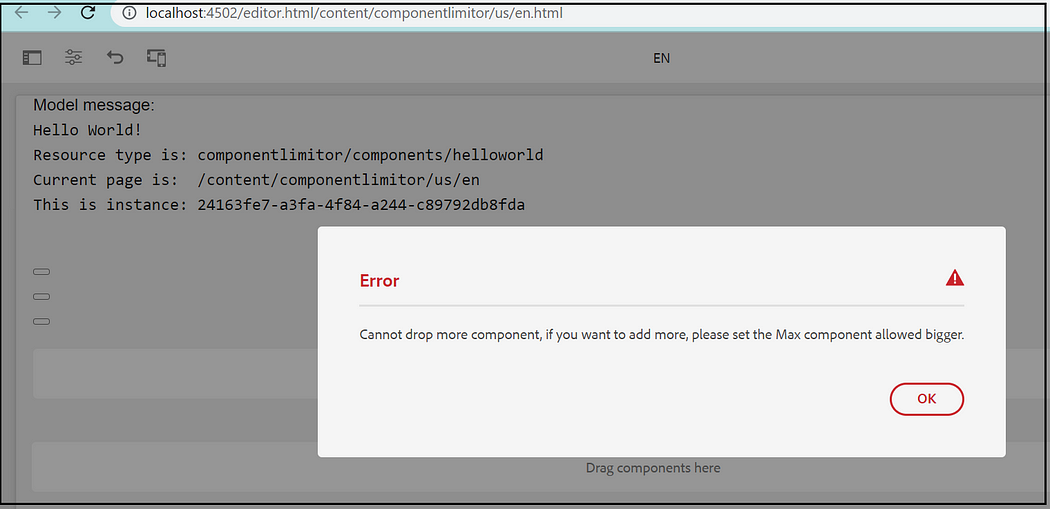
Option2 — Limit through Edit Config Listeners and Back End Servlet:
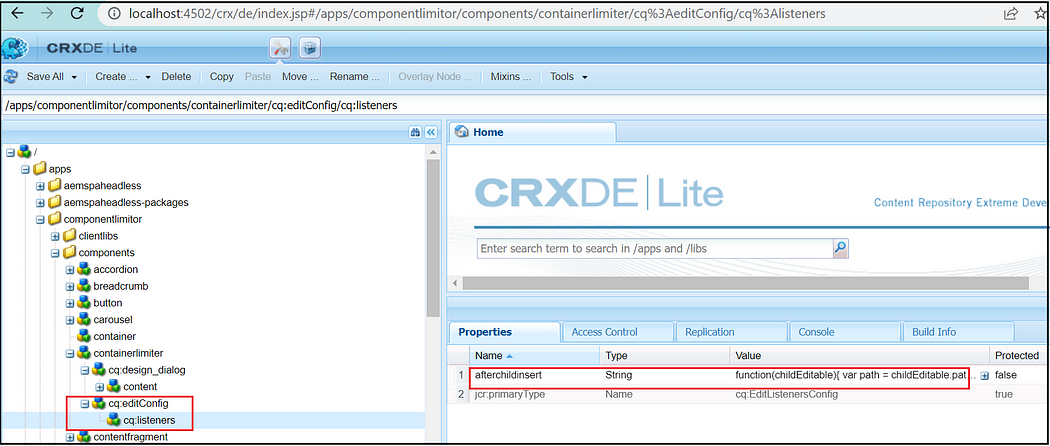
In this option, we will use a back-end servlet and an edit config listener(afterchildinsert) to limit the number of components in a container.
Add the afterchildinsert listener to the component edit config and add the below JavaScript.
function(childEditable) {var path = childEditable.path;
    var date = new Date();
    var servletURL = '/bin/ComponentLimiterSevlet?' + date.getTime();
    var requestData = 'componentPath=' + path;$.ajax({
        async: false,
        type: 'GET',
        url: servletURL,
        dataType: 'text',
        data: requestData,
        success: function(returnData) {if (returnData == 'false') {
                var cmp = childEditable.getParent();
                cmp.refresh();
                showErrorAlert('Cannot drop more component, if you want to add more, please set the Max component allowed bigger.', 'Error');
            }}
    })function showErrorAlert(message, title) {
        var fui = $(window).adaptTo("foundation-ui"),
            options = [{
                text: "OK",
                warning: true
            }];
        message = message || "Unknown Error";
        title = title || "Error";
        fui.prompt(title, message, "error", options);
    }}
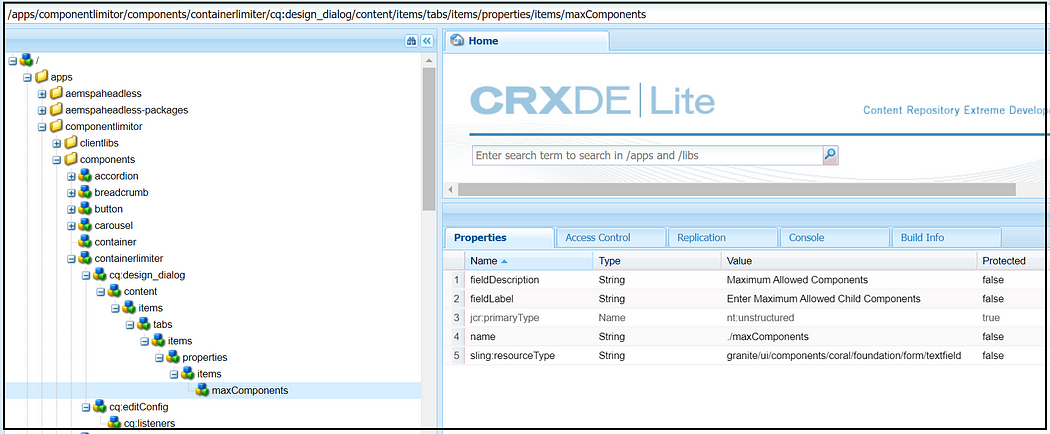
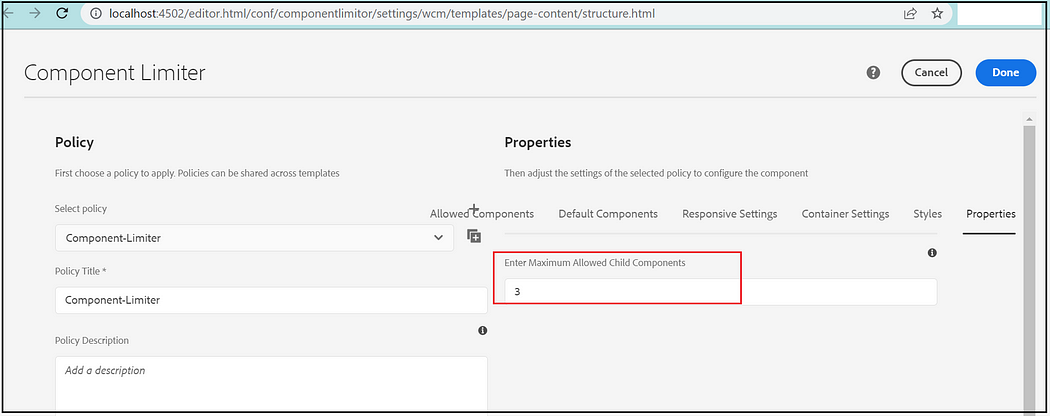
Enable a maxcomponents property as part of the component design dialog to enable the max allowed components configuration through policy.
Enable the below servlet that reads the max component property from policy and deletes the added component if the total component count exceeds the max allowed component configured through component policy.
TheMagento PWA Studio project is a set of developer tools that allow for developing, deploying, and maintaining a PWA storefront on top of Magento 2.3 and above. It uses modern tools and libraries to create a build system and framework that adheres to the Magento principle of extensibility.
PWA studio version 12.4.0 is compatible with the 2.4.4 Magento version(current latest version I have installed)
Check out the compatible PWA studio version, and run the below command from your pwa-studio root folder(this folder got created while cloning the PWA Studio repository).
git checkout v12.4.0
The PWA Studio is not entirely compatible with the windows systems; I am using WSL2(Windows Sub System for Linux 2) on windows to install the PWA Studio. Refer to https://youtu.be/VR73w1zj_a4 for more details on setting WSL2 on the windows system.
Ensure Node 10.x version is installed ( I had version v14.15.4)
Install Yarn —you can install through npm quickly npm install --global yarn
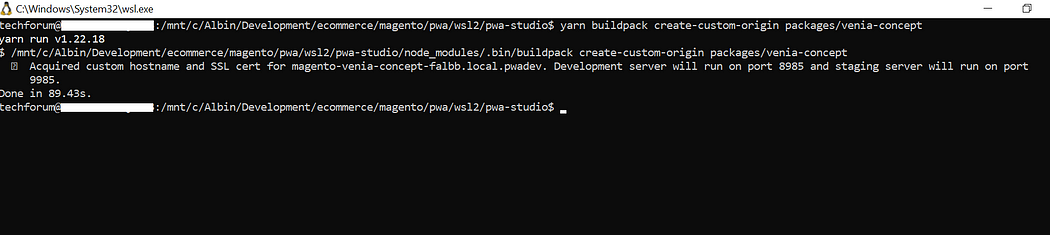
Now, cd to the pwa-studio folder through WSL and execute the below command.
yarn install
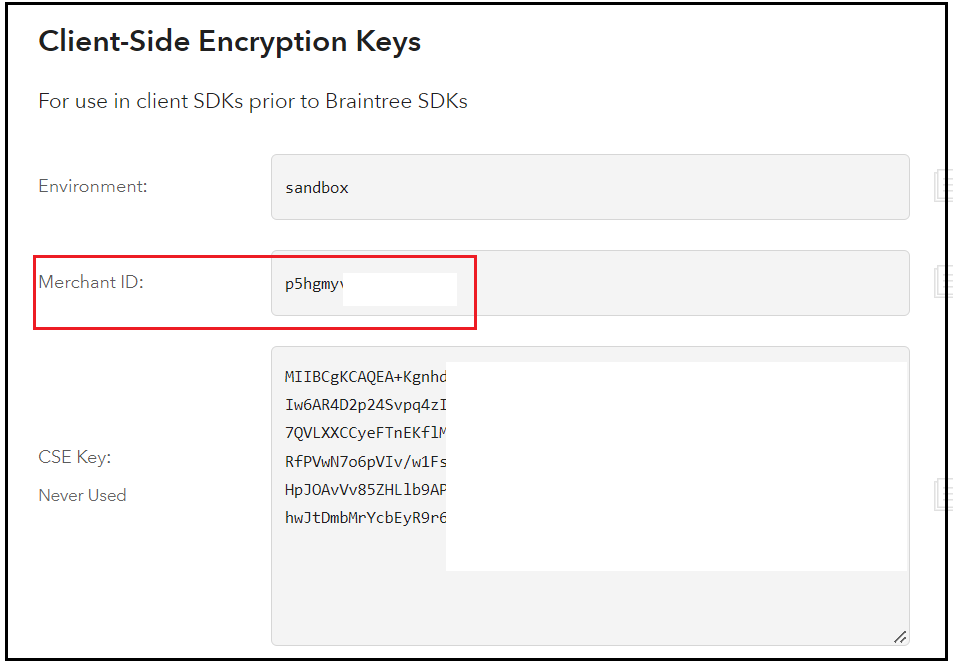
Once the installation is completed, enable the below properties into the packages/venia-concept/.env file.
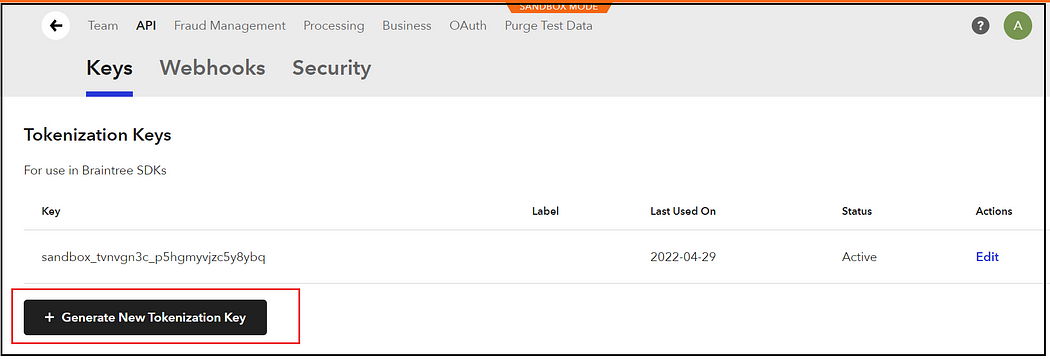
MAGENTO_BACKEND_URL=http://albin.magento.com/ (I have enabled custom domain for accessing Magento backend)
MAGENTO_BACKEND_EDITION=MOS (Backend type MOS - Magento opensource, AC - Adobe Commerce)
CHECKOUT_BRAINTREE_TOKEN=sandbox_tvnvgn3c_p5hgmyvjzc5y8ybq
The certificate is stored in /usr/local/share/ca-certificates/devcert.crt, delete the crt file and re-execute if it fails.
Host Entry for Magento backend URL:
In my previous blog, I pointed the Magento domain(albin.magento.com) to 127.0.0.1; this will create issues while PWA Studio running on WSL tries to access the Magento backend from the Windows system.
Modify the windows host file( C:\Windows\System32\drivers\etc\hosts) to point the backend domain to the IP address of the windows machine;
190.0.8.9 albin.magento.com
Configure Metapackage on Magento Backend :
PWA Studio uses metapackages to extend Magento Open Source backends with new features and sample data. PWA Studio release 12.1.0 or higher requires the Open Source metapackage to be installed into PWA projects — even if your backend is Adobe Commerce.
An UPWARD server sits between a PWA Studio storefront and its resources, such as an Adobe Commerce or Magento Open Source application.
Under pwa-studio, packages/venia-concept/.env file configure the upward js path as dist/upward.yml
UPWARD_JS_UPWARD_PATH=dist/upward.yml
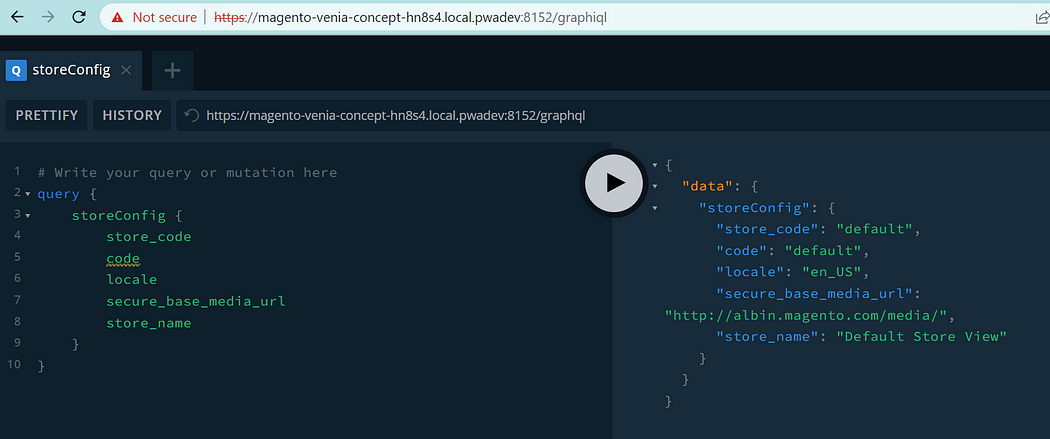
if the configuration is not enabled, You may see a broken site experience and the below error message in the browser console.
[GraphQL error]: Message: Error: Context value ‘veniaResponse’ not defined in {
 status: ‘veniaResponse.status’,
 headers: ‘veniaResponse.headers’,
 body: ‘veniaResponse.body’
}.
Build Project:
As a next step build the project, execute the below command from the pwa-studio root folder through WSL
yarn run build
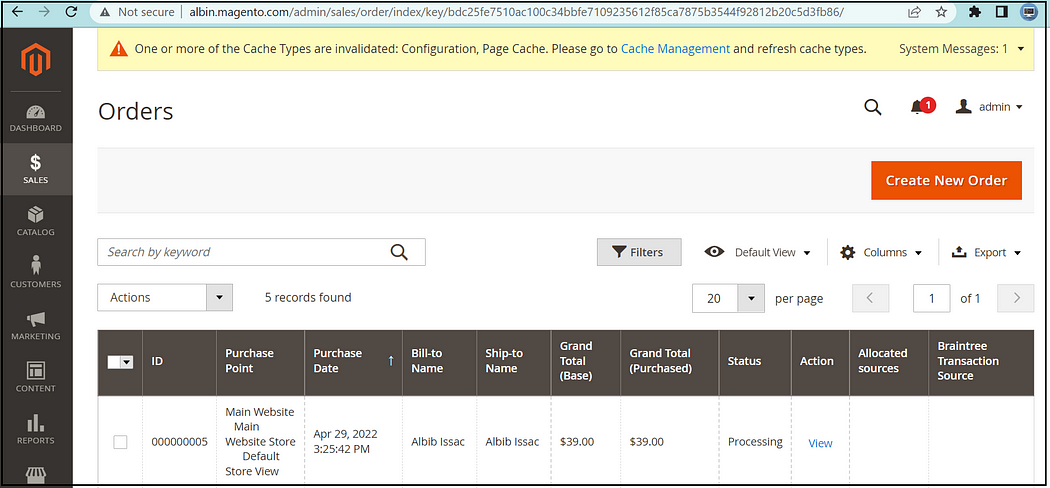
Configure Payment Method in Magento:
Log in to the Magento admin console, e.g., http://albin.magento.com/admin
Navigate to Stores →Configuration →Sales →Payment Methods →Braintree
After enabling all the configurations, click on Validate Credentials to ensure the details are valid.
Sample card details to test the payment
Visa: 4111 1111 1111 1111For expiry dates, use a valid month and a day within the next 180 years. 22/2222 does not work!
Start the Project:
execute the below command from the pwa-studio root folder through WSL
yarn run watch:venia
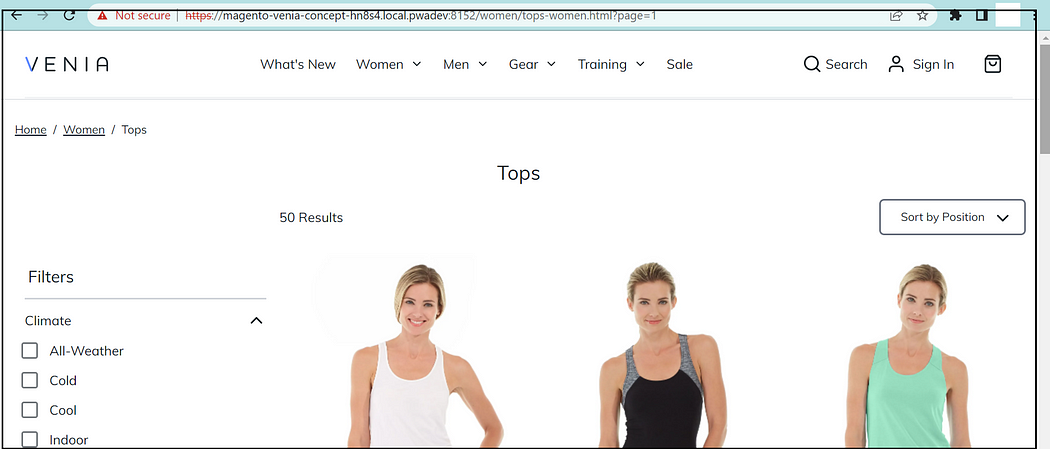
Now the storefront is started through the custom domain.
The domain will not be accessible by default from the windows system. To make it work, add the below host entry into the windows system(C:\Windows\System32\drivers\etc\hosts) for the test domain created e.g