The Magento PWA Studio project is a set of developer tools that allow for developing, deploying, and maintaining a PWA storefront on top of Magento 2.3 and above. It uses modern tools and libraries to create a build system and framework that adheres to the Magento principle of extensibility.
In my earlier post explained how to set up the latest Magento open-source platform on the windows system — refer to https://medium.com/tech-learnings/aem-and-magento-integration-using-commerce-integration-framework-cif-local-setup-part1-4af11b9f92ef for more details.
In this post, let us see how to set up Magento PWA Studio local and enable the venia demo store by integrating with the Magento backend server.
Setup PWA Studio Project:
As a first step, clone https://github.com/magento/pwa-studio.git to your local system.
git clone https://github.com/magento/pwa-studio.gitCheck the version compatibility between PWA studio and Magento backend -https://developer.adobe.com/commerce/pwa-studio/integrations/adobe-commerce/version-compatibility/.

PWA studio version 12.4.0 is compatible with the 2.4.4 Magento version(current latest version I have installed)
Check out the compatible PWA studio version, and run the below command from your pwa-studio root folder(this folder got created while cloning the PWA Studio repository).
git checkout v12.4.0The PWA Studio is not entirely compatible with the windows systems; I am using WSL2(Windows Sub System for Linux 2) on windows to install the PWA Studio. Refer to https://youtu.be/VR73w1zj_a4 for more details on setting WSL2 on the windows system.
Ensure Node 10.x version is installed ( I had version v14.15.4)
Install Yarn —you can install through npm quickly npm install --global yarn
Now, cd to the pwa-studio folder through WSL and execute the below command.
yarn install
Once the installation is completed, enable the below properties into the packages/venia-concept/.env file.
MAGENTO_BACKEND_URL=http://albin.magento.com/ (I have enabled custom domain for accessing Magento backend)
MAGENTO_BACKEND_EDITION=MOS (Backend type MOS - Magento opensource, AC - Adobe Commerce)
CHECKOUT_BRAINTREE_TOKEN=sandbox_tvnvgn3c_p5hgmyvjzc5y8ybq
The CHECKOUT_BRAINTREE_TOKEN can be created by signing up at https://sandbox.braintreegateway.com/.
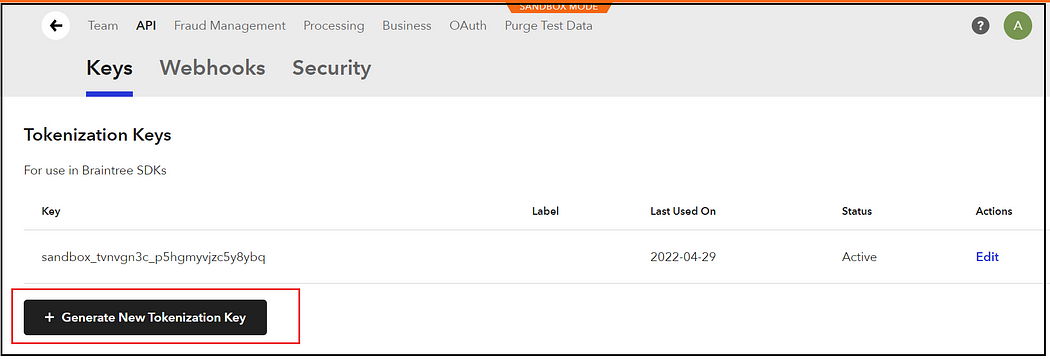
Login to https://sandbox.braintreegateway.com/, and click on Settings →API.

Generate New Tokenization Key
Generate SSL Certificate:
Generate SSL certificate because PWA features require an HTTPS Secure Domain.
From the root directory of PWA (/pwa-studio), run the below command through WSL:
export MAGENTO_BACKEND_URL=http://albin.magento.com/export CHECKOUT_BRAINTREE_TOKEN=sandbox_tvnvgn3c_p5hgmyvjzc5y8ybqexport MAGENTO_BACKEND_EDITION=MOS
Execute the below command pwa-studio root folder
yarn buildpack create-custom-origin packages/venia-concept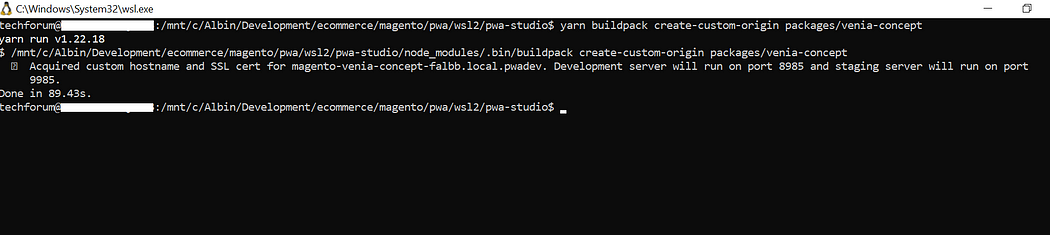
The certificate is stored in /usr/local/share/ca-certificates/devcert.crt, delete the crt file and re-execute if it fails.
Host Entry for Magento backend URL:
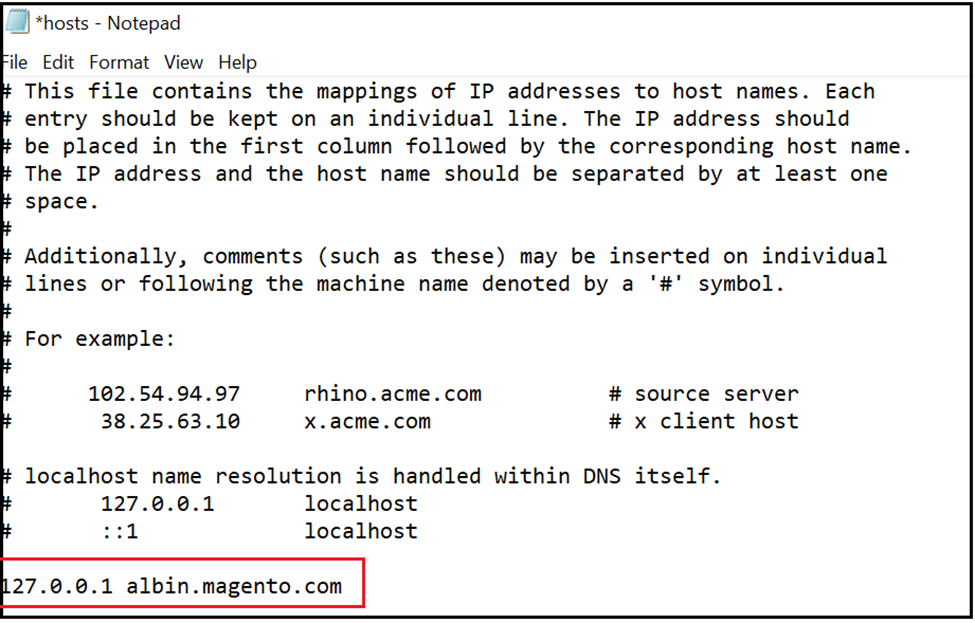
In my previous blog, I pointed the Magento domain(albin.magento.com) to 127.0.0.1; this will create issues while PWA Studio running on WSL tries to access the Magento backend from the Windows system.
Modify the windows host file( C:\Windows\System32\drivers\etc\hosts) to point the backend domain to the IP address of the windows machine;
190.0.8.9 albin.magento.comConfigure Metapackage on Magento Backend :
PWA Studio uses metapackages to extend Magento Open Source backends with new features and sample data. PWA Studio release 12.1.0 or higher requires the Open Source metapackage to be installed into PWA projects — even if your backend is Adobe Commerce.
To install metapackages, follow the below steps (refer to https://developer.adobe.com/commerce/pwa-studio/metapackages/open-source/ for more details) — I am executing all these commands through the windows command prompt as my Magento server installed in windows system.
Clone the magento2-pwa repository into your vendor directory
Cd to Magento vendor folder e.g C:\xampp\htdocs\magento\vendor
Execute git clone https://github.com/magento/magento2-pwa.git ext/magento/magento2-pwaNow cd to Magento root folder, e.g., C:\xampp\htdocs\magento, and execute the below commands
#Install PWA extensioncomposer config minimum-stability dev
composer config repositories.ext path “C:/xampp/htdocs/magento/vendor/ext/*/*/*”
composer require magento/pwa#Enable Required Modulesphp bin/magento module:enable Magento_NewsletterGraphQlPwa
php bin/magento module:enable Magento_EavGraphQlAux
php bin/magento module:enable Magento_CatalogGraphQlAux
php bin/magento module:enable Magento_WeeeGraphQlAux
php bin/magento module:enable Magento_ContactGraphQlPwa
php bin/magento module:enable Magento_QuoteGraphQlPwa
php bin/magento module:enable Magento_ReCaptchaGraphQlPwa
php bin/magento module:enable Magento_ReCaptchaPwa#Upgradephp bin/magento setup:upgrade
php bin/magento setup:static-content:deploy -f
php bin/magento cache:flush
UPWARD JS Path Configuration:
An UPWARD server sits between a PWA Studio storefront and its resources, such as an Adobe Commerce or Magento Open Source application.
Under pwa-studio, packages/venia-concept/.env file configure the upward js path as dist/upward.yml
UPWARD_JS_UPWARD_PATH=dist/upward.ymlif the configuration is not enabled, You may see a broken site experience and the below error message in the browser console.
[GraphQL error]: Message: Error: Context value ‘veniaResponse’ not defined in {
 status: ‘veniaResponse.status’,
 headers: ‘veniaResponse.headers’,
 body: ‘veniaResponse.body’
}.
Build Project:
As a next step build the project, execute the below command from the pwa-studio root folder through WSL
yarn run build
Configure Payment Method in Magento:
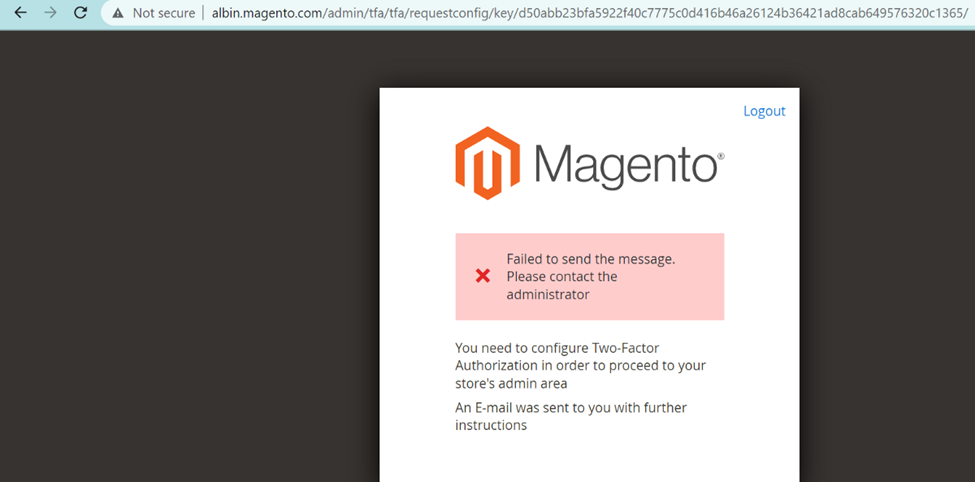
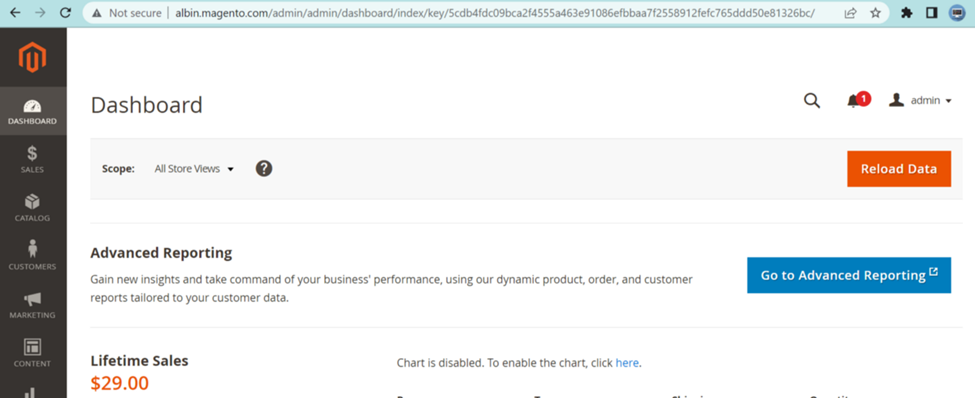
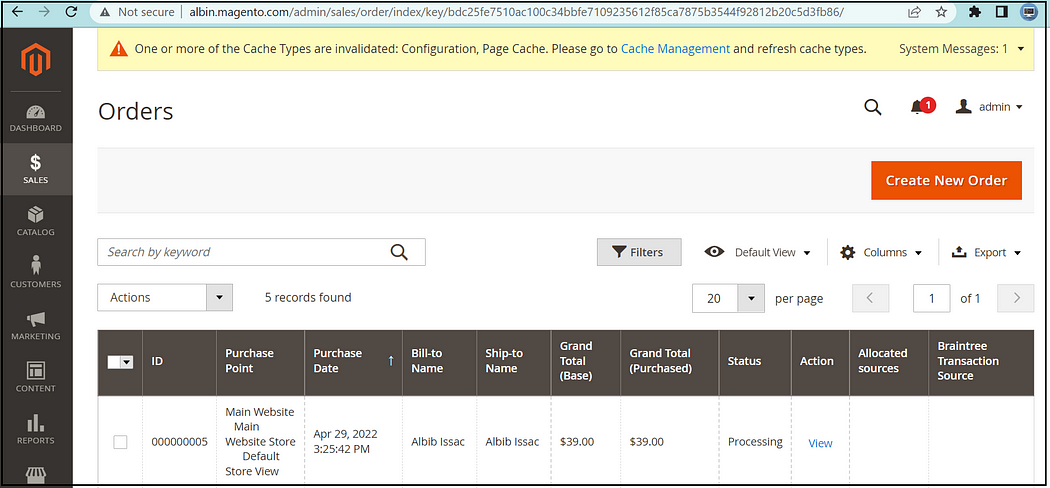
Log in to the Magento admin console, e.g., http://albin.magento.com/admin
Navigate to Stores →Configuration →Sales →Payment Methods →Braintree
Click on Configure

Select —
Environment as Sandbox
Payment Action as Authorize
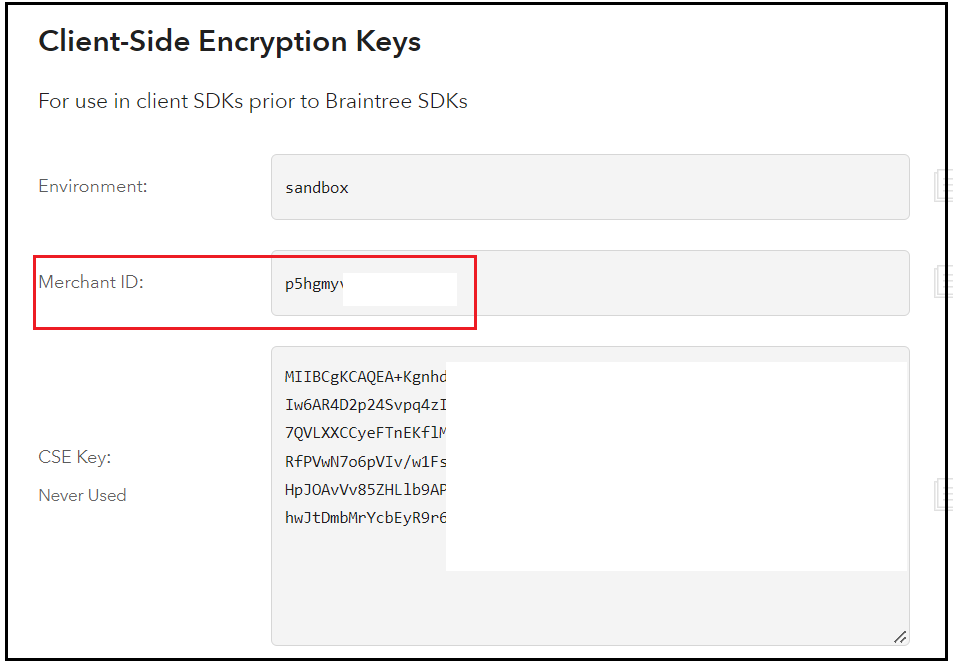
Copy the Sandbox Merchant Id, public key, and private key from https://sandbox.braintreegateway.com/ API settings.

After enabling all the configurations, click on Validate Credentials to ensure the details are valid.

Sample card details to test the payment
Visa: 4111 1111 1111 1111For expiry dates, use a valid month and a day within the next 180 years. 22/2222 does not work!
Start the Project:
execute the below command from the pwa-studio root folder through WSL
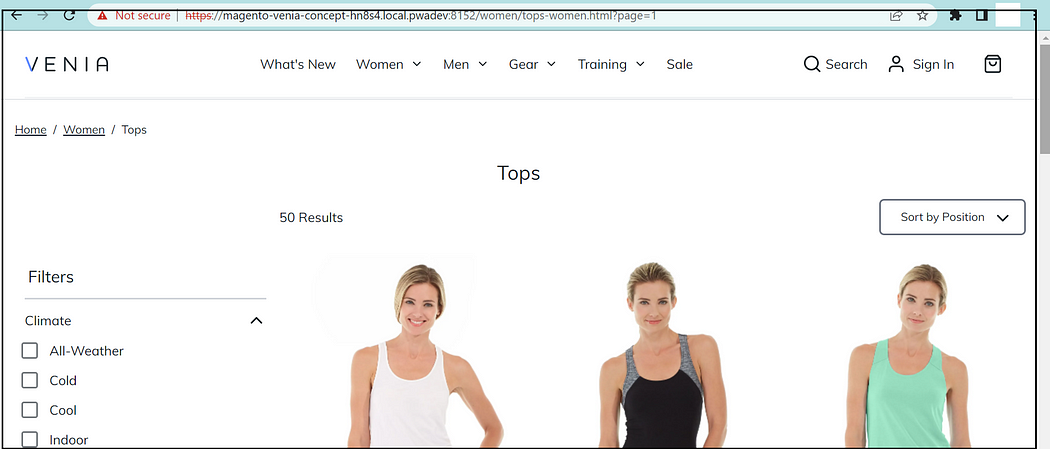
yarn run watch:veniaNow the storefront is started through the custom domain.

The domain will not be accessible by default from the windows system. To make it work, add the below host entry into the windows system(C:\Windows\System32\drivers\etc\hosts) for the test domain created e.g
127.0.0.1 magento-venia-concept-hn8s4.local.pwadevNow the storefront is accessible through the test domain, e.g., https://magento-venia-concept-hn8s4.local.pwadev:8152/.
Add a product to the cart and perform the checkout.

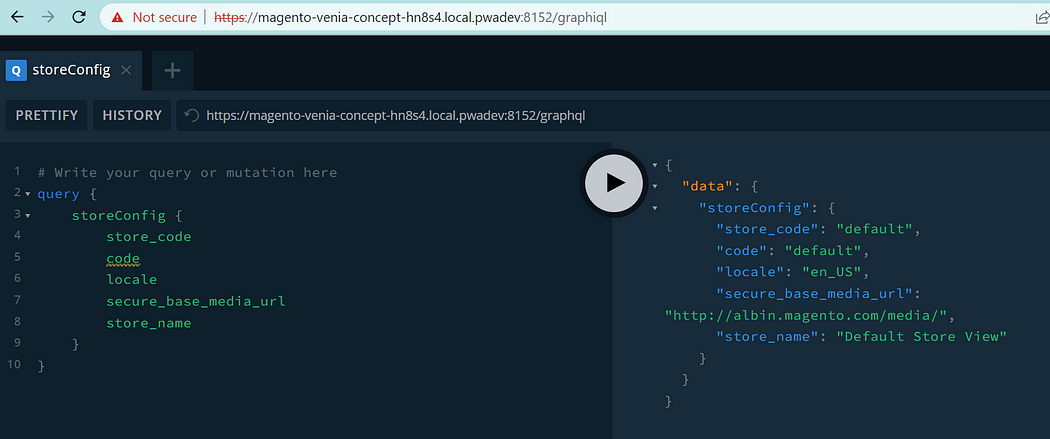
You can use the graphql paly ground enabled as part of the project, e.g., https://magento-venia-concept-hn8s4.local.pwadev:8152/graphiql, to test the graphql queries.
The PWA Studio can be run even though docker-compose; let us see the details on using docker-compose to run the PWA Studio in the windows system.