The Simple Logging Façade for Java (SLF4J) serves as a simple façade or abstraction for various logging frameworks, such as java.util.logging, logback and log4j. SLF4J allows the end-user to plug in the desired logging framework at deployment time. It enables a generic API making the logging independent of the actual implementation.
Tech Mastery: Deep Dives into AEM, Cloud Technologies, AI Innovations, and Advanced Marketing Strate
Welcome to Tech Mastery, your expert source for insights into technology and digital strategy. Explore topics like Adobe Experience Manager, AWS, Azure, generative AI, and advanced marketing strategies. Delve into MACH architecture, Jamstack, modern software practices, DevOps, and SEO. Our blog is ideal for tech professionals and enthusiasts eager to stay ahead in digital innovations, from Content Management to Digital Asset Management and beyond.
Saturday, December 11, 2021
SLF4J - Simple Logging Facade for Java | How to identify which logging library SLF4J using for logging?
Tuesday, January 12, 2021
Different Approaches to Block Non-Prod URL’s from search indexing
One of the major SEO concerns while working on the website is blocking the non-production URLs appearing from search engines result(index), the search engines can index the non-prod URL if those URL’s are by mistake linked from live URL’s or exposed through any other external links. The indexing of non-prod URL can cause duplicate content issues that also impact the ranking of live URL’s, the end-user may access the non-production URL instead of the Live URL. This can sometimes lead to a compliance issue if the content bound to compliance and non-live content is exposed to the end-user.
In this tutorial let us discuss the details on how to block the non-prod URLs appearing from search engines.
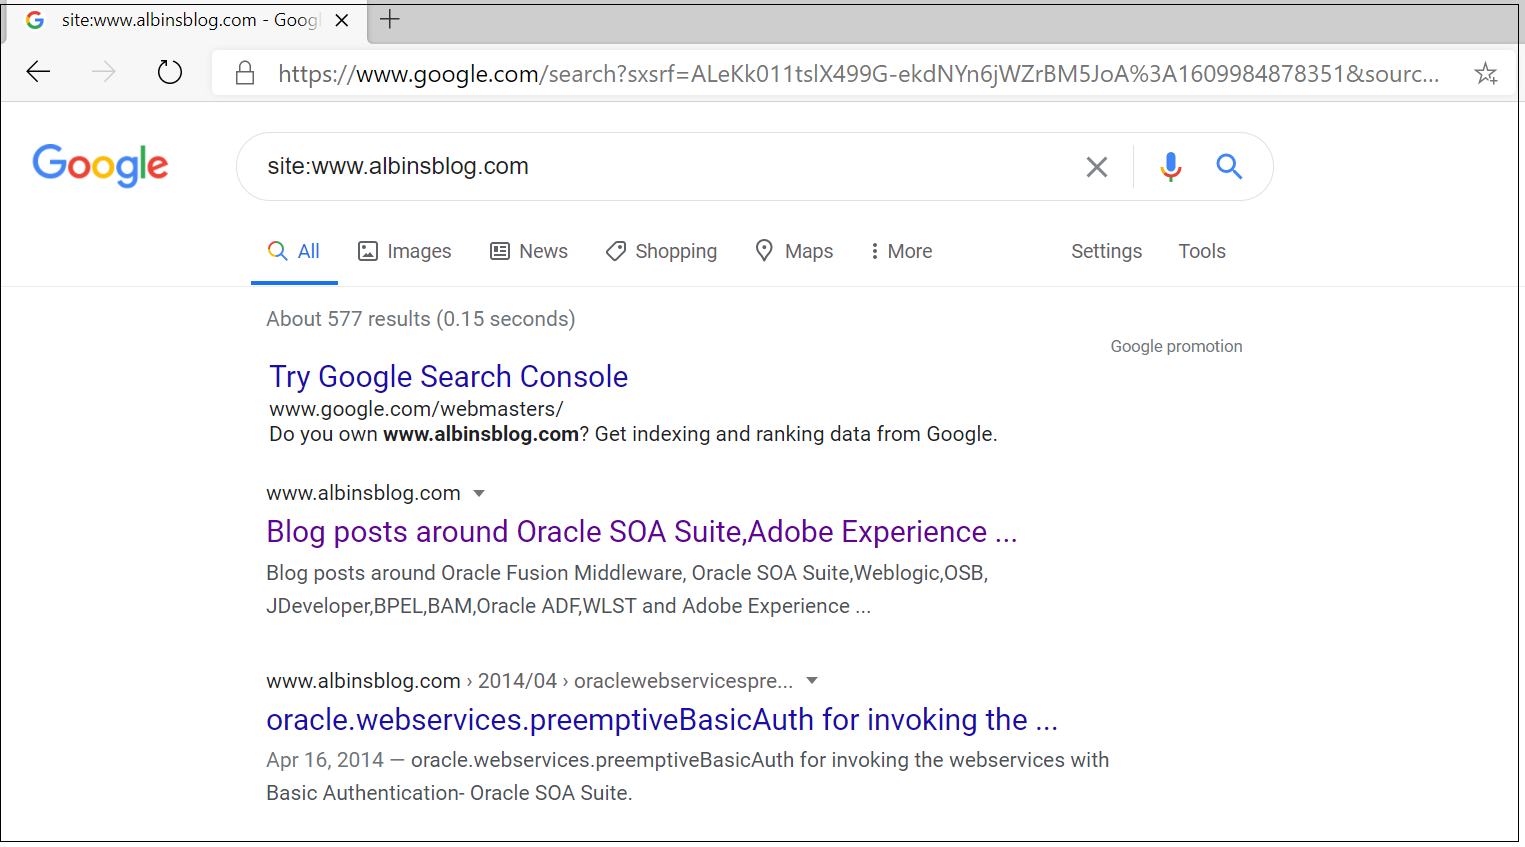
You can search for site:<domainname> e.g site:www.albinsblog.com to identify whether the specific domain is indexed by the search engine, also you can use some of the third party SEO tools to identify the URL’s indexed in search engines.

Let us now see some of the options to block search engines from indexing non-production URL.
HTTP Basic Authentication:
Server-side HTTP Basic Authentication for domains block the search engines from crawling and indexing the domain content. Enable HTTP basic authentication in the web server for the non-prod domains so that the non-prod domains will be blocked for search engines but the live content will be indexed as expected.
Basic Authentication for Apache 2.4 Virtualhost
<Location />
   AuthType Basic
   AuthBasicProvider file
   AuthUserFile /etc/httpd/conf.d/.htpasswd
   #create the user  through htpasswd, htpasswd -c /etc/httpd/conf.d/.htpasswd testuser
   AuthName "Authentication Required"
   Require valid-user
</Location>
If the same configuration is shared for different environments, enable the authentication based on the condition(e.g based on an ENV_TYPE environment variable or based on the incoming domain value)
<Location />  <If "'${ENV_TYPE}' =~ m#(dev|uat|stage)#">
     AuthType Basic
     AuthBasicProvider file
     AuthUserFile /etc/httpd/conf.d/.htpasswd
     AuthName "Authentication Required"
     Require valid-user
   </If>
   <Else>
     Require all granted
   </Else>
</Location>
The basic authentication will create challenge while performance testing the websites in stage or other environments(part of a pipeline or outside ) mainly on the caching behavior — the basic authentications enabled websites are skipped from caching, the workaround is disabling the basic authentication whenever the performance testing is executed in the environment(or execute the testing with basic authentication but the test result will not reflect the live behavior).
IP Restriction:
IP restriction helps you to allow only the known IPs to access the non-production URLs, whitelist the known IP ranges so that the external search engines will not have access to crawl/index the non-production websites but the intended users will be able to access the non-prod websites for testing.
The IP restriction can be enabled in load balancer or web server, the webserver will give more control and flexibility to modify the restrictions whenever required by the development team.
IP restriction configuration for Apache 2.4 Virtualhost
<Location />
    <RequireAny>
       Require ip xxx.xx.0.0/24
       Require ip xxx.xx.0.0/24
  </RequireAny>
</Location>
If the same configuration is shared for different environments, enable the IP restriction based on the condition(e.g based on an ENV_TYPE environment variable or based on the incoming domain value)
<Location />
    <If "'${ENV_TYPE}' =~ m#(dev|uat|stage)#">
       <RequireAny>
         Require ip xxx.xx.0.0/24
         Require ip xxx.18.0.0/24
      </RequireAny>
   </If>
</Location>
The main challenge of IP whitelisting is enabling the Whitelist rules while working with distributed teams and the dynamic IP’s involved to access the servers.
Robots Meta Tag:
The robots metatag in the page source can help to keep the non-production URL’s out of the search engine index, enable the required robots meta tag in the page source, you need to apply the required custom logic to enable the meta tag only for non-prod environments.
<meta name="robots" content="noindex, nofollow, noarchive, nosnippet, nocache" />noindex — Do not show this page in search results.
nofollow — Do not follow the links on this page.
noarchive — Do not show a cached link in search results.
nosnippet — Do not show a text snippet or video preview in the search results for this page
nocache — Same as noarchive, but only used by MSN/Live.
The challenge with this approach is the robots metatag can be applied only for HTML resources, not for different assets — pdf, png, jpg and etc also compare to the above two approaches the search engines should crawl all the individual pages to identify the pages are not enabled for indexing.
Robots Meta Tag HTTP header:
The X-Robots-Tag in the HTTP response header can help to keep the non-production URL’s out of the search engine index, the response header can be enabled for both HTML documents and other assets. Better to add this header to the response of all non-prod resources through webserver e.g Apache.
Configuration for Apache Virtualhost
Header set X-Robots-Tag “noindex, nofollow, noarchive, nosnippet, nocache”If the same configuration is shared for different environments, enable the header based on the condition(e.g based on an ENV_TYPE environment variable or based on the incoming domain value)
<Location />
  <If "'${ENV_TYPE}' =~ m#(dev|uat|stage)#">
   Header set X-Robots-Tag "noindex, nofollow, noarchive, nosnippet, nocache"
  </if>
</Location>
This approach is very easy to manage compared to enabling the metatag in the page source, the search engines should crawl all the individual pages to identify the pages that are not enabled for indexing.
Robots TXT:
Robots.txt file gives the instruction to search engines not to crawl the websites through Disallow tags but this will not ensure the pages are excluded from the index. The pages blocked by robots.txt can still appear in the index if the page is linked from external sources.
Enable a simple robots.txt in the root of every non-prod websites to block the search engines crawling the non-production URL’s(ensure the same Disallow rules are not enabled for live sites by mistake otherwise it will impact the live site indexing)
User-agent: *
Disallow: /
This approach can be used along with Robots metatag or HTTP header to block the search engines crawling the website content after removing them from the index — if the page is already in the index that should be removed first from the index before blocking the crawling through robots.txt otherwise search engine will not able to crawl and see the metatag or header enabled to the pages.
URL Removal:
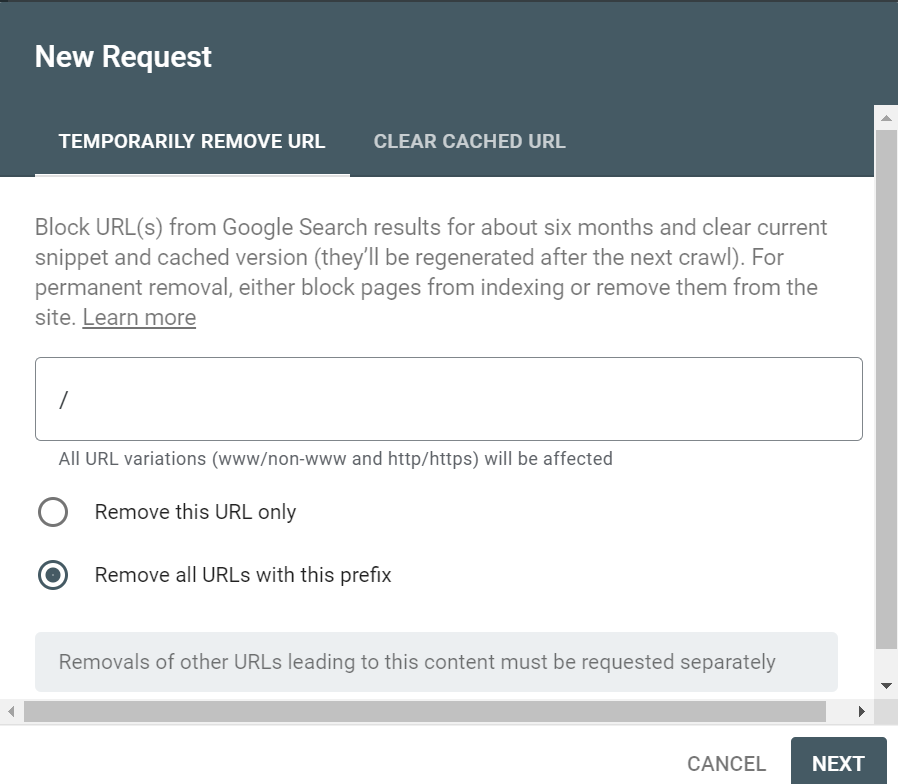
The Search engine URL Removal tool can be used to remove the already indexed URL from the search engine(also from cache) if something indexed that shouldn't be indexing e.g non-prod URL.
The Removals tool enables you to temporarily block pages from Google Search results on sites that you own. When a page’s URL is requested for removal, the request is temporary and persists for at least 90 days, meanwhile, anyone of the approach discussed above should be enabled to block the search engines completely from crawling and re-indexing the pages again.
Either specific URL, specific section, or the complete site can be removed from the indexing(the site property should be owner can only perform this activity), for google, this can be performed through google search console

The authentication and IP restriction will be the most promising approach to keep non-production URLs safer from search engines, in case these two approaches do not work for your case try enabling Robots Meta Tag HTTP header (use robots metatag if required) from webserver for non-prod domains along with robots.txt blocking the crawling.
Tuesday, July 28, 2020
Trunk Based Development and Feature Flags for Continuous Delivery
Trunk Based Development is a branching model in which developers create short-lived feature branches and merge back into the “trunk” branch, often called as the master branch.
The guiding principals of Trunk Based Development
- There is one “trunk” branch where developers merge their changes.
- Developers should merge small changes as often as they can.
- Merges must be reviewed, tested, and must not destroy the “trunk”.
- All code in “trunk” must be release ready at all times.
- Feature branches must be short-lived.
- Keep your commit messages as concise as possible
Comparing Trunk Based Development to GitFlow

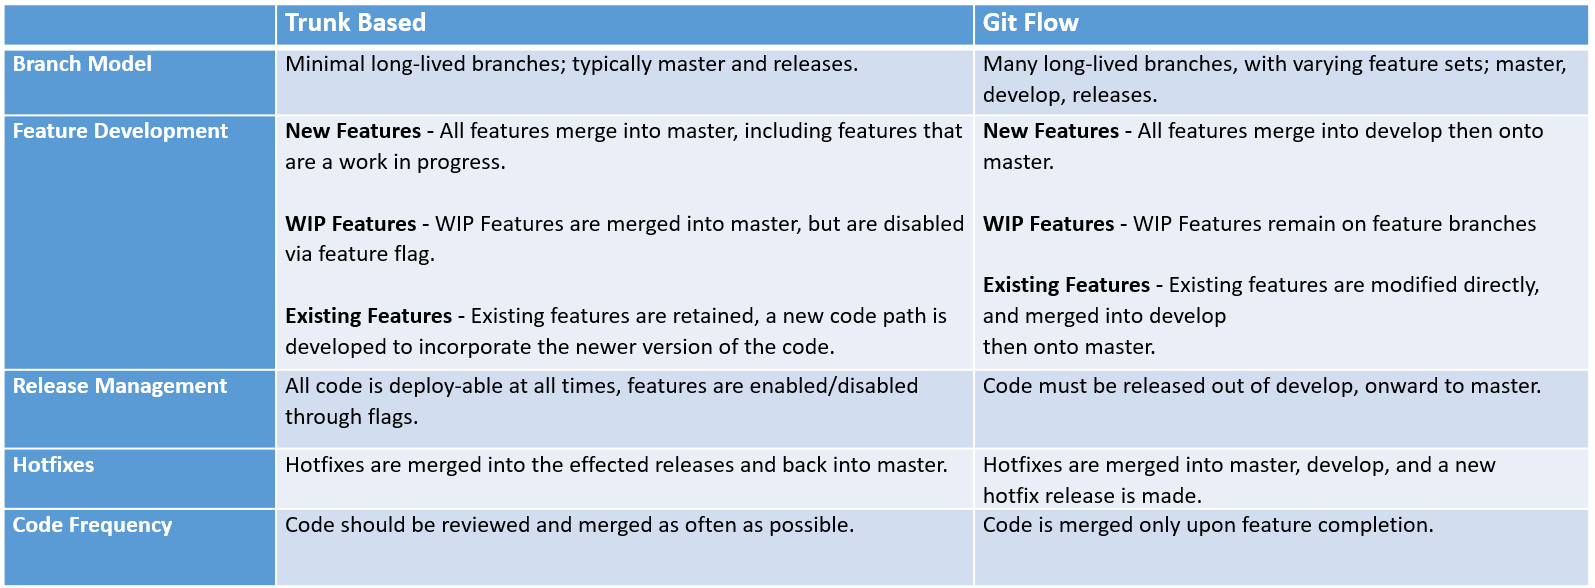
The Trunk Based Branching Model
The below model can be used for scaled teams, the development is done with short-lived feature branches, the changes are often merged to the “trunk”. For small teams, the developers can directly merge the changes to the “trunk” in small chunks.

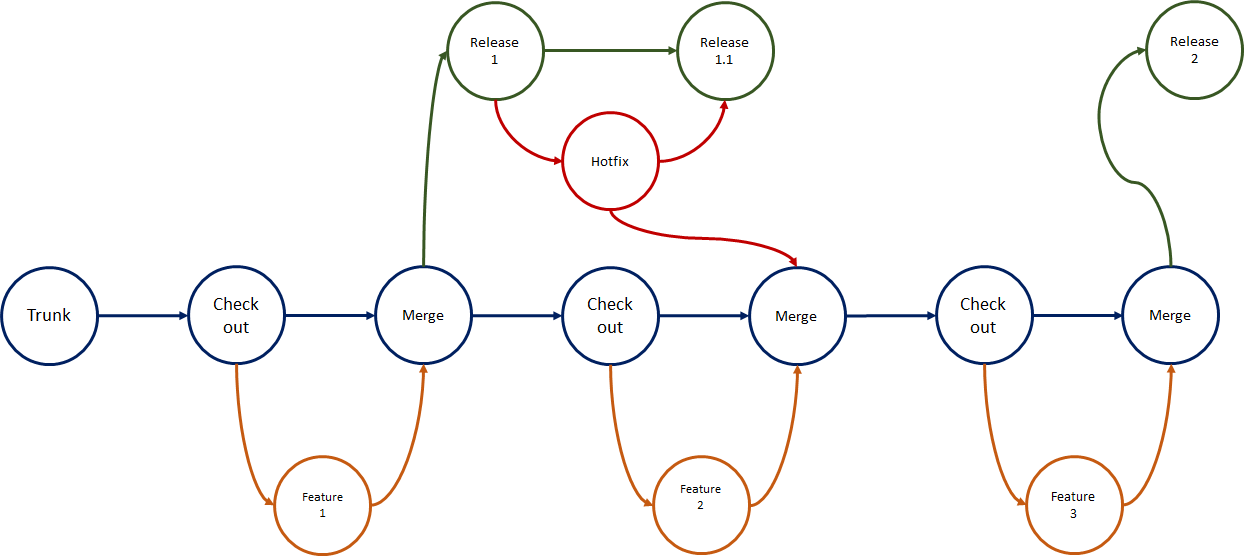
Changes made in the release branches — snapshots of the code when it’s ready to be released — are usually merged back to trunk as soon as possible. One key benefit of the trunk-based approach is that it reduces the complexity of merging events and keeps code current by having fewer development lines and by doing small and frequent merges.
The developers should experienced enough to make this model successful, this model often creates conflicts if the changes are not reviewed and tested rigorously. Use this model if you are looking to push out a new product fast and want to iterate quickly.
Feature Development with Feature Flags
Trunk Based Development uses Feature Flags as a mechanism to manage new feature releases. A feature flag is simply a boolean condition that modifies the behavior of a component, module, or function in your application.
Following a Feature Flag pattern trades the simplicity of isolated branch workflows, such as GitFlow, in favor of flexible feature rollouts, continuous delivery, and application personalization.
Setting Up Feature Flags
A simple way to begin using feature flags is to maintain a single file containing your feature flags. Let us see how to manage the flags in Typescript with React application through a simple approach. The feature flags can also be managed through external tools like optimizel or launchdarkly
featureFlags.tsconst featureFlags = {
hellowordnewfeature: false
}
export function getFeatureFlag(key){
 return featureFlags[key] || false;
}helloword.ts
//return feature based on the feature flagimport { getFeatureFlag } from "./featureFlags";
const createHelloWord = () => {
if(getFeatureFlag("hellowordnewfeature")){
  return createNewHelloWord()
 }
return createOldHelloWorld()
}
Here the new feature is returned based on the flag “hellowordnewfeature”, if the flag is “true” then the new feature(createNewHelloWord) is returned else the old feature(createOldHelloWorld).
This TypeScript module(featureFlags.ts) can be extended to fetch the features from external or internal services.
Existing Feature Development with Feature Flags
Existing feature development with feature flags is slightly more complex but offers more flexibility for continuous delivery and personalization.
Small Incremental Change
If the proposed feature is a small incremental change, we can modify an existing code path to augment behavior. Take for example adding a new calculation for the total.
featureFlags.tsconst featureFlags = {
     hellowordnewfeature: false,
     useNewcalculateTotal:true
}
export function getFeatureFlag(key){
 return featureFlags[key] || false;
}// before
const calculateTotal = (qty, val) => {
   return qty * val
}
// after
const calculateTotal= (qty, val, tax) => {
   if(getFeatureFlag("useNewcalculateTotal")){
      return qty * val * tax
   }
   return qty *val
}
Large Modification
If the proposed feature is large, for example, we want to display a completely new TaxCalculator component, we would need to define a new code path and entry-point for that component.
featureFlags.tsconst featureFlags = {
    hellowordnewfeature: false,
    useNewcalculateTotal:true,
    useNewTaxCalculation:true
}
export function getFeatureFlag(key){
 return featureFlags[key] || false;
}TaxCalculator.tsximport { getFeatureFlag } from "./featureFlags";
import { TaxCalculatorOld, TaxCalculatorNew } from "./components";
const TaxCalculator = props => {
    if(getFeatureFlag("useNewTaxCalculation"){
       return <TaxCalculatorNew />
    }
    return <TaxCalculatorOld />
}
New Feature Development with Feature Flags
New feature development with feature flags is simpler than existing features. Since there are no existing code paths for your code to execute, this code path will be disabled by default while this feature is WIP.
The new feature development process with flags should look like this;
- create a feature flag for your new feature
- begin working on your code
- ensure your flag is false before merging into master
- merge your code frequently
- when the feature is ready for release, remove the flag
Conclusion
Trunk based Development and Feature Flags together can be used for continuous delivery, delivering the features faster to market. Planning them carefully will allow you to quickly deliver the new business features to the system. The feature flags can also be managed through external tools like optimizel or launchdarkly, tools provide SDK to manage the features external to the applications.
References
https://cloud.google.com/solutions/devops/devops-tech-trunk-based-development
Friday, July 3, 2020
How to access the local files externally through ngrok and python HTTP Server?
- a set of files that needs to be shared outside
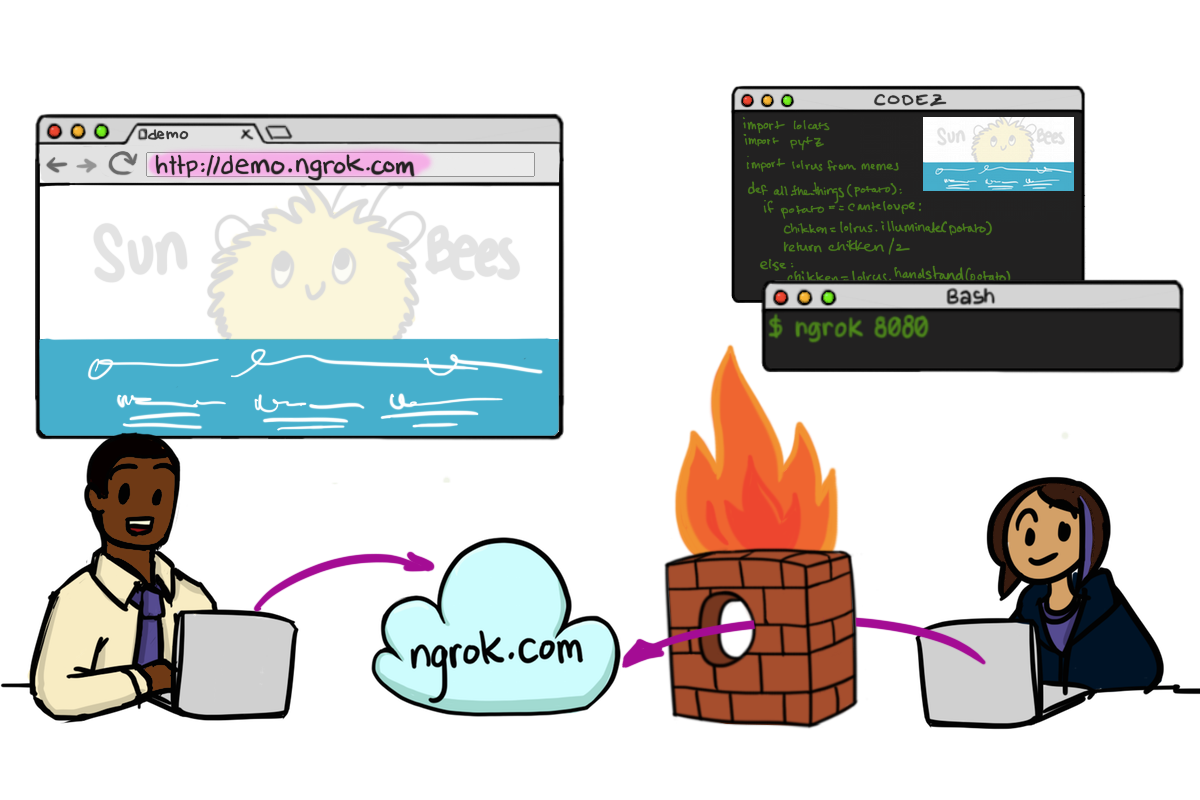
- share a simple website externally
Prerequisites
- ngrok free or paid version
- Python latest version


How ngrok works
Python HTTP Server
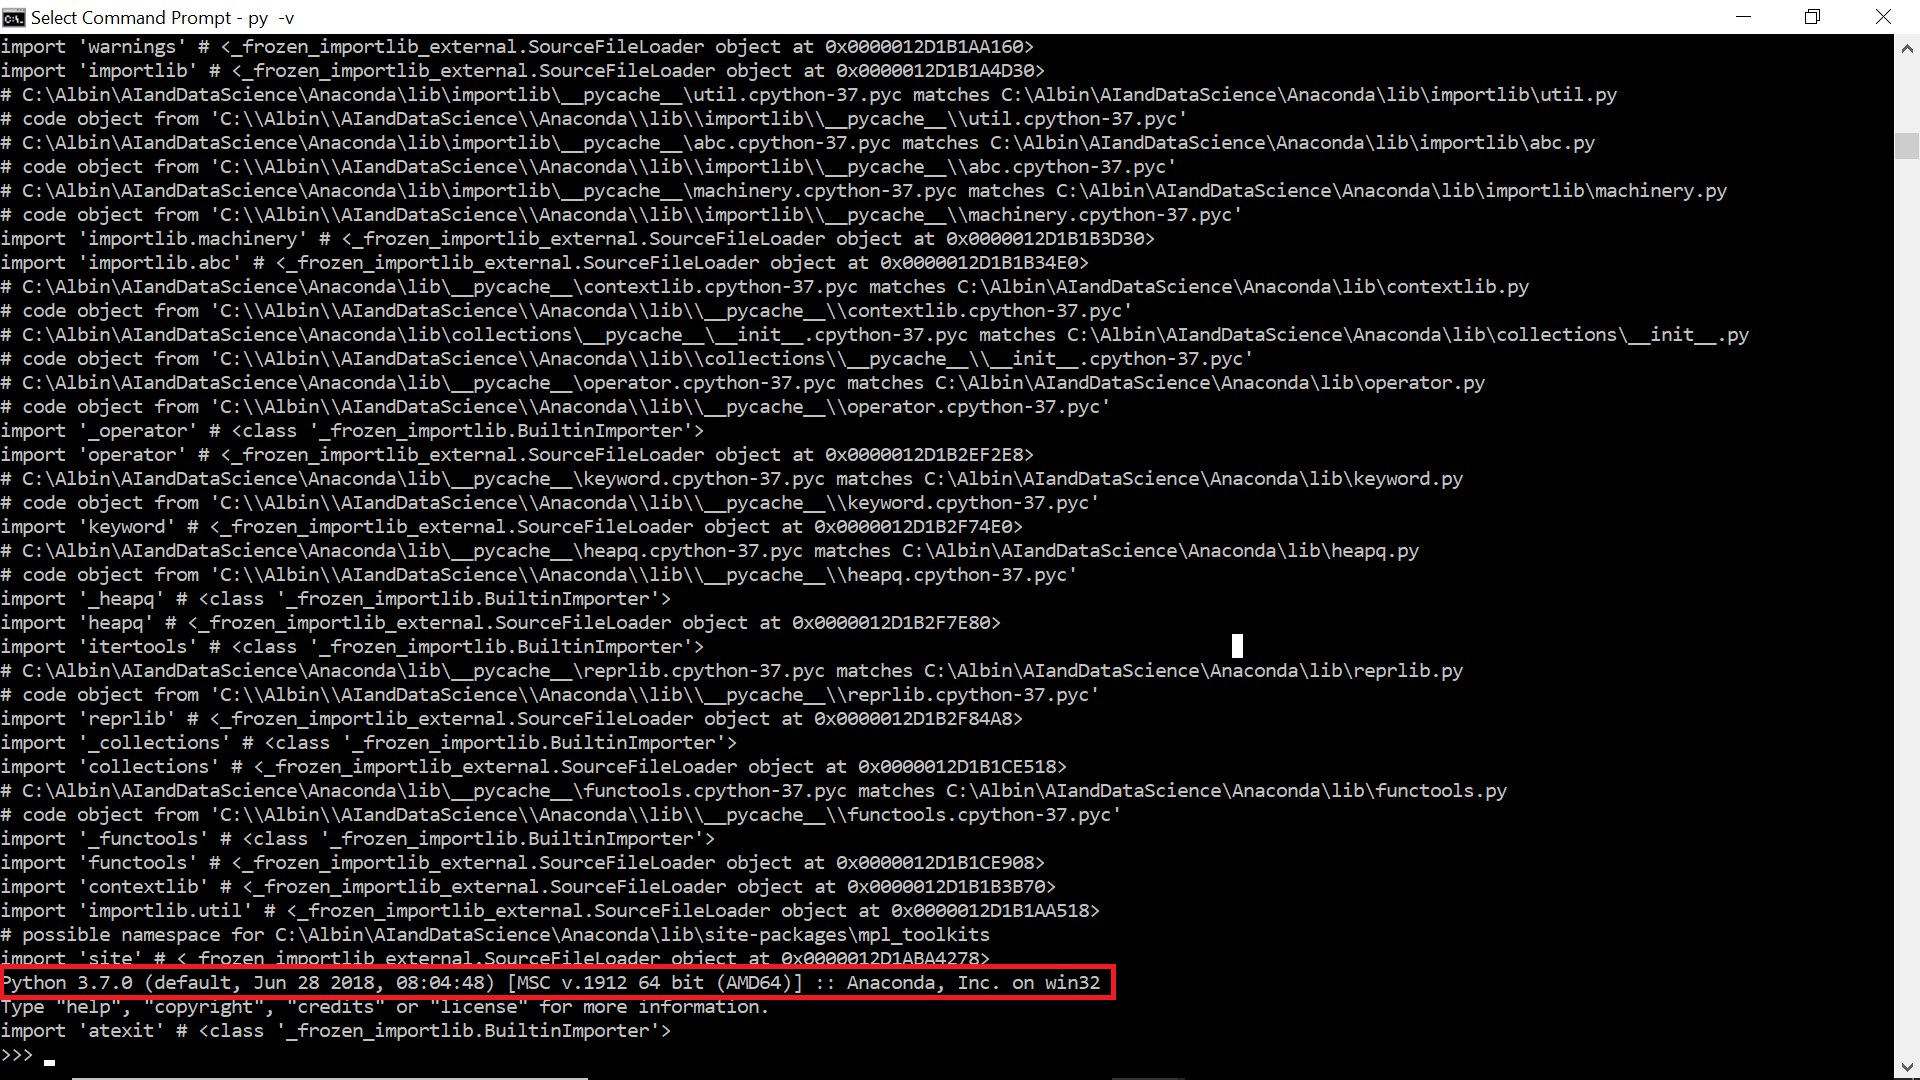

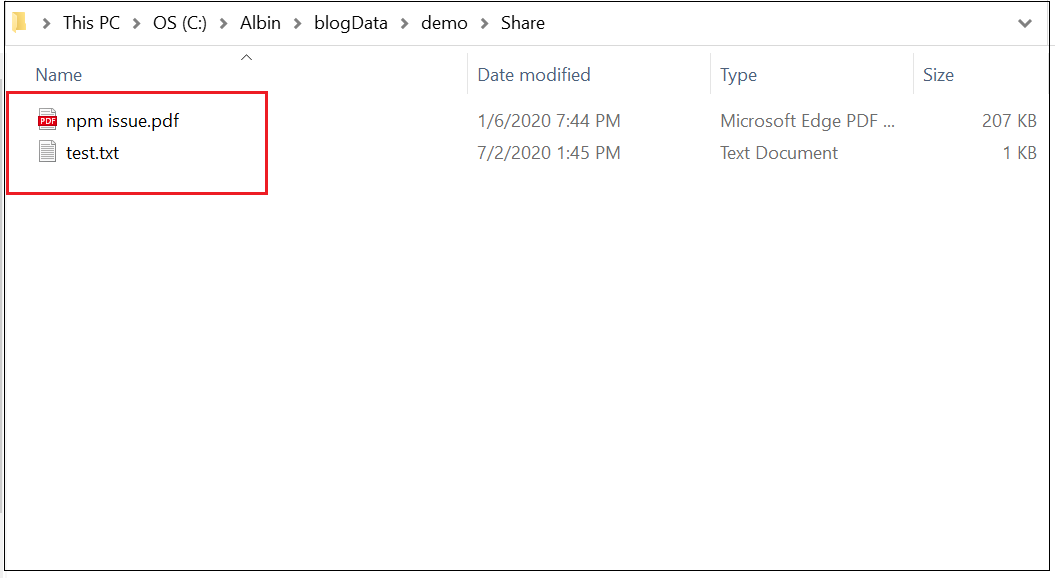
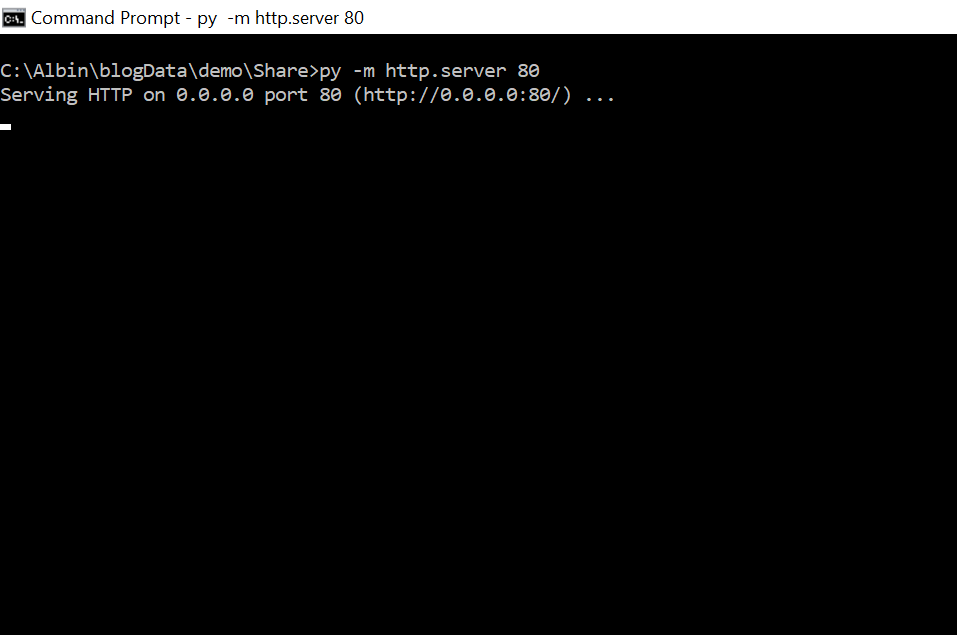
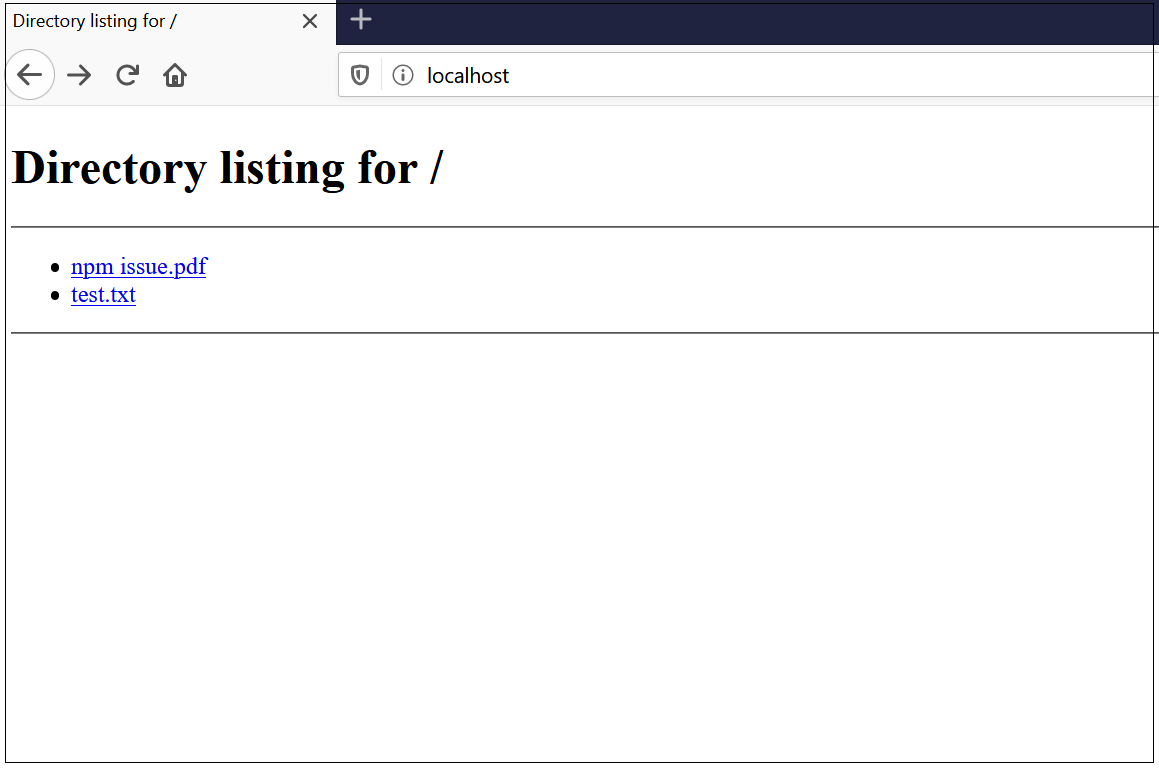
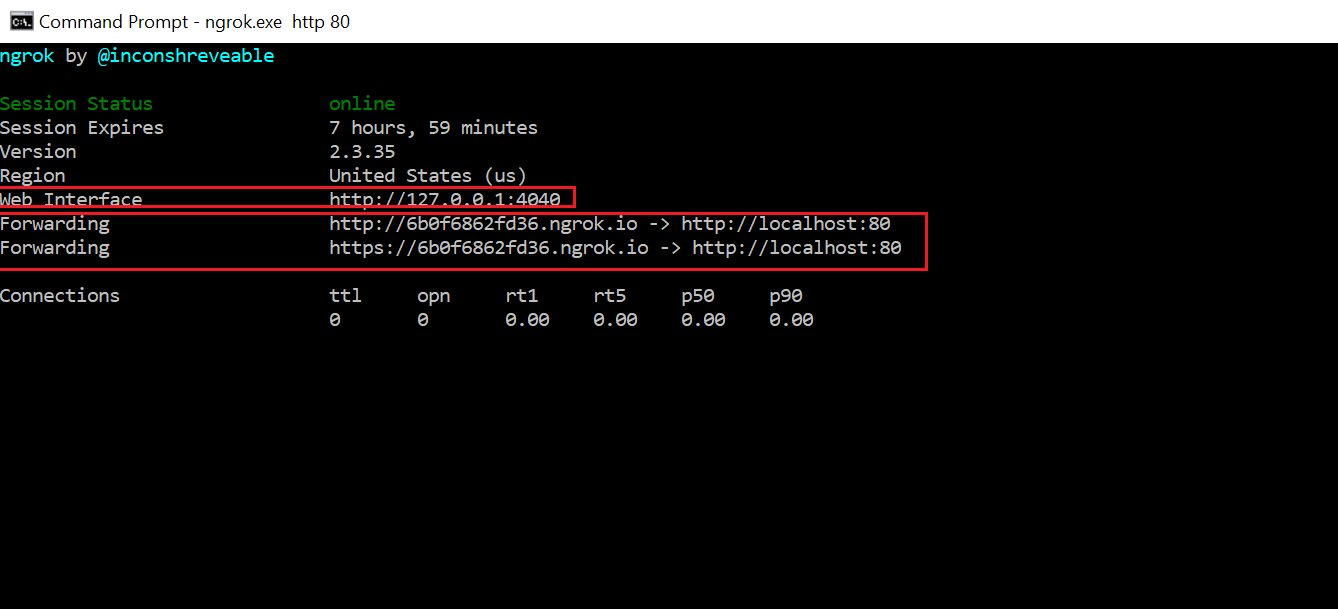
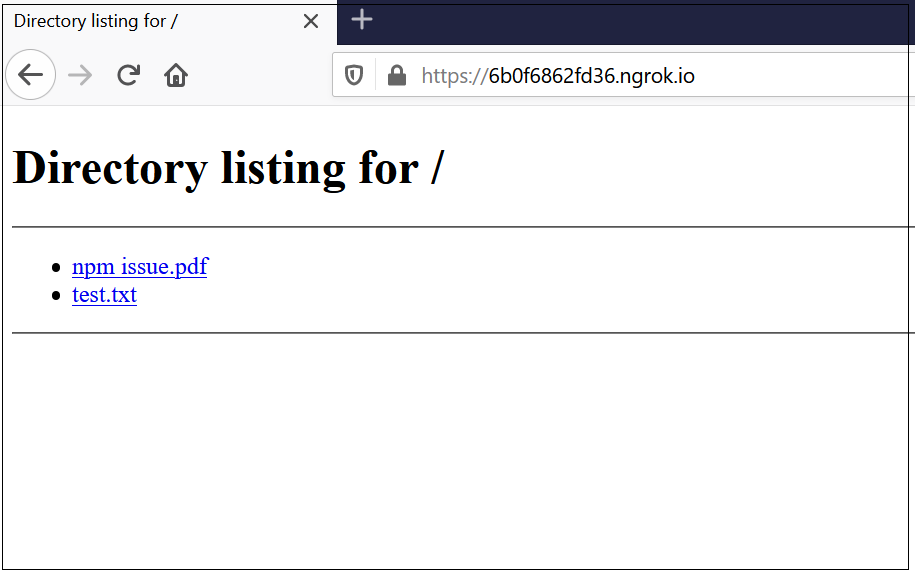
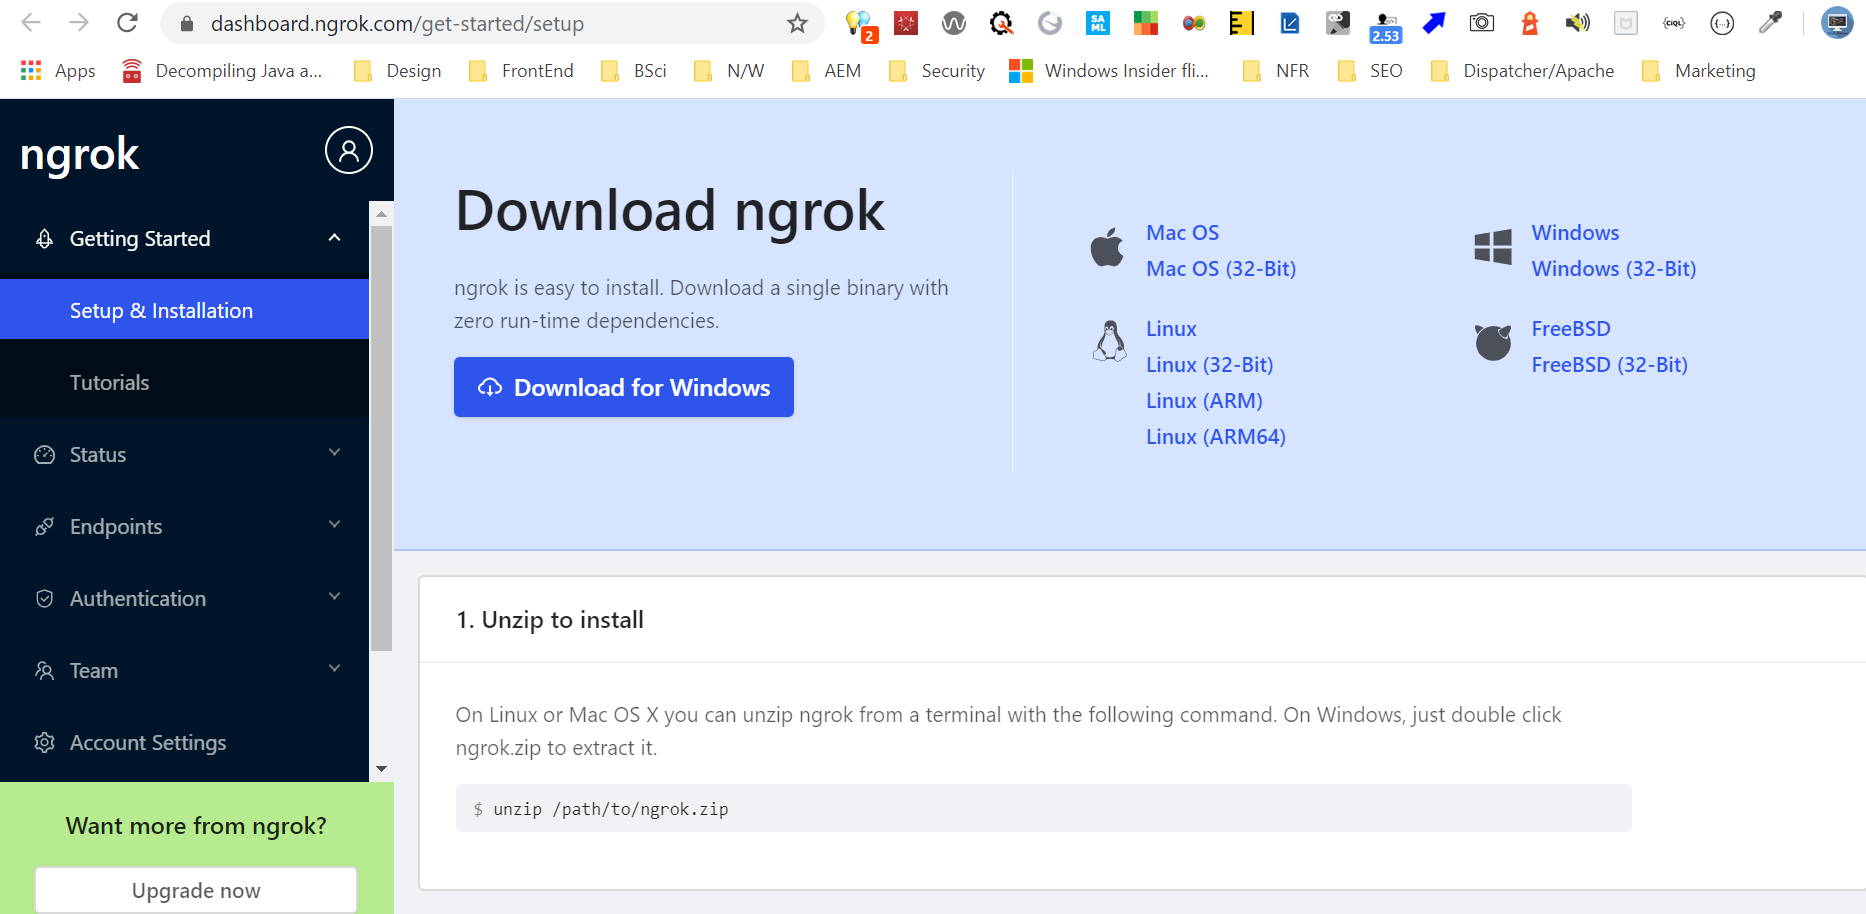
The local folders can be shared directly without a HTTP server through inbuilt ngrok file server. To share the local folder directly through ngrok , as a first step configure the authtoken to the ngrok
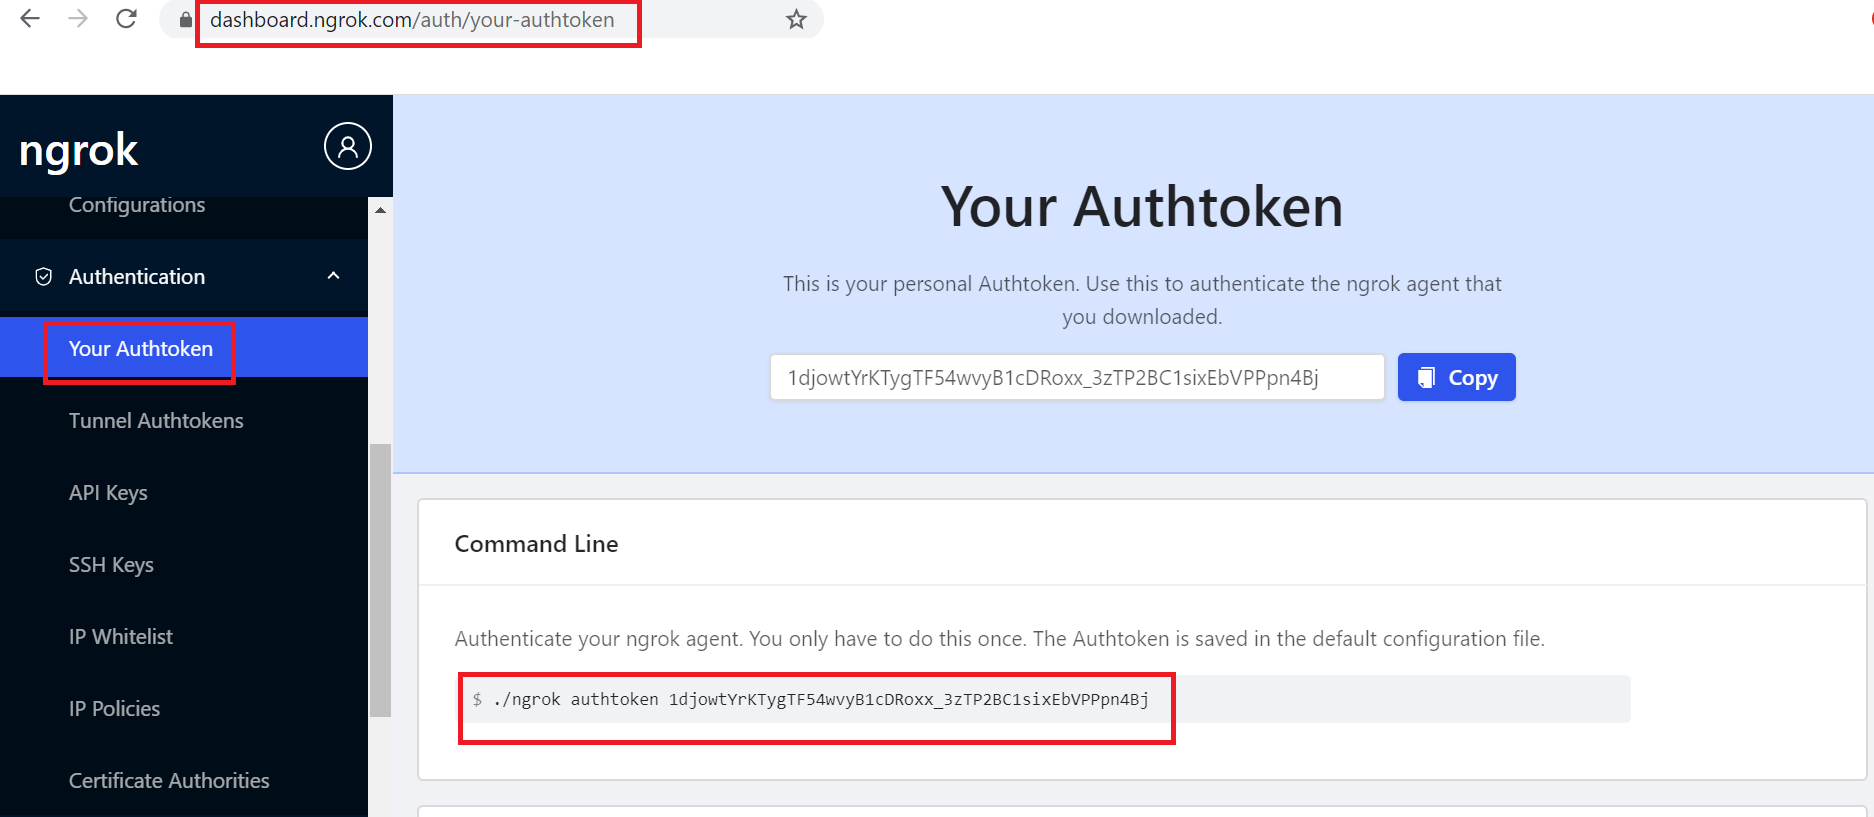
The authtoken can be retrieved through ngrok dashboard — the user should signup for a account , copy the command to set the authtoken by navigating to the dashboard.

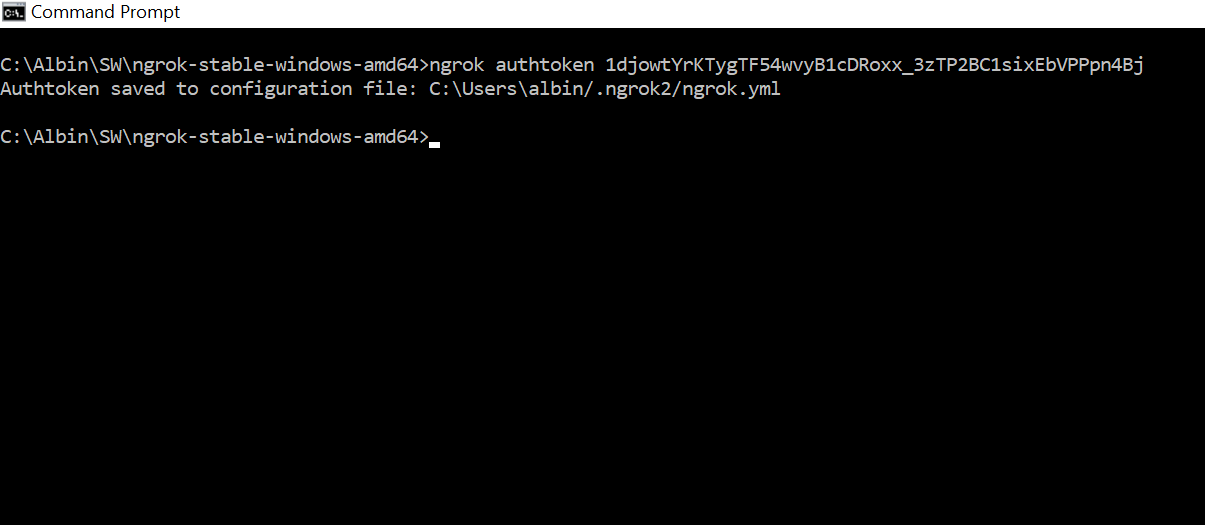
Execute the command

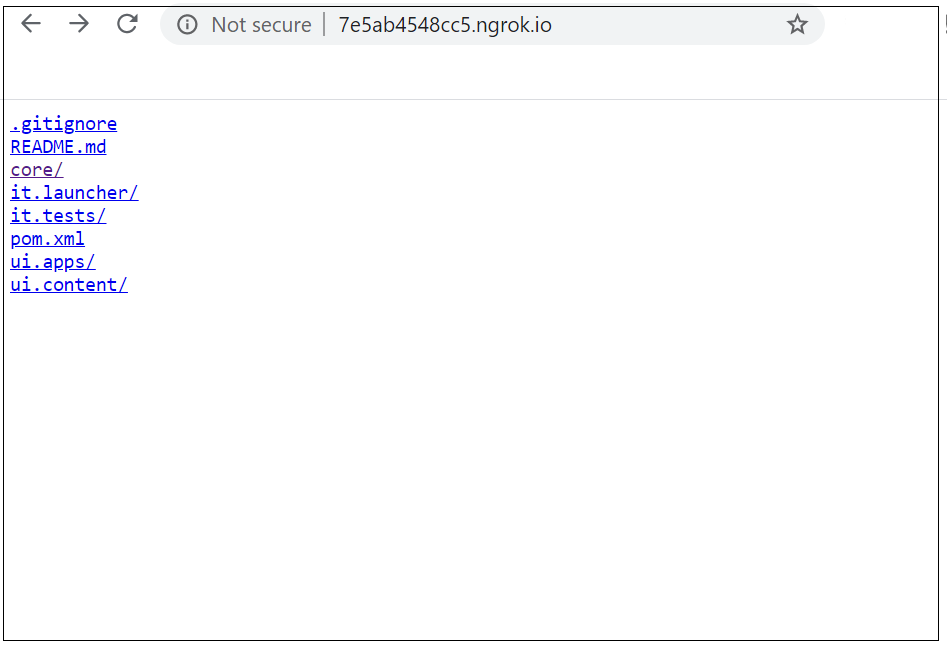
Start the ngrok process — e.g ngrok http “file:///C:\Albin\blogData\demo\blogproject.blogproject
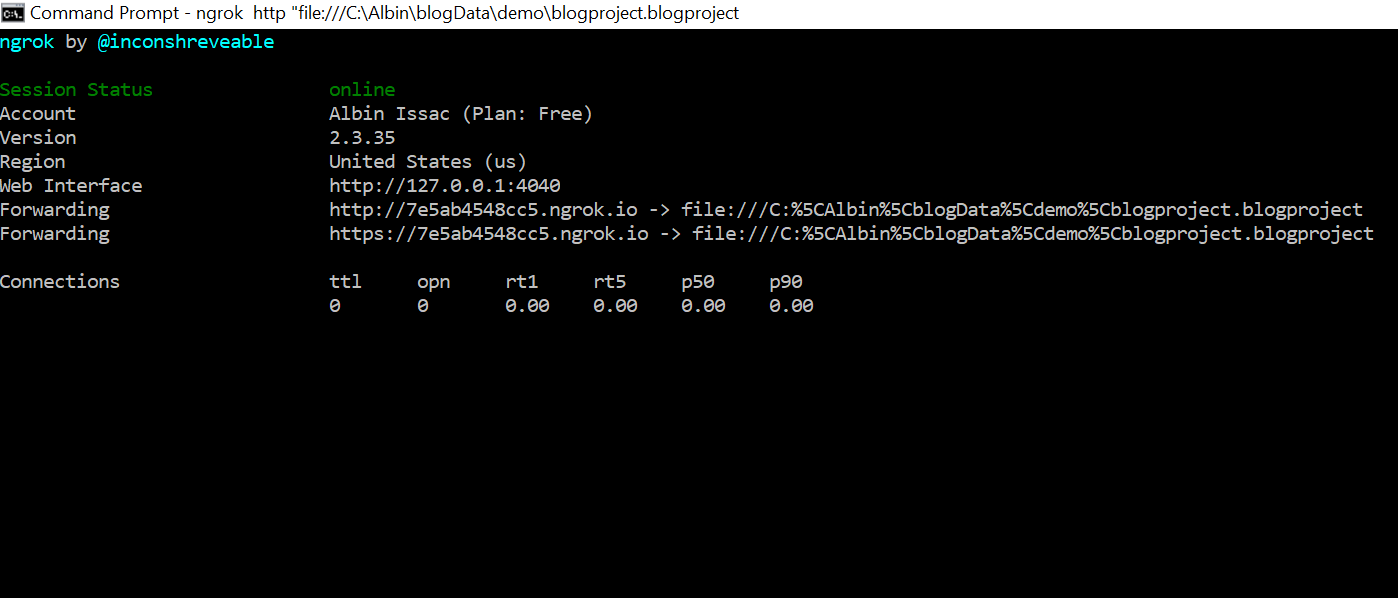
Now the files under the specific folder is accessible externally
