Sunday, May 31, 2020

Social Login with LinkedIn - Adobe Experience Manager (AEM)

Social Login with LinkedIn - Adobe Experience Manager (AEM)


Social login is the ability to present the option for a site visitor to sign in with their social accounts like Facebook, Twitter, LinkedIn and etc. AEM supports OOTB Facebook and Twitter Social logins but LinkedIn login is not supported OOTB and need to build custom Provider to support the log in flow for websites. 

AEM internally uses the scribejava module to support the Social login flows, scribejava supports multiple providers and both OAuth 1.0 and OAuth 2.0 protocols. The scribe version shipped with AEM won’t support the LinkedIn OAuth 2.0 authentication flow but OAuth 1.0 is supported.
This tutorial explains the steps and the customization required to support the LinkedIn social login in AEM as Cloud version, the same should work with minimal change for other AEM versions.

Prerequisites

  • LinkedIn Developer Account
  • AEM as Cloud Publisher
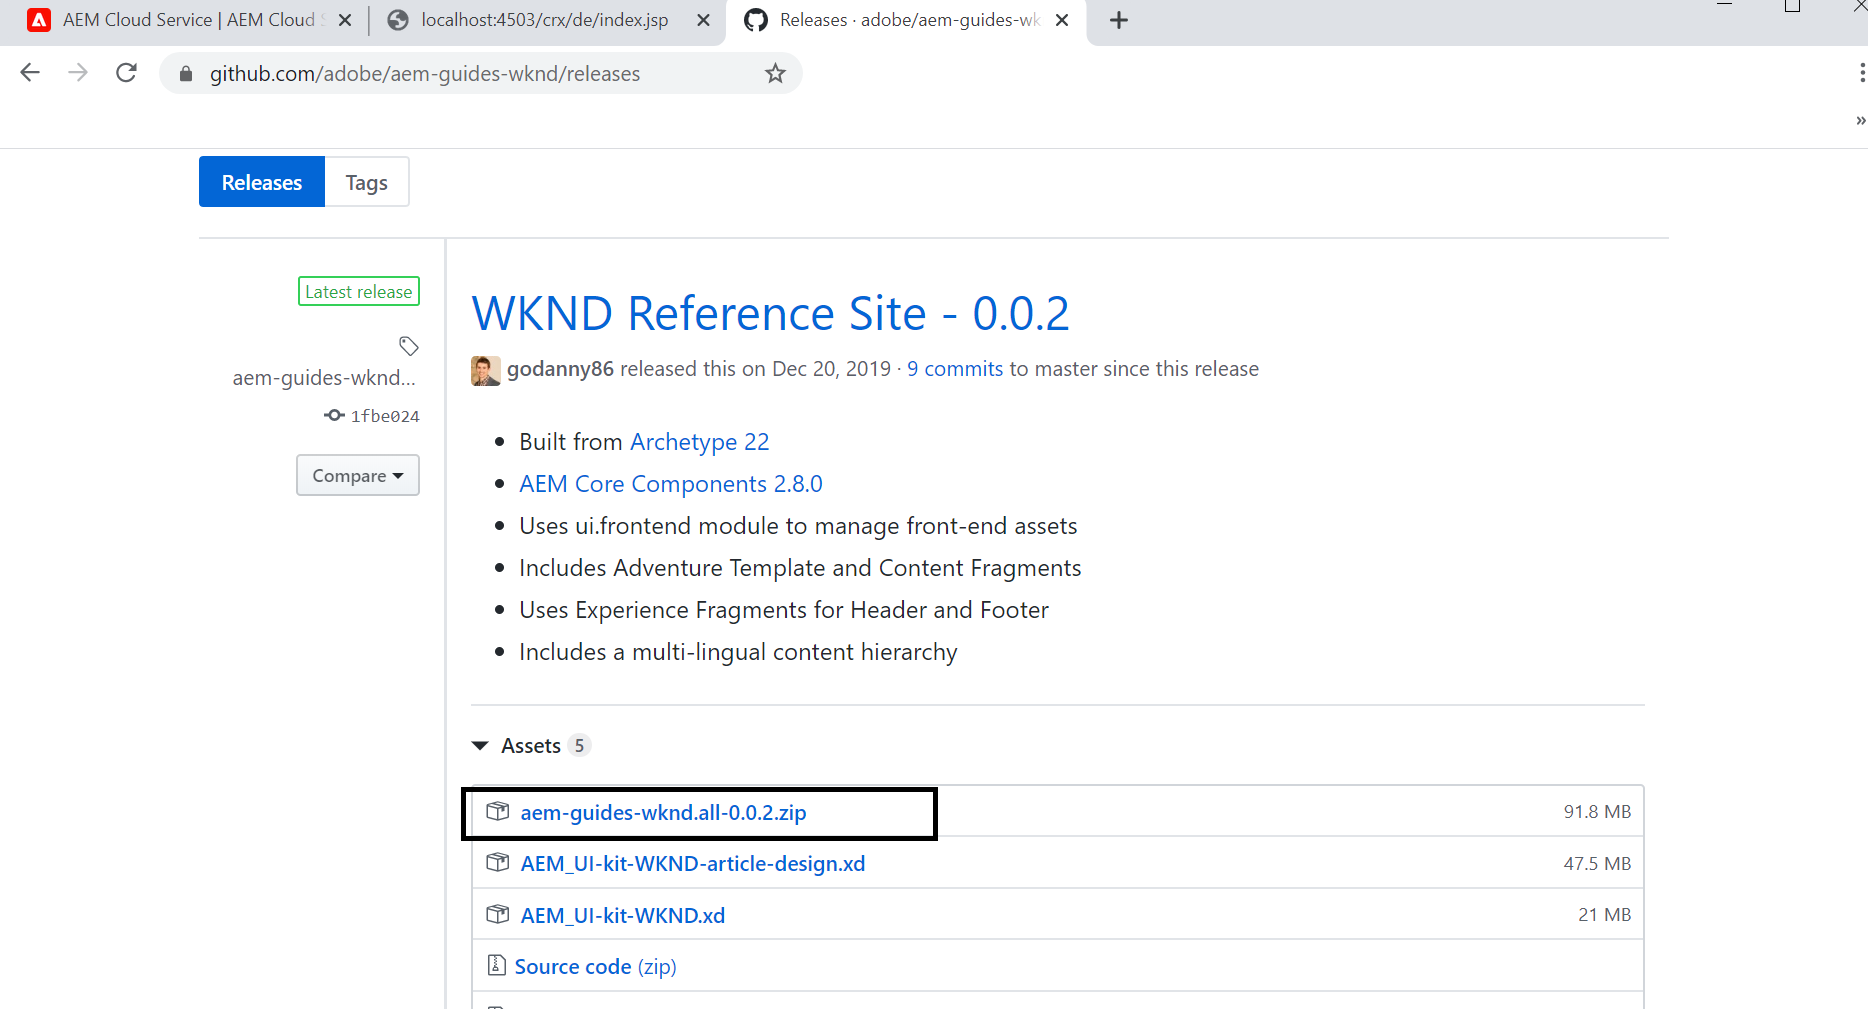
  • WKND Sample Website
  • Git Terminal
  • Maven


LinkedIn Login Flow


Linkedin-aem-signin-flow

AEM Login URL 

http://localhost:4503/j_security_check?configid=linkedin

LinkedIn Authorization Page URL

https://www.linkedin.com/oauth/v2/authorization?client_id=&redirect_uri=&scope=&response_type=code 
Access Token URL(GET) - https://www.linkedin.com/oauth/v2/accessToken? grant_type=authorization_code&client_id=&client_secret&code=<authorization code received>&redirect_uri=

Access Token URL(GET)

https://www.linkedin.com/oauth/v2/accessToken? grant_type=authorization_code&client_id=&client_secret&code=<authorization code received>&redirect_uri=

Retrieve Profile Data

https://api.linkedin.com/v2/me?projection=(id,localizedFirstName,localizedLastName)? oauth2_access_token=<Access Token>


Steps

  • LinkedIn App Setup
  • Setup Custom LinkedIn OAuth Provider
  • Configure Service User
  • Configure OAuth Application and Provider
  • Enable OAuth Authentication
  • Test the Login Flow
  • Encapsulated Token Support
  • Sling Distribution user’s synchronization


LinkedIn App Setup

As a first step, we should setup the OAuth app from LinkedIn. Login to https://www.linkedin.com/developers/ and click on Create App

create-oauth-app-linkedin


Enter your app name, link to an existing LinkedIn Company or create new one. Upload a logo for your App, accept the Legal agreement and click on Create App. You should verify the company page(Generate a Verification URL and click on the URL to approve the app association with the Company)

oauth-app-linkedin-conf

Add the redirect URL in Auth tab - http://localhost:4503/callback/j_security_check

oauth-app-linkedin-conf

On product tabs select “Sign in with LinkedIn”

oauth-app-linkedin-conf

This will take some time for approval, once approved you can see the required permissions under 
Auth

oauth-app-linkedin-conf

LinkedIn App is ready now, copy the Client ID and Client Secret(reveal the secret before copying) - these values required to enable the OAuth Authentication handler in AEM.

Configure Service User

Enable the service user with required permissions to manage the users in the system, you can use one of the existing service users with required access, I thought of defining new service user(oauth-linkedin-service – name referred in LinkedinOAuth2ProviderImpl.java, change the name if required) 
Create a system user with name oauth-linkedin-service, navigate to http://localhost:4503/crx/explorer/index.jsp and login as an admin user and click on user administration

aem-service-user-configuration

aem-service-user-configuration


Now enable the required permissions for the user, navigate to http://localhost:4503/useradmin(somehow I am still comfortable with useradmin UI for permission management)

aem-service-user-configuration

Now enable the service user mapping for provider bundle – add an entry into Apache Sling Service User Mapper Service Amendment linkedin.oauth.provider:oauth-linkedin-service=oauth-linkedin-service

aem-service-user-mapping


Setup Custom LinkedIn OAuth Provider

As mentioned earlier AEM won’t support LinkedIn authentication OOTB, define a new provider to support the authentication with LinkedIn. Refer https://github.com/Adobe-Marketing-Cloud/aem-communities-oauth-sample/blob/87539ad4453f6589202c414ee14630382b146030/bundles/aem-communities-oauth-linkedin-provider/src/main/java/com/adobe/social/sample/oauth/impl/LinkedinProviderImpl.java#L350 for sample LinkedIn provider. 

The reference provider supports only OAuth 1.0, to support the OAuth 2.0 the provider should be modified and some extra overridden classes required as the AEM shipped scribe package wont support OAuth 2.0 for LinkedIn Provider. 

The LinkedIn Provider to support the OAuth 2.0 can be downloaded from - https://github.com/techforum-repo/bundles/tree/master/linkedin-oauth-provider

LinkedinOAuth2ProviderImpl.java – Provider class to support the LinkedIn authentication
LinkedinOAuth2Api.java – API class extended from default scribe DefaultApi20 to support LinkedIn OAuth 2.0 API integration
LinkedinOauth2ServiceImpl.java – Service class to get the Access Token from LinkedIn service response
LinkedinOauth2TokenExtracter.java – Extract the access token from LinkedIn authorization response

The provider bundle enabled with aem-sdk-api jar for AEM as Cloud Service, the other AEM versions can use the same bundle by changing aem-sdk-api to uber jar.

Clone the repository - git clone https://github.com/techforum-repo/bundles.git

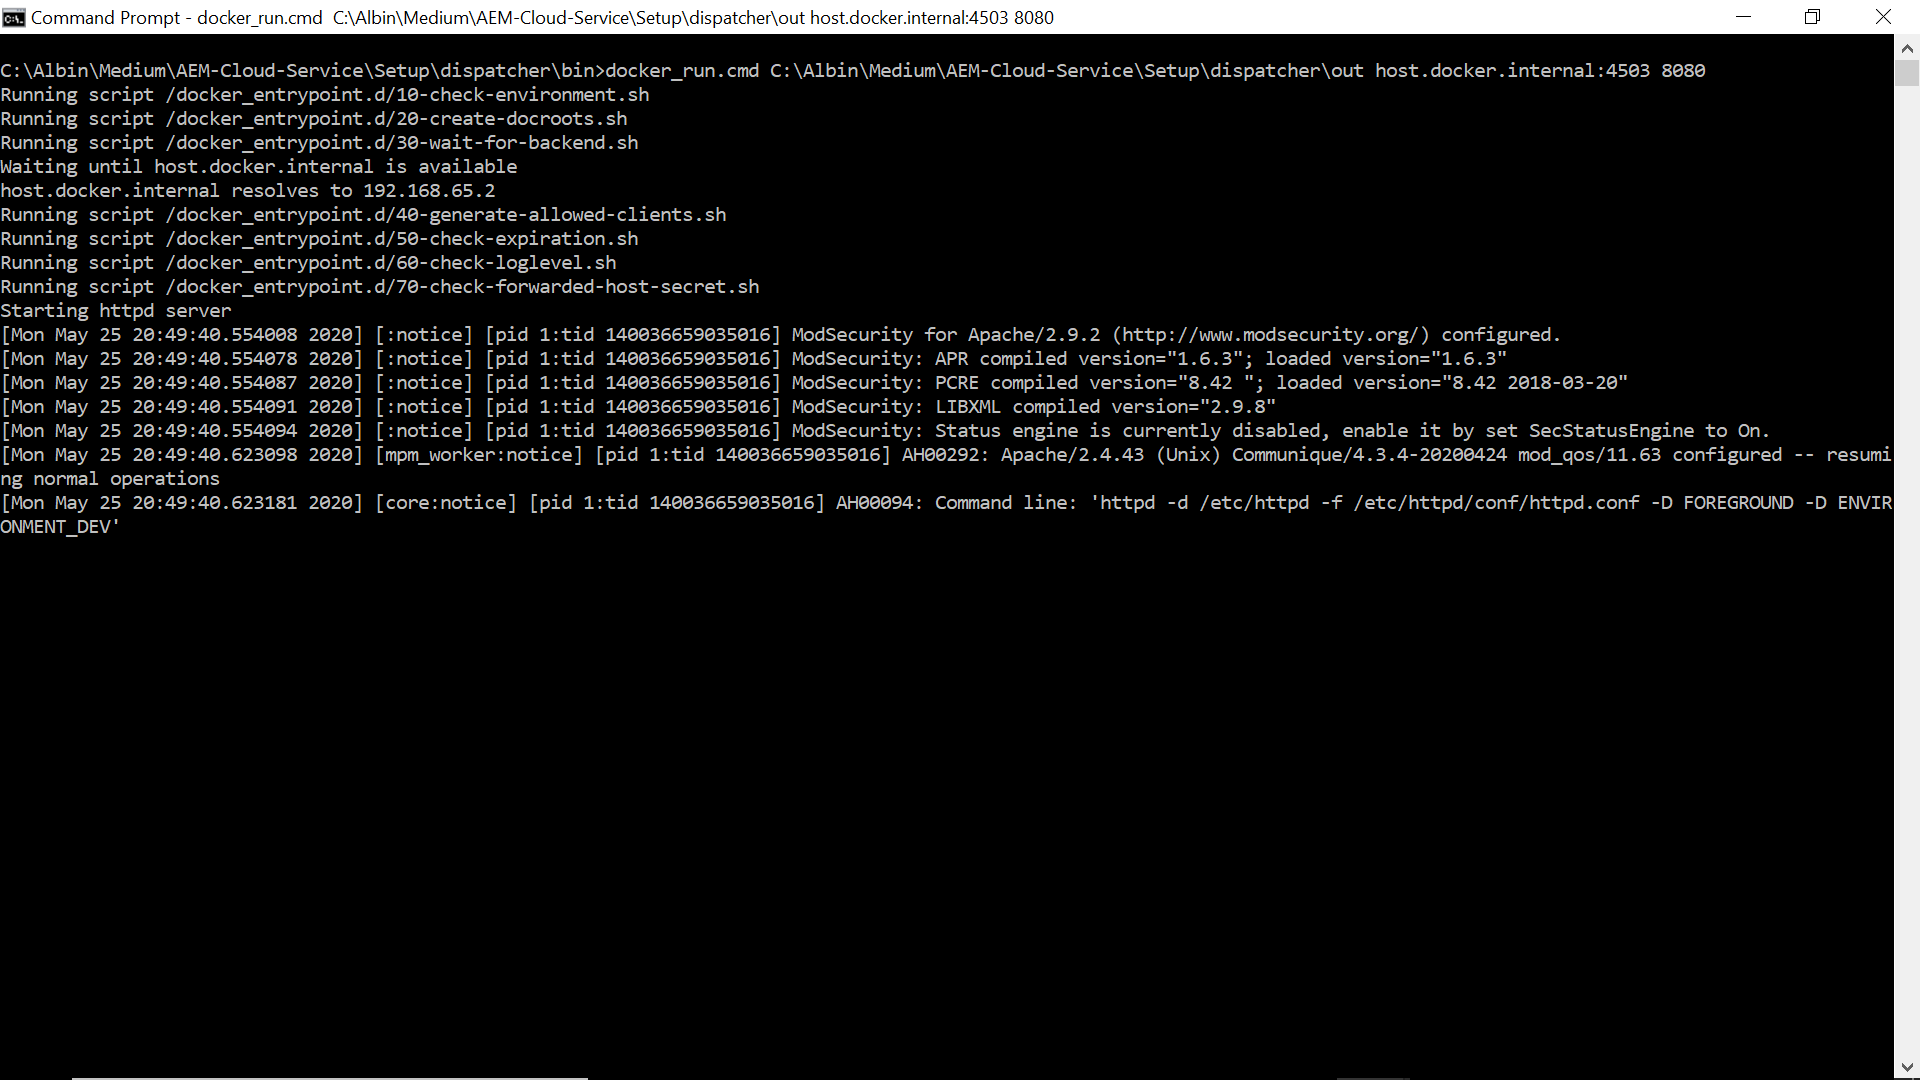
Deploy linkedin-oauth-provider bundle – change the directory to bundles\linkedin-oauth-provider and execute mvn clean install -PautoInstallBundle -Daem.port=4503

Here I am going to enable the authentication for publisher websites, change the port number and deploy to Author if required. After the successful deployment, you should able to see the LinkedIn provider in config manager.

linkedin-oauth-provider-for-aem

The oauth.provider.id can be changed but the same value should b e used while configuring “Adobe Granite OAuth Application and Provider”.

Configure OAuth Application and Provider

Let us now enable the “Adobe Granite OAuth Application and Provider” for LinkedIn

Config ID – Enter a unique value, this value should be used while invoking the AEM login URL
Client ID – Copy the Client ID value from LinkedIn App
Client Secret - Copy the Client Secret value from LinkedIn App(Copy the secret by reveling the value)
Scope - r_liteprofile r_emailaddress
Provider ID – linkedin
Create users – Select the check box to create AEM users for LinkedIn profiles
Callback URL – the same value configured in LinkedIn App(http://localhost:4503/callback/j_security_check)

linkedin-oauth-provider-for-aem

Enable OAuth Authentication

By default, “Adobe Granite OAuth Authentication Handler” is not enabled by default, the handler can be enabled by opening and saving without doing any changes.
linkedin-oauth-provider-for-aem


Test the Login Flow

Now the configurations are ready, let us initiate the login – access http://localhost:4503/j_security_check?configid=linkedin from browser(in real scenario you can enable a link or button pointing to this URL). This will take the user to LinkedIn login screen

linkedin-oauth-provider-for-aem

The user should allow the access for first time

linkedin-oauth-provider-for-aem

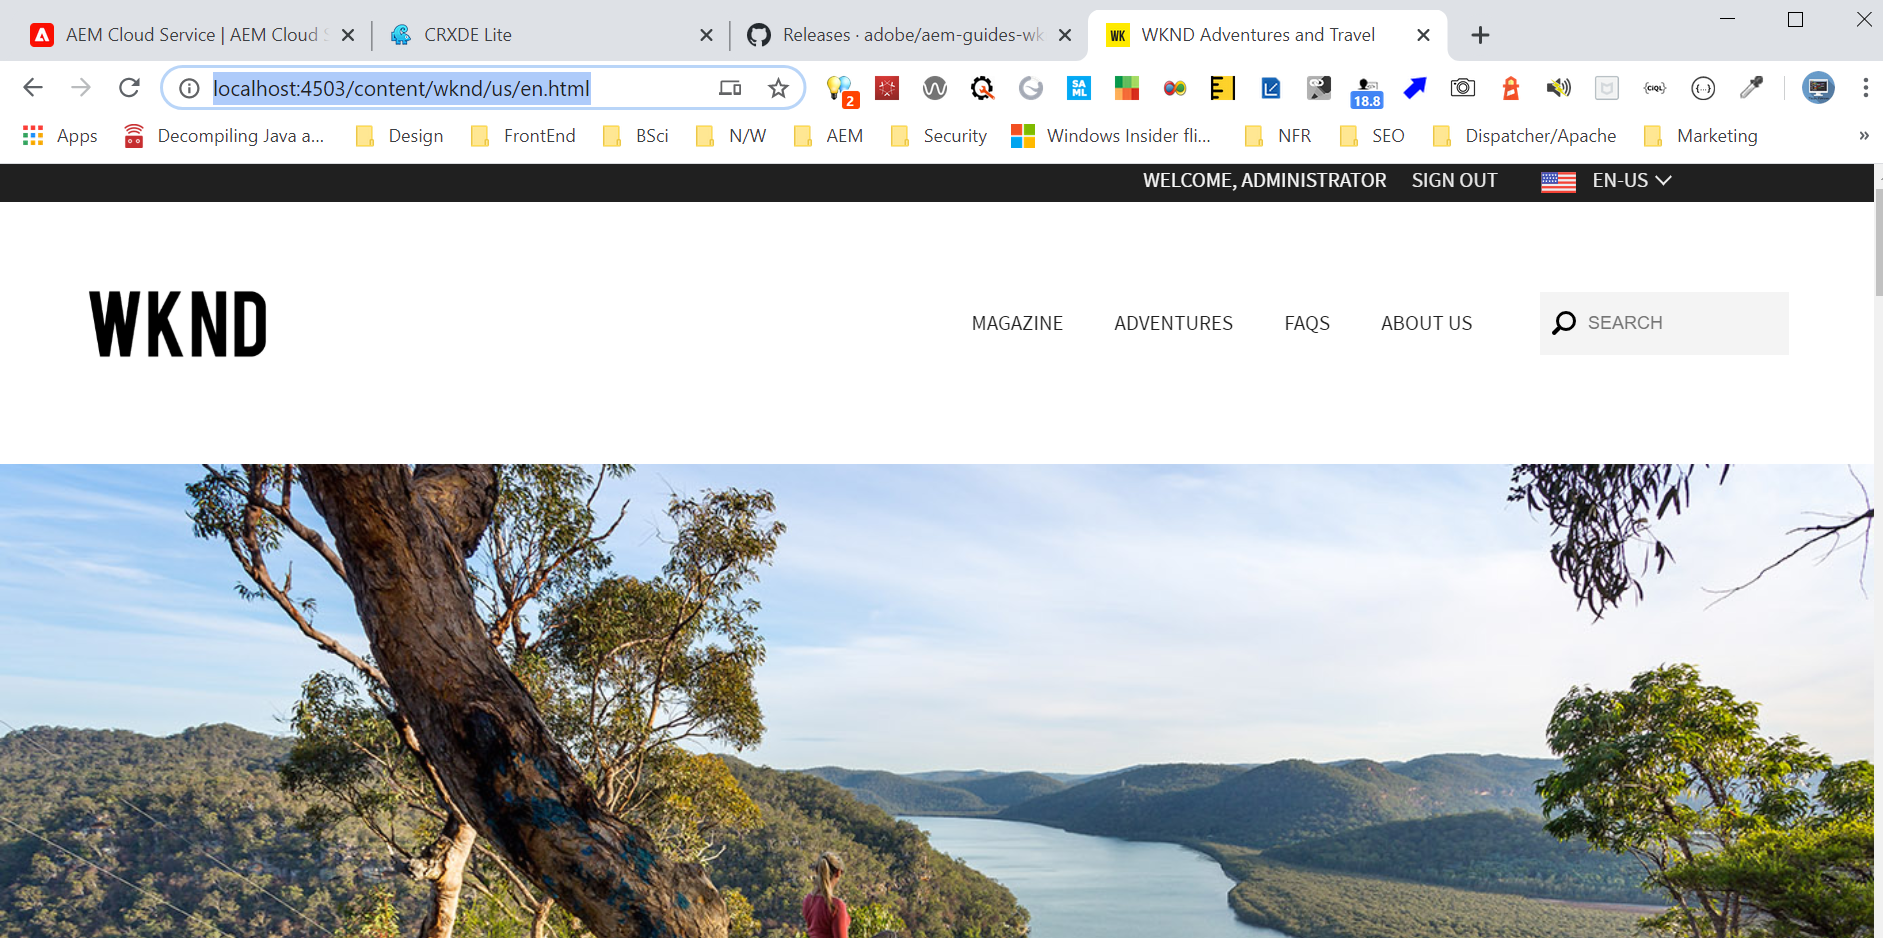
Now you should be able to login to the WKND website

linkedin-oauth-provider-for-aem

The user profile is created in AEM

aem-oauth-user-details

aem-oauth-user-details


Whenever the profile data is changed (e.g firstName and LastName) in LinkedIn the same will be reflected to AEM in subsequent login based on the “Apache Jackrabbit Oak Default Sync Handler” configuration.

AEM creates “Apache Jackrabbit Oak Default Sync Handler” configuration specific to each OAuth provider implementations.

The sync handler syncs the user profile data between the external authentication system and AEM repository.

The user profile data is synced based on the User Expiration Time setting, the user data will get synced on the subsequent login after the synced user data expired(default is 1 hr). Modify the configurations based on the requirement.

apache-jackrabit-oak-default-sync-handler


linkedin-oauth-provider-for-aem

Encapsulated Token Support

By default the authentication token is persisted in the repository under user's profile. That means the authentication mechanism is stateful. Encapsulated Token is the way to configure stateless authentication. It ensures that the cookie can be validated without having to access the repository but the still the user should available in all the publishers for farm configuration.

Refer https://docs.adobe.com/content/help/en/experience-manager-65/administering/security/encapsulated-token.html#StatelessAuthenticationwiththeEncapsulatedToken for more details on Encapsulated Token Support

Enable the Encapsulated Token Support in "Adobe Granite Token Authentication Handler"

aem-encapsulated-token-support

Sling Distribution user’s synchronization

The users created in a publisher should be synced to all the other publishers in the farm to support the seamless authentication. I am not finding good reference document to explain the user sync in AEM as Cloud(AEM Communities features are not enabled in AEM as Cloud Service, the user sync was enabled through the community components for other AEM version), planning to cover the user sync in another tutorial.


Conclusion

This tutorial is mainly focused on enabling the authenticate the website users through LinkedIn profile but the same solution can be used with small changes to support different providers. The user authentication is enabled through OAuth 2.0 protocol as LinkedIn was already deprecated the OAuth 1.0. Custom providers and helper classes are required to support the authentication flow as AEM OOTB don’t support the authentication with LinkedIn but supports twitter and Facebook. Feel free to give your feed back and changes on the provider bundle.


Friday, May 22, 2020

Sling Content Distribution in AEM (Part 1) — Forward Distribution

The Sling Content Distribution (SCD) module allows one to distribute Sling resources between different Sling instances. This can be used to distribute/sync content between AEM Author and Publishers for different scenarios.

In this tutorial let us see how to enable sling content distribution to distribute/sync content between AEM author and publishers.

SLING CONTENT DISTRIBUTION:

  • allowing distribution of content among different Sling instances.
  • "distribution" - the ability of picking one or more resources on a certain Sling instance in order to copy and persist them onto another Sling instance. 
  • The Sling Content Distribution module is able to distribute content by:
"pushing" from Sling instance A to Sling instance B - Forward distribution
"pulling" from Sling instance B to Sling instance A - Reverse distribution
"synchronizing" Sling instances A and B via a (third) coordinating instance - Sync distribution
  • Agent - creating one or more packages of resources from the source(s), dispatching such packages to one or more queues and of processing such queued packages by persisting them into the target instance(s)
  • exporting - process of creating one or more packages, operation may either happen locally to the agent (the "push" scenario) or remotely (the "pull" scenario).
  • importing  - process of persisting one or more packages, operation may either happen locally (the "pull" scenario) or remotely (the "push" scenario). 


SLING CONTENT DISTRIBUTION - CURL COMMANDS

Forward distribution - Create/update content


Execute the below curl command in Author to Distribute content modification(new or modified) under /content/sample1 to publisher

curl -v -u admin:admin http://localhost:4502/libs/sling/distribution/services/agents/publish -d “action=ADD” -d “path=/content/sample1”

Forward distribution - Delete content


Execute the below curl command in Author to Distribute content deletions under /content/sample1 to publisher

curl -v -u admin:admin http://localhost:4502/libs/sling/distribution/services/agents/publish -d “action= DELETE” -d “path=/content/sample1”

Reverse distribution - Create/update content


Execute the below curl command in Publisher to add the distribution content to the Reverse Distribution Queue

curl -u admin:admin http://localhost:4503/libs/sling/distribution/services/agents/reverse -d “action=ADD” -d “path=/content/sample1”

 Execute the below curl command in Author to PULL the Distribution content from publisher
curl -u admin:admin http://localhost:4502/libs/sling/distribution/services/agents/publish-reverse -d “action=PULL”

Sync Distribution


Execute the below curl command in Publisher to add the distribution content to the Sync Distribution Queue

curl -u admin:admin http://localhost:4503/libs/sling/distribution/services/agents/reverse-pubsync -d "action=ADD" -d "path=/content/sample1"

Execute the below curl command in Author to PULL the content from publisher and distribute to the publishers in the farm other than the publisher initiated the content changes.(the changes wont't be persisted to Author)

curl -u admin:admin http://localhost:4502/libs/sling/distribution/services/agents/pubsync -d "action=PULL"

SLING CONTENT DISTRIBUTION - TRIGGERS

Trigger Factories to trigger the distribution on specific agent based on the events. The Triggers helps us to automate the distribution based on some events or specific interval.
  • DistributionEventDistributeDistributionTrigger - DistributionTrigger for chain distribution upon a certain DistributionEventTopics
  • JcrEventDistributionTrigger - A JCR observation based DistributionTrigger, trigger the distribution based on JCR events on specific nodes
  • PersistedJcrEventDistributionTrigger - DistributionTrigger that listens for certain events and persists them under a specific path in the repo
  • RemoteEventDistributionTrigger - DistributionTrigger to trigger distribution upon reception of server sent events on a certain URL
  • ResourceEventDistributionTrigger - DistributionTrigger for triggering a specific handler (e.g. agent) upon node / properties being changed under a certain path
  • ScheduledDistributionTrigger - DistributionTrigger to schedule distributions on a certain DistributionAgent, trigger the distribution based on specific interval.
Let us now see the details on Forward Distribution

FORWARD DISTRIBUTION - DEFINITION

  • A forward distribution setup allows one to transfer content from a source instance(Author) to a farm of target instances(Publish)
  • That is done by pushing the content from source to target
sling-forward-distribution-aem

FORWARD DISTRIBUTION - CONFIGURATION

  • configure a local importer on publish
org.apache.sling.distribution.packaging.impl.importer.LocalDistributionPackageImporterFactory
name=“default”
  • configure a "forward" agent on author pointing to the URL of the importer on publish
org.apache.sling.distribution.agent.impl.ForwardDistributionAgentFactory
packageImporter.endpoints=[“endpoint0=http://127.0.0.1:4503/libs/sling/distribution/services/importers/default”]

sling-forward-distribution-configuration-aem.png


FORWARD DISTRIBUTION - DEMO

  • Configure Forward Agent in Author 
  • Configure Local Importer in Publisher
  • Enable Triggers – Scheduled/JCREvent
  • Test – CURL/UI/Triggers

Configure Forward Agent in Author


Configure a Forward Agent in Author that will distribute the content from Author to publishers importer endpoints based on the configuration.

Access http://localhost:4502/aem/start.html, Tools - Deployments - Distribution

sling-content-distribution-aem

Modify the default Forward Agent with name publish or create new agent of type Forward Distribution

sling-content-distribution-aem

Service Name - Service name is optional, if required create a service user with required permission
Change the lo level if required
Allowed Roots - Configure the content Roots the agent allowed to distribute
Importer Endpoints - List of publisher endpoints to which packages are sent,
http://localhost:4503/libs/sling/distribution/services/importers/default(default is the Local Importer name in publisher)


Ensure the Forward Agent Component is active

aem-forward-distribution.png

If the component is in un-satisfied state, verify the individual services in un-satisfied state and fix the configuration errors

aem-forward-distribution

Configure Local Importer in Publisher


Configure a local importer "Apache Sling Distribution Importer - Local Package Importer Factory" to receive the content from Author, publisher enabled with local importer  with the name "default" the same can be used 

sling-content-distribution-aem

If require define new local importer by accessing http://localhost:4503/system/console/configMgr/org.apache.sling.distribution.packaging.impl.importer.LocalDistributionPackageImporterFactory (the importer end point in Author Forward Agent should be modified based on the Local Importer name)

Now the Forward Agent is ready to distribute the content to publishers

sling-content-distribution-aem

The agent can be disabled or paused from the configuration page also the Queue status and logs can be monitored

Let us test the forward distribution through curl command.

Modify the content under /content/we-retail in Author

sling-content-distribution-aem

Execute the below curl command in Author

curl -v -u admin:admin http://localhost:4502/libs/sling/distribution/services/agents/publish -d "action=ADD" -d "path=/content/we-retail/jcr:content"

sling-content-distribution-aem


Now the content is distributed to publish instance

sling-content-distribution-aem


The content distribution can also be triggered through Forward Agent Configuration Page


sling-content-distribution-aem

Let us now see how to automate the reverse distribution through triggers

CONFIGURE A JCR EVENT TRIGGER IN Author


Configure a JCR Event Trigger in Author to add the JCR changes under the configured path to the Forward Agent Queue.


Enter name - "forward-sync"
Path for which the changes are distributed - "/content/we-retail"
Service Name - Enter the service name with required access, i am using the default one for demo(socialpubsync-distributionService), the trigger will not be activated without configuring the service user
Use deep distribution - Enable this if want to distribute the subtree of the configured node on any events


sling-content-distribution-aem


Now link the trigger to the "Apache Sling Distribution Agent - Forward Agents Factory" configured with the name "publish" in the earlier step, Triggers - (name=forward-sync)

sling-content-distribution-aem

Now the content modification from Author under /content/we-retail node will be synced to publisher on modification.

The "Apache Sling Distribution Trigger - Scheduled Triggers Factory" can be configured to distribute the content on regular interval(link the trigger to the forward agent, either one of the - JCR or Scheduled trigger can be linked to agent)

sling-content-distribution-aem


The sling content distribution helps us to distribute the content between Author and publish instances. The Distribution triggers can be configured to automate the distribution of content between Author and Publishers. The Forward Distribution agent will help us to distribute the content from Author to Publishers. Let us continue with the Reverse Distribution in next tutorial.


Friday, May 15, 2020

java.nio.file.FileSystemException: dispatcher\src\conf.d\enabled_vhosts\default.vhost: A required privilege is not held by the client.

I was getting the below exception while creating the AEM Cloud project through Adobe Maven Arch Type 23.

mvn -e -B archetype:generate -D archetypeGroupId=com.adobe.granite.archetypes -D archetypeArtifactId=aem-project-archetype -D archetypeVersion=23 -D aemVersion=cloud -D appTitle="My Site" -D appId="mysite" -D groupId="com.mysite" -D frontendModule=general -D includeExamples=n -DappsFolderName=mysi

Caused by: org.apache.maven.plugin.MojoFailureException: java.nio.file.FileSystemException: C:\Albin\blogData\demo\mysite\dispatcher\src\conf.d\enabled_vhosts\default.vhost: A required privilege is not held by the client.

    at org.apache.maven.archetype.mojos.CreateProjectFromArchetypeMojo.execute (CreateProjectFromArchetypeMojo.java:207)
    at org.apache.maven.plugin.DefaultBuildPluginManager.executeMojo (DefaultBuildPluginManager.java:137)
    at org.apache.maven.lifecycle.internal.MojoExecutor.execute (MojoExecutor.java:210)
    at org.apache.maven.lifecycle.internal.MojoExecutor.execute (MojoExecutor.java:156)
    at org.apache.maven.lifecycle.internal.MojoExecutor.execute (MojoExecutor.java:148)
    at org.apache.maven.lifecycle.internal.LifecycleModuleBuilder.buildProject (LifecycleModuleBuilder.java:117)
    at org.apache.maven.lifecycle.internal.LifecycleModuleBuilder.buildProject (LifecycleModuleBuilder.java:81)
    at org.apache.maven.lifecycle.internal.builder.singlethreaded.SingleThreadedBuilder.build (SingleThreadedBuilder.java:56)
    at org.apache.maven.lifecycle.internal.LifecycleStarter.execute (LifecycleStarter.java:128)
    at org.apache.maven.DefaultMaven.doExecute (DefaultMaven.java:305)
    at org.apache.maven.DefaultMaven.doExecute (DefaultMaven.java:192)
    at org.apache.maven.DefaultMaven.execute (DefaultMaven.java:105)
    at org.apache.maven.cli.MavenCli.execute (MavenCli.java:957)
    at org.apache.maven.cli.MavenCli.doMain (MavenCli.java:289)
    at org.apache.maven.cli.MavenCli.main (MavenCli.java:193)
    at sun.reflect.NativeMethodAccessorImpl.invoke0 (Native Method)
    at sun.reflect.NativeMethodAccessorImpl.invoke (NativeMethodAccessorImpl.java:62)
    at sun.reflect.DelegatingMethodAccessorImpl.invoke (DelegatingMethodAccessorImpl.java:43)
    at java.lang.reflect.Method.invoke (Method.java:498)
    at org.codehaus.plexus.classworlds.launcher.Launcher.launchEnhanced (Launcher.java:282)
    at org.codehaus.plexus.classworlds.launcher.Launcher.launch (Launcher.java:225)
    at org.codehaus.plexus.classworlds.launcher.Launcher.mainWithExitCode (Launcher.java:406)
    at org.codehaus.plexus.classworlds.launcher.Launcher.main (Launcher.java:347)

This is the know issue with Adobe Maven Arch Type 23 - refer https://github.com/adobe/aem-project-archetype for details.

The issue can be fixed by running the Maven command as a Elevated user or Run as Administrator.

    
adobe-maven-arch-type-23-issue


Error while creating the the new Maven projects - Caused by: java.lang.NoClassDefFoundError: org/apache/ivy/core/report/ResolveReport

Error while creating the new Maven projects - Caused by: java.lang.NoClassDefFoundError: org/apache/ivy/core/report/ResolveReport

I was getting the below exception while creating the AEM projects through Adobe Maven Arch Type 23, even the same issue was reported while generating the through Arch Type 22. 

mvn -e -B archetype:generate -D archetypeGroupId=com.adobe.granite.archetypes -D archetypeArtifactId=aem-project-archetype -D archetypeVersion=23 -D aemVersion=cloud -D appTitle="My Site" -D appId="mysite" -D groupId="com.mysite" -D frontendModule=general -D includeExamples=n -DappsFolderName=mysite

Enabled the flag -e to get more detailed errors - the below expection was thrown while executing the maven command

Number of foreign imports: 1
import: Entry[import  from realm ClassRealm[maven.api, parent: null]]

-----------------------------------------------------

    at org.apache.maven.plugin.DefaultBuildPluginManager.executeMojo (DefaultBuildPluginManager.java:169)
    at org.apache.maven.lifecycle.internal.MojoExecutor.execute (MojoExecutor.java:210)
    at org.apache.maven.lifecycle.internal.MojoExecutor.execute (MojoExecutor.java:156)
    at org.apache.maven.lifecycle.internal.MojoExecutor.execute (MojoExecutor.java:148)
    at org.apache.maven.lifecycle.internal.LifecycleModuleBuilder.buildProject (LifecycleModuleBuilder.java:117)
    at org.apache.maven.lifecycle.internal.LifecycleModuleBuilder.buildProject (LifecycleModuleBuilder.java:81)
    at org.apache.maven.lifecycle.internal.builder.singlethreaded.SingleThreadedBuilder.build (SingleThreadedBuilder.java:56)
    at org.apache.maven.lifecycle.internal.LifecycleStarter.execute (LifecycleStarter.java:128)
    at org.apache.maven.DefaultMaven.doExecute (DefaultMaven.java:305)
    at org.apache.maven.DefaultMaven.doExecute (DefaultMaven.java:192)
    at org.apache.maven.DefaultMaven.execute (DefaultMaven.java:105)
    at org.apache.maven.cli.MavenCli.execute (MavenCli.java:957)
    at org.apache.maven.cli.MavenCli.doMain (MavenCli.java:289)
    at org.apache.maven.cli.MavenCli.main (MavenCli.java:193)
    at sun.reflect.NativeMethodAccessorImpl.invoke0 (Native Method)
    at sun.reflect.NativeMethodAccessorImpl.invoke (NativeMethodAccessorImpl.java:62)
    at sun.reflect.DelegatingMethodAccessorImpl.invoke (DelegatingMethodAccessorImpl.java:43)
    at java.lang.reflect.Method.invoke (Method.java:498)
    at org.codehaus.plexus.classworlds.launcher.Launcher.launchEnhanced (Launcher.java:282)
    at org.codehaus.plexus.classworlds.launcher.Launcher.launch (Launcher.java:225)
    at org.codehaus.plexus.classworlds.launcher.Launcher.mainWithExitCode (Launcher.java:406)
    at org.codehaus.plexus.classworlds.launcher.Launcher.main (Launcher.java:347)
Caused by: java.lang.NoClassDefFoundError: org/apache/ivy/core/report/ResolveReport
    at java.lang.Class.getDeclaredMethods0 (Native Method)
    at java.lang.Class.privateGetDeclaredMethods (Class.java:2701)
    at java.lang.Class.getDeclaredMethods (Class.java:1975)
    at org.codehaus.groovy.reflection.CachedClass$3$1.run (CachedClass.java:84)
    at java.security.AccessController.doPrivileged (Native Method)
    at org.codehaus.groovy.reflection.CachedClass$3.initValue (CachedClass.java:81)
    at org.codehaus.groovy.reflection.CachedClass$3.initValue (CachedClass.java:79)
    at org.codehaus.groovy.util.LazyReference.getLocked (LazyReference.java:46)
    at org.codehaus.groovy.util.LazyReference.get (LazyReference.java:33)
    at org.codehaus.groovy.reflection.CachedClass.getMethods (CachedClass.java:250)

After a long struggle identified the issue was not specific to the arch type and caused by the corrupted local maven repository, the issue got resolved after removing the org folder folder from the maven repository(renamed the folder to org_bak)

Adobe-maven-arch-type-error


Saturday, May 9, 2020

AEM(Adobe Experience Manager) as a Cloud Service — Setting up Local Development Environment in Windows

AEM(Adobe Experience Manager) as a Cloud Service — Setting up Local Development Environment in Windows

Introduction

This tutorial walks through setting up a local development environment for Adobe Experience Manager (AEM) using the AEM as a Cloud Service SDK for Windows machine, includes the development tooling required to develop, build and compile AEM Projects, as well as local run times allowing developers to quickly validate new features locally before deploying them to AEM as a Cloud Service via Adobe Cloud Manager.
AEM(Adobe Experience Manager) is now available as a Cloud Service and has the following benefits:
  • Is the cloud-native way of leveraging the AEM applications.
  • Provides Continuous Delivery and Continuous Integration for updates with zero downtime.
  • Is based on a dynamic architecture that autoscales, thus removing infrastructure considerations.
  • Is security focused, using automated tests to scan for common vulnerabilities.
  • Validates customer code using automated tests.
  • Has performance topologies optimized for maximum resilience and efficiency.
  • Significantly reduces the manual configuration required.
  • Is deeply integrated with the Adobe Experience Cloud.

Local Dev environment structure

Prerequisites

  • Maven
  • Java
  • AEM SDK.
  • Docker Desktop

Download the required software's

Download Java and AEM SDK software’s from https://experience.adobe.com/(your user id should have the required permissions to download the software's).
Latest SDK
Extract the Java(jdk-11.0.6_windows-x64_bin.zip) and AEM SDK(aem-sdk-2020.5.3375.20200520T082948Z-200507.zip) files into a local folder

Setup AEM Publisher

Create a local folder with name publish and copy aem-sdk-quickstart-2020.5.3375.20200520T082948Z-200507.jar file from the extracted SDK folder into the publish folder
Rename aem-sdk-quickstart-2020.5.3375.20200520T082948Z-200507.jar file to aem-sdk-quickstart-publish-p4503.jar
Open a windows command prompt and navigate to the folder(publish) where the jar file is(aem-sdk-quickstart-publish-p4503.jar) located.
Set the JAVA_HOME and PATH environment variables pointing to the JDK 11(ignore this step if the JDK is already installed and configured through system variables)
Execute the following command — java -jar aem-sdk-quickstart-publish-p4503.jar(enter the required admin password).
The server URL — http://localhost:4503 should be accessible once after the installation is completed, you should have the valid AEM license to access the server URL’s. Enter the license details first time when the URL’s are accessed
The ‘Not Found’ page is displayed as there is no default AEM website enabled on the server.
Note: — The same steps can be followed for Author — rename the jar file to aem-sdk-quickstart-author-p4502.jar

Setup WKND Website

There is no default website configured in the new AEM instance, we can download the the sample WKND website package — aem-guides-wknd.all-0.0.2.zip from https://github.com/adobe/aem-guides-wknd/releases(you can also download the code and deploy).
Upload the package to AEM package manager(http://localhost:4503/crx/packmgr/index.jsp) and install
Now the WKND website is accessible through publisher — http://localhost:4503

Setup AEM Dispatcher

Extract aem-sdk-dispatcher-tools-2.0.22-windows.zip file created by extracting the SDK zip file(aem-sdk-2020.5.3375.20200520T082948Z-200507.zip) into the dispatcher folder(create the dispatcher local folder).
Download and Install the latest version of docker desktop — https://www.docker.com/products/docker-desktop, start the docker desktop before proceeding with the next steps.
Validate the default dispatcher configurations, the default configurations are available under the dispatcher folder created above — dispatcher/src/conf.d and dispatcher/src/conf.dispatcher.d
Navigate to dispatcher/bin folder from windows command prompt and execute — validator.exe full -d C:\Albin\Medium\AEM-Cloud-Service\Setup\dispatcher\out ../src
C:\Albin\Medium\AEM-Cloud-Service\Setup\dispatcher\out — output folder to keep the generated dispatcher configurations for docker
Navigate to dispatcher/bin folder in command prompt and execute — docker_run.cmd C:\Albin\Medium\AEM-Cloud-Service\Setup\dispatcher\out host.docker.internal:4503 8080
4503 — AEM Publisher port
8080 — Dispatcher port
Now the dispatcher is running on port 8080 and connected to AEM publisher on port 4503
Access the WKND website through dispatcher — http://localhost:8080/
The basic local setup for the AEM as cloud service is completed now, follow the below steps to create new custom project for AEM cloud.

Create a new AEM Project for AEM Cloud

The new project supported for AEM cloud service can be created by using the below Maven command (the command should be executed as a administrator or with elevated access, the latest Maven version should be installed on the system)
mvn -B archetype:generate -D archetypeGroupId=com.adobe.granite.archetypes -D archetypeArtifactId=aem-project-archetype -D archetypeVersion=23 -D aemVersion=cloud -D appTitle=”My Site” -D appId=”mysite” -D groupId=”com.mysite” -D frontendModule=general -D includeExamples=n
You can modify the project files and deploy to Local AEM server through the below mvn command(execute the command from the root folder of the project)
Author — mvn clean install -PautoInstallPackage
Publish — mvn clean install -PautoInstallPackagePublish


Conclusion

This concludes the local setup for AEM as Cloud service development in windows system(AEM servers and Dispatcher), this helps to develop and test the changes before moving the code packages on to the Cloud Service. The tested changes(AEM or Dispatcher) can be deployed to AEM as a Cloud service through Adobe Cloud Manager (Cloud Manager will run a CI/CD pipeline to ensure the quality of the deployment). AEM as a Cloud Service now provides the seamless upgrade experience to the AEM platforms.