Amazon Q is a generative artificial intelligence (AI) powered assistant, designed for work and tailored to your business needs. With Amazon Q, you can engage in conversations, solve problems, generate content, gain insights, and take action by connecting to your company’s information repositories, code, data, and enterprise systems.
You can develop a chat application that connects to various company-specific data sources and websites, enabling it to perform a range of operations such as providing relevant answers, generating content, summarizing information, and more.
Amazon Q is currently in preview. For more details on Amazon Q, please refer to the official announcement at AWS Blog: Introducing Amazon Q — A New Generative AI-Powered Assistant (Preview).
In this blog, we will explore how to integrate Amazon Q with websites and the AEM CMS system, enabling various generative capabilities tailored to specific content.
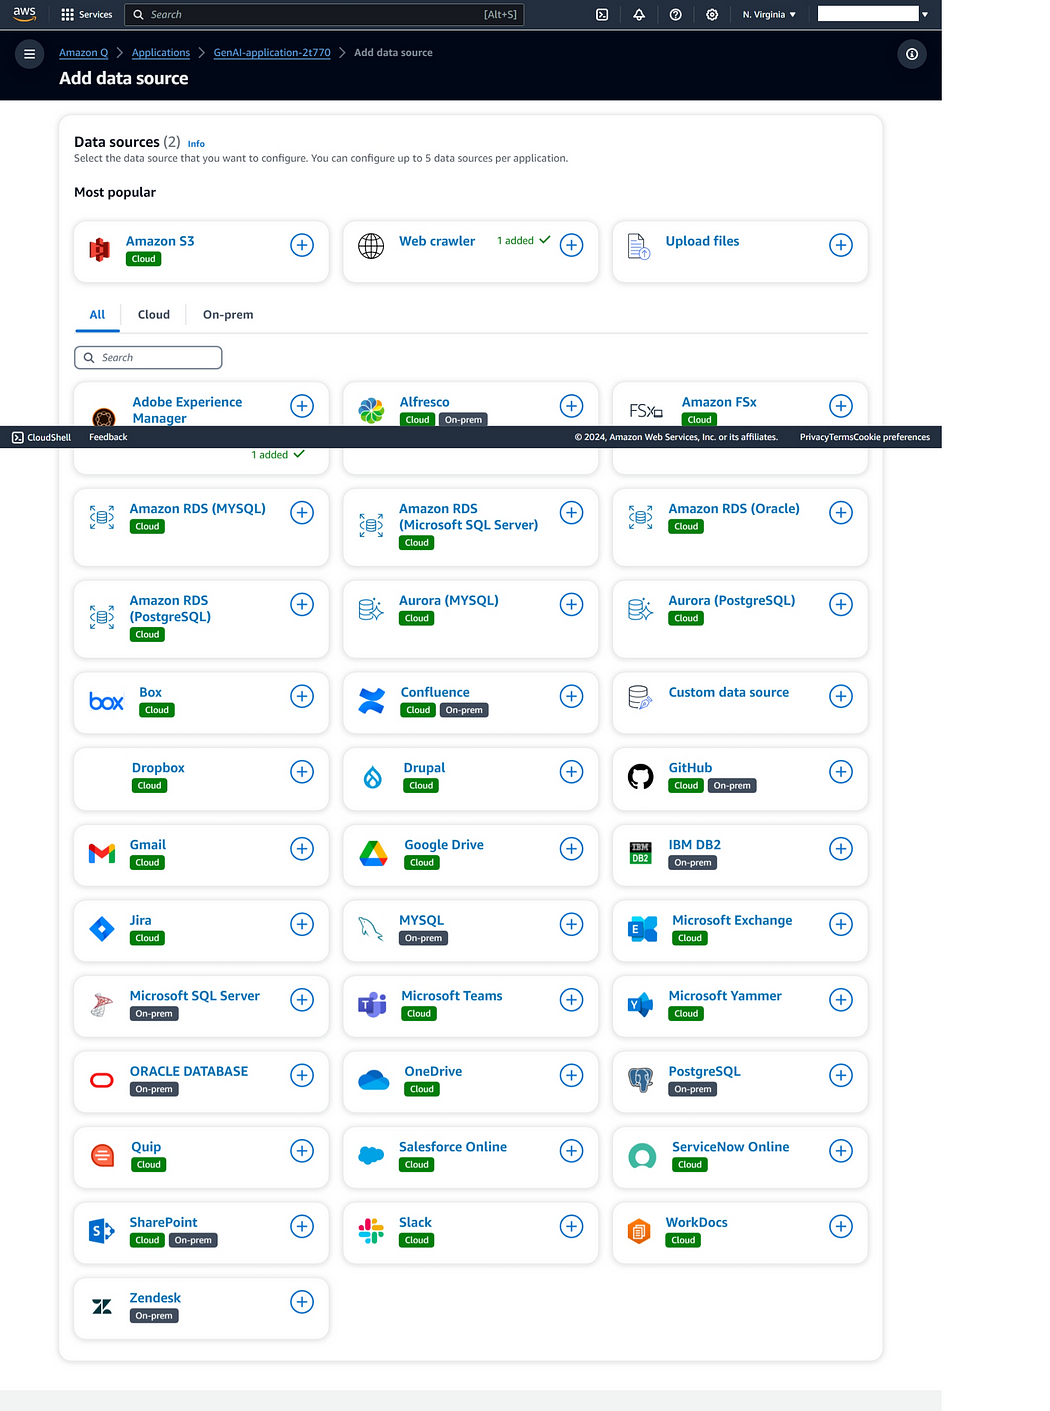
Amazon Q supports various data sources including Amazon S3, Web Crawlers, Uploaded Files, GitHub, Gmail, Microsoft Teams, SharePoint, Slack, and more.
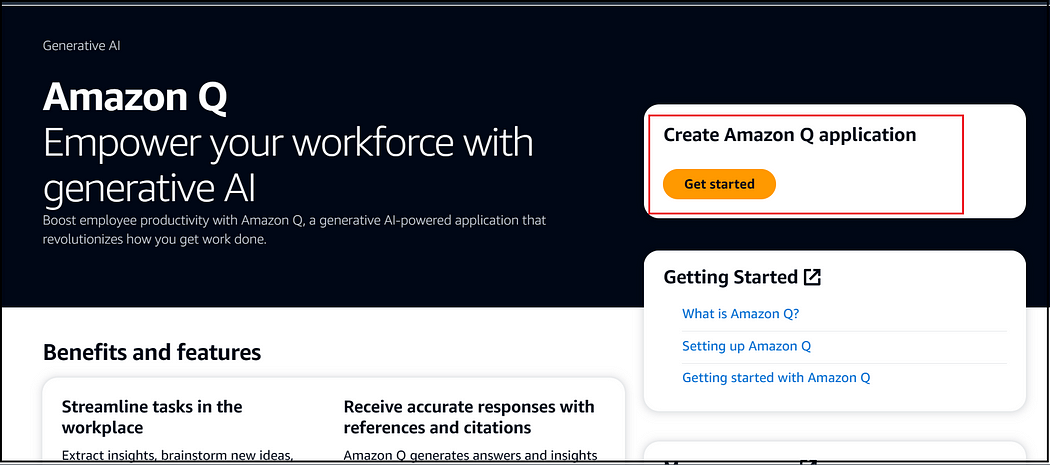
Access to the Amazon Q preview is available through https://us-east-1.console.aws.amazon.com/amazonq/home?region=us-east-1#welcome
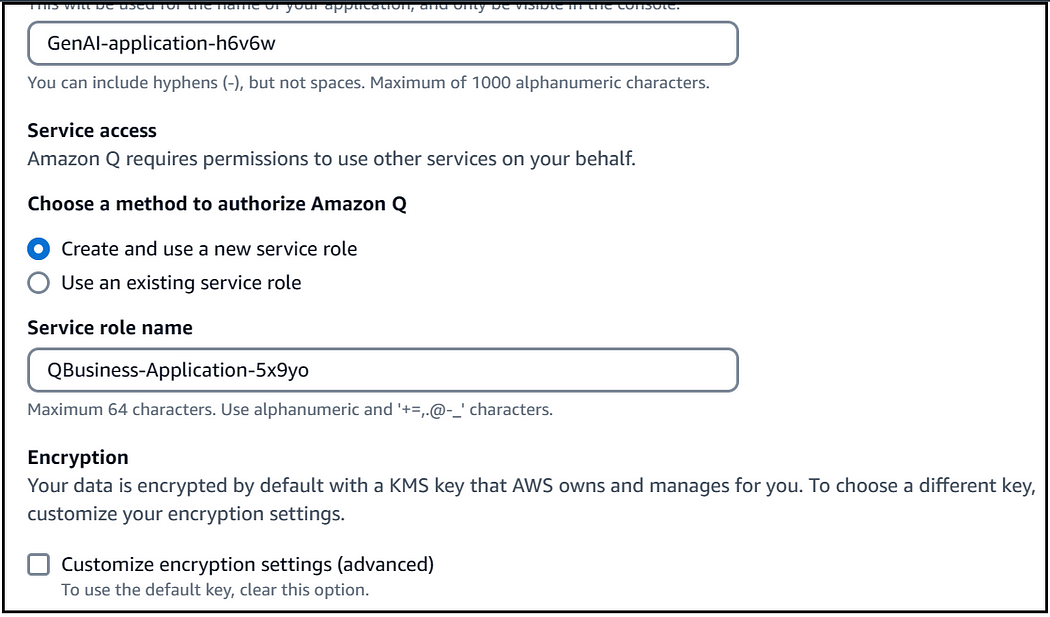
As a first step create a Amazon Q application — Enter a application name, Create New Service Role or you can use the existing service role.
Select the retriever: Choose the ‘Native Retriever’ to index the source content directly. If you are already using Amazon Kendra Search, use the ‘Existing Retriever’. In our case, select ‘Native’ as we are directly going to index content from a website and AEM content natively.
Now you can select the datasource, first select web crawler

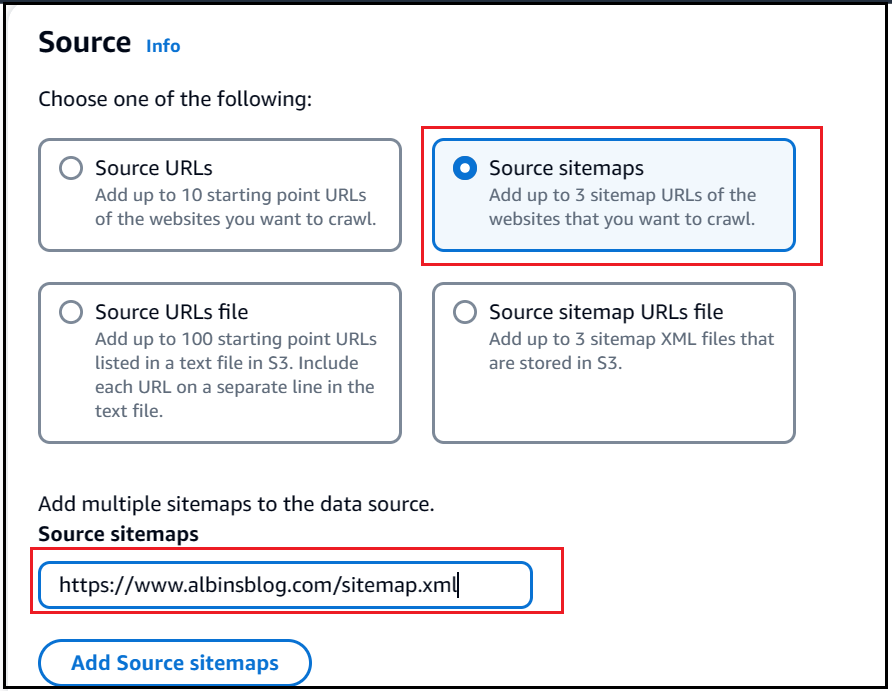
Enter a name for the data source and select the source type. You have the option to provide direct URLs or a Sitemap. I am opting for a Sitemap, and you can add up to 3 sitemaps if necessary.
You can add various additional configurations if required
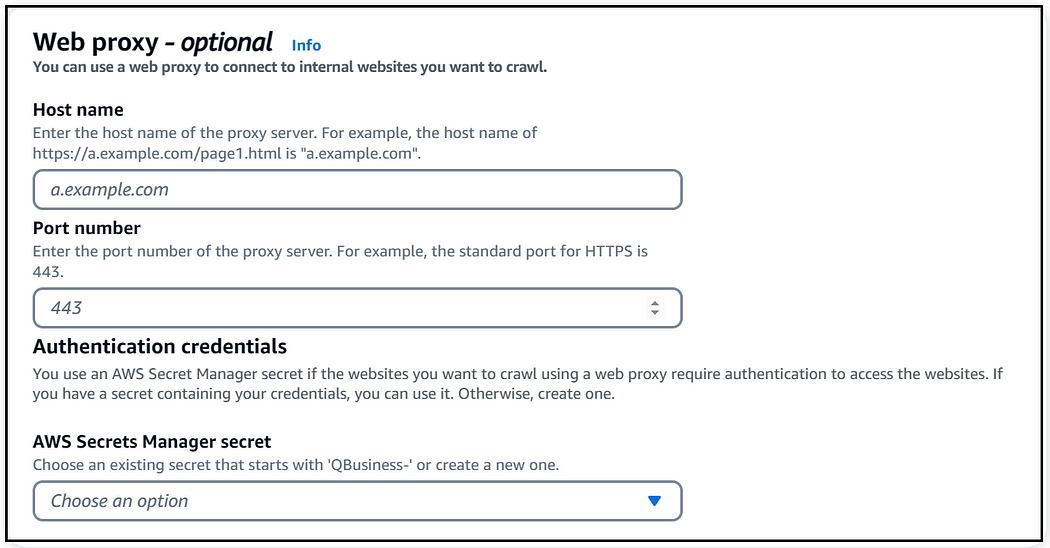
Web Proxy and Authentication.
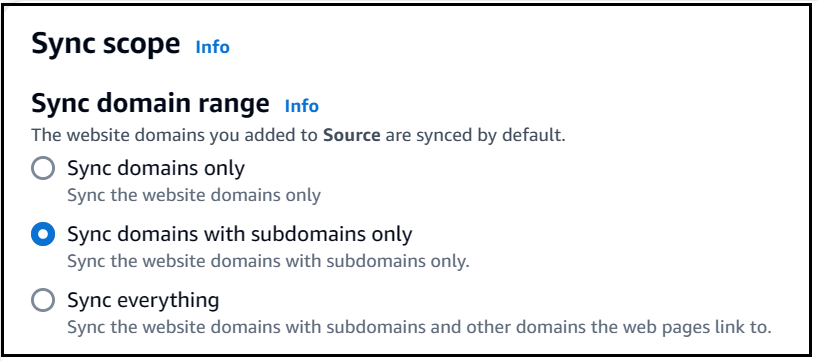
Sync Scope
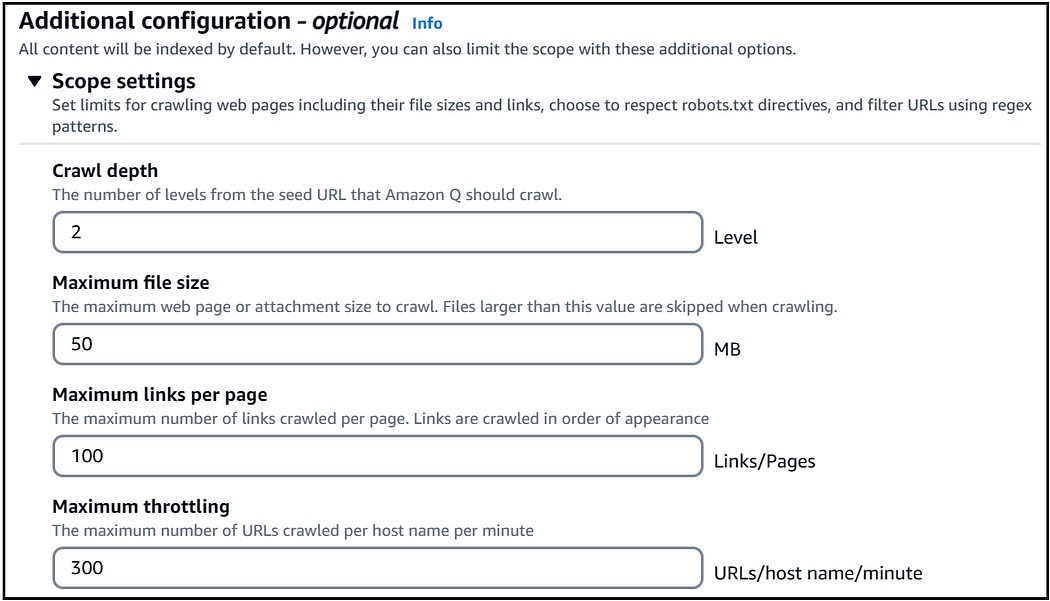
Additional Scope Seetings — Modify the values if required
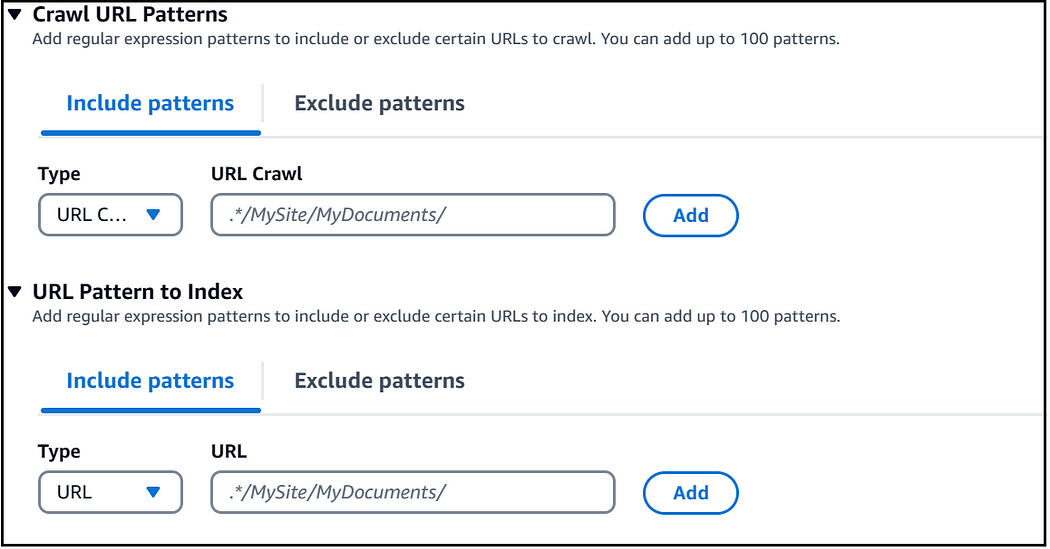
Control the URL Patterns for the Crawl and Index.
Sync Mode

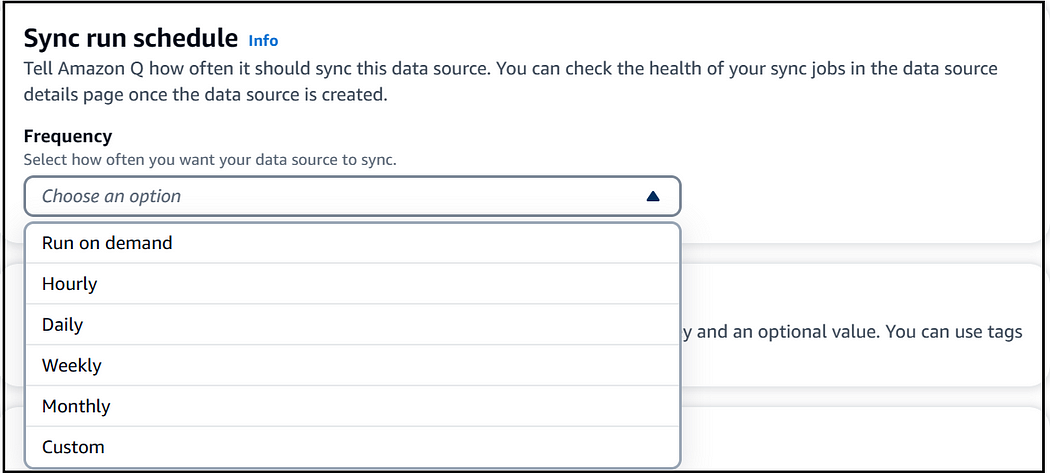
For the demo, I am using the ‘Run on Demand’ feature for the Sync Run Schedule. Additionally, custom scheduler expressions can be set up using the ‘Custom’ option.
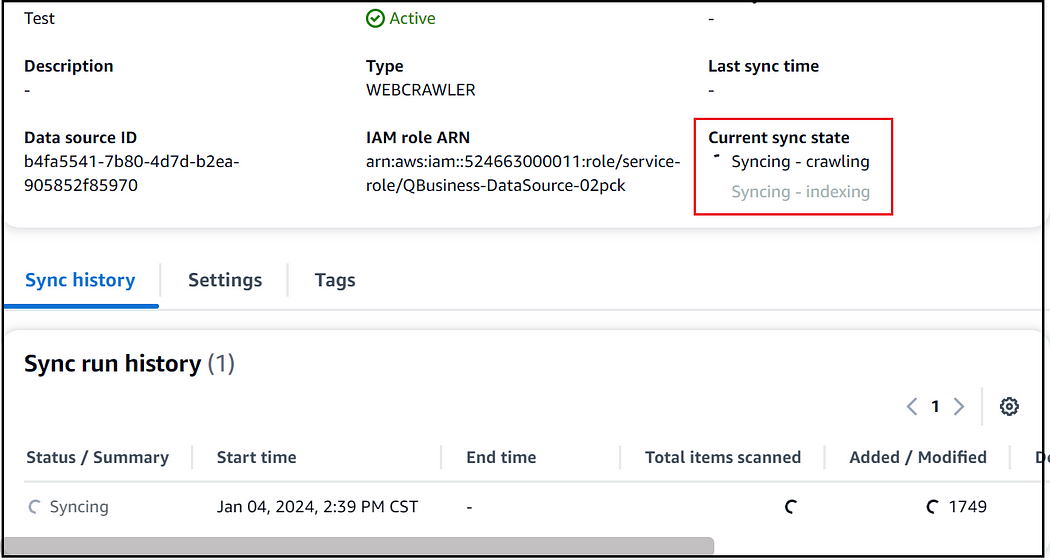
Once the data source is created, you have the option to synchronize it immediately by selecting ‘Sync Now’. This action initiates the crawling and indexing processes.
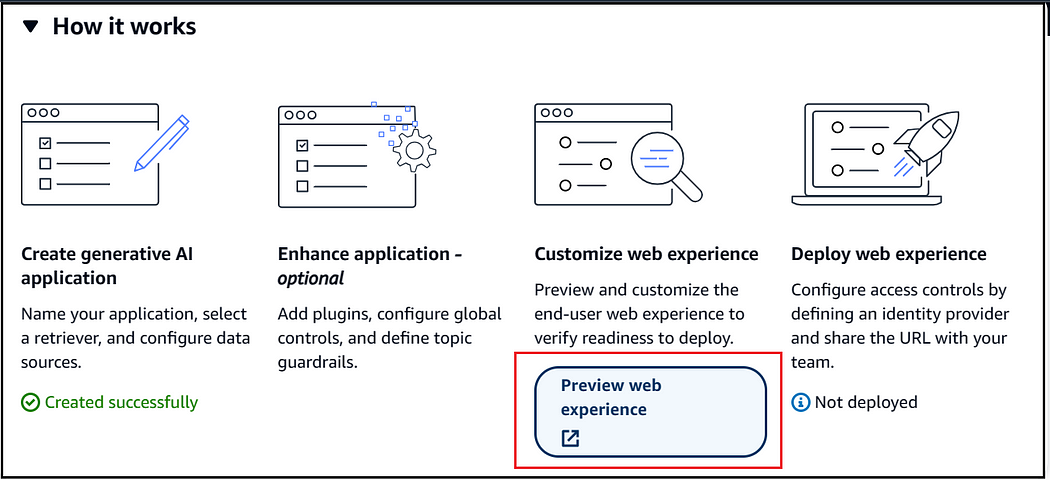
You now have the ability to preview and tailor the chat box experience according to your specific needs.
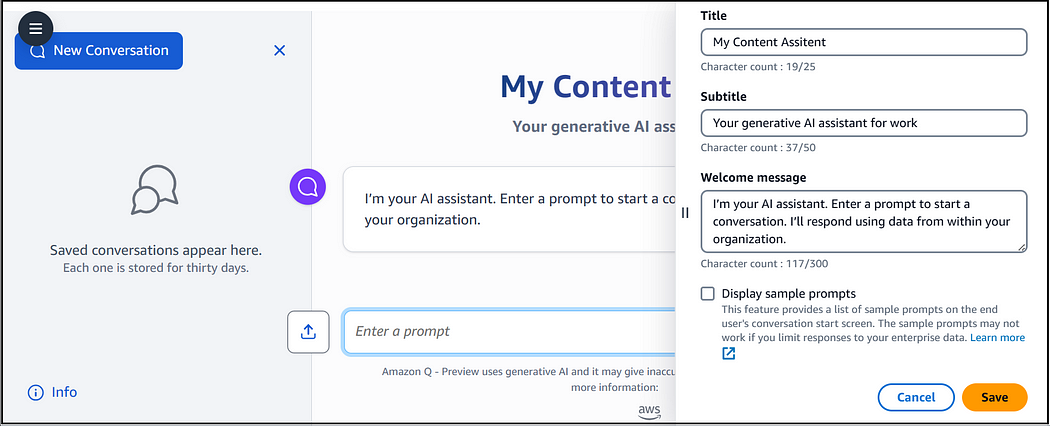
Once the indexing is complete, you can begin interacting with the assistant using prompts.
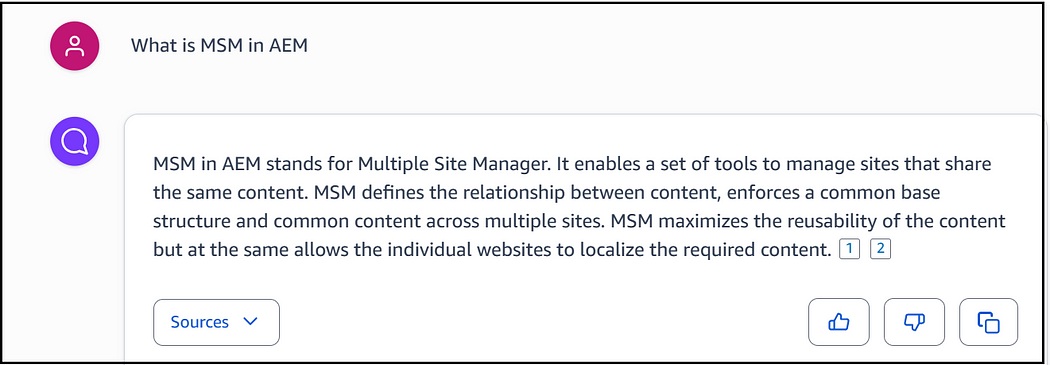
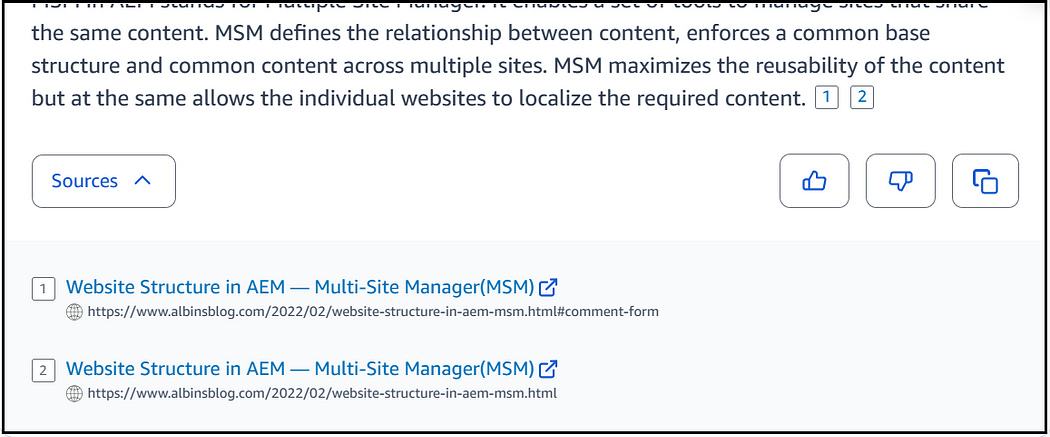
You should be able to locate sources based on the responses generated.
You also have the option to upload a limited number of additional files specific to this chat session, enabling you to execute a variety of prompts based on your website content.
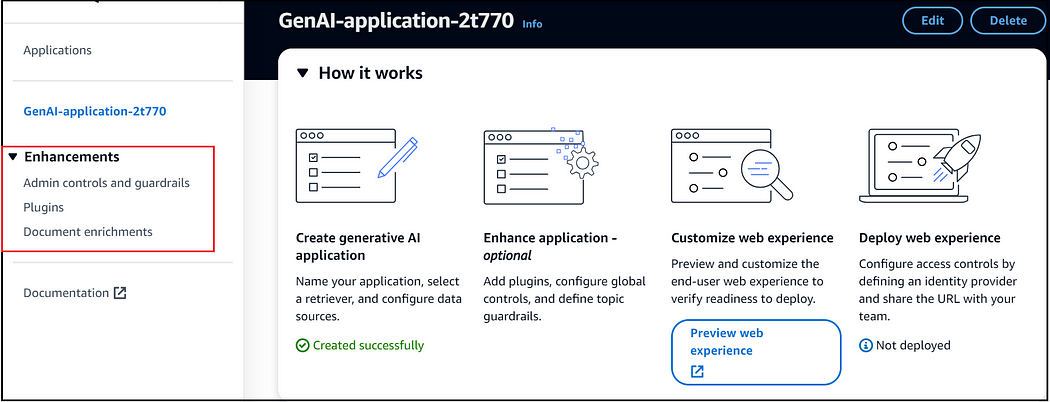
Additionally, you can incorporate optional enhancements into the application, including admin controls and guardrails, plugins, and document enrichments.
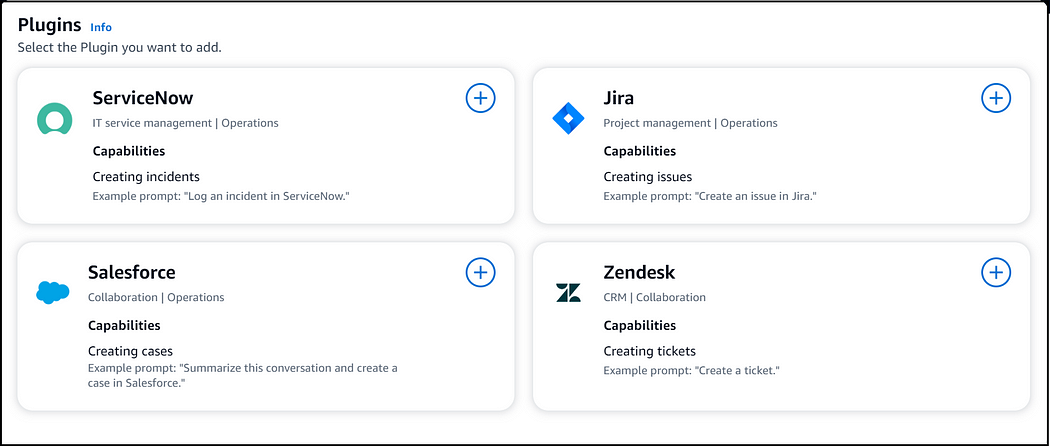
The following plugins are available, each designed to perform specific actions
Let’s proceed to create an additional data source. This will connect to the AEM Author for indexing content and assets. Begin by adding a new datasource and then selecting ‘Adobe Experience Manager’.
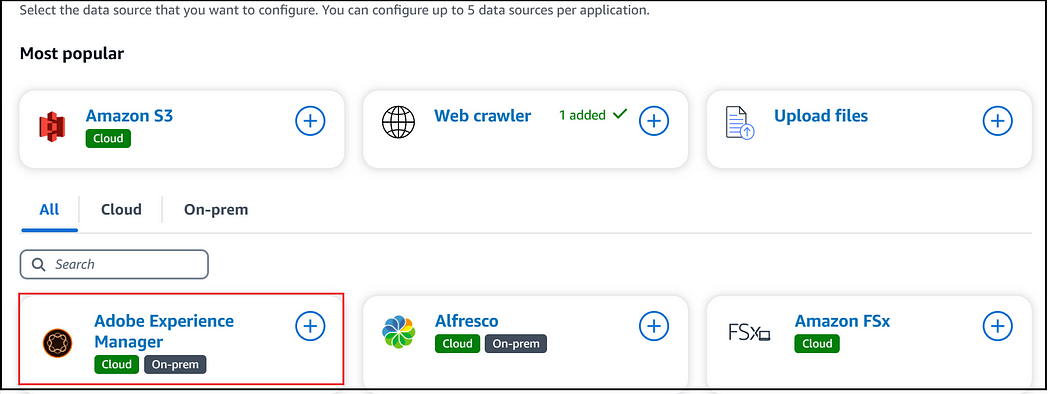
You can connect to either AEM as a Cloud Service or to AEM On-Premise Author servers. For this demonstration, I am connecting to an on-premise server. If you choose to connect with an On-Premise server, you will need to download the public SSL certificate of the AEM author domain and upload it to an S3 bucket. In my case, I am using an ngrok domain to access the AEM server, and the public certificate can be directly exported from the browser.
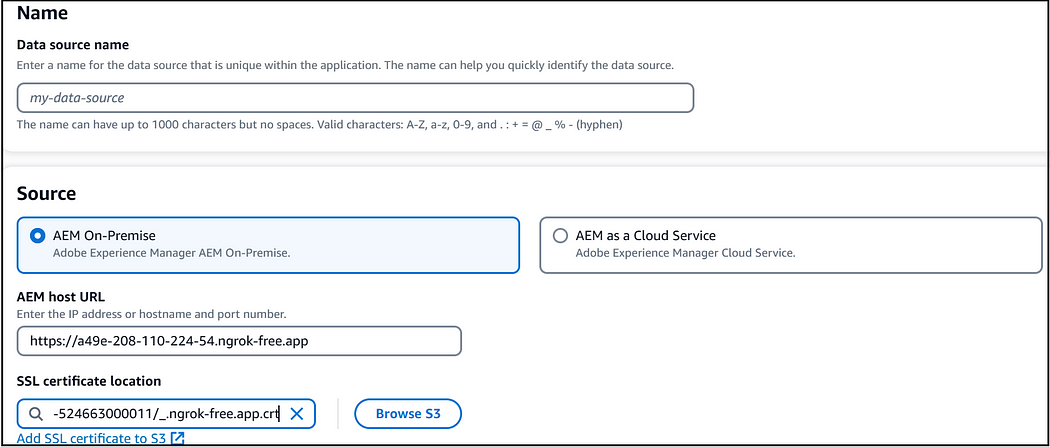
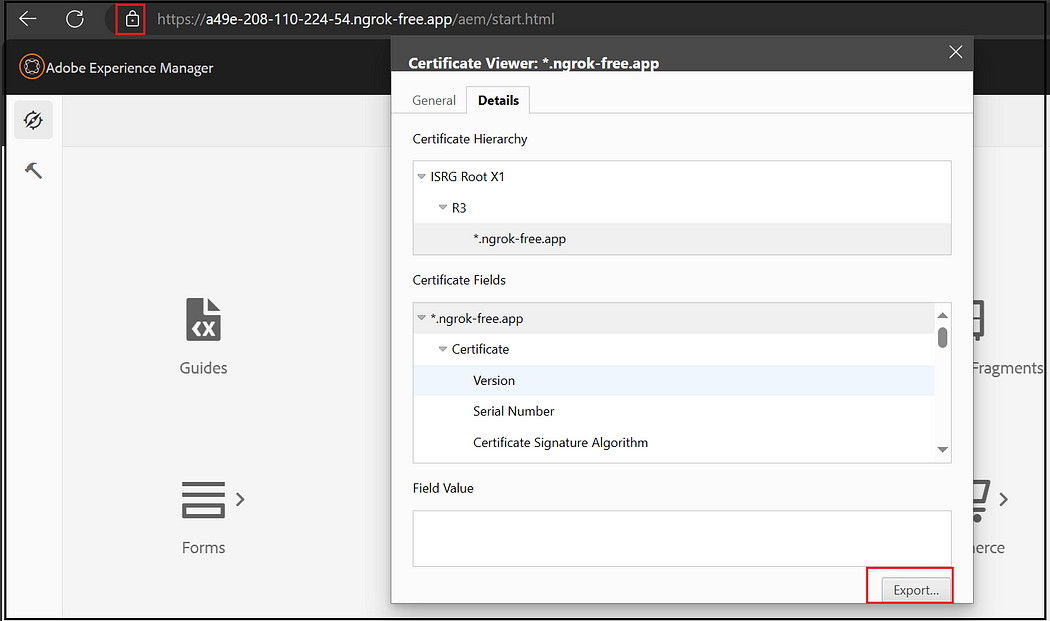
Authorization

If authorization is enabled, you will have the option to enable or disable the Identity Crawler setting. Once the Identity Crawler is active, Amazon Q leverages the crawled ACL information to generate chat responses for your end users. Importantly, these responses are tailored based on the documents the user has access to; the chatbot responds to prompts solely in the context of the documents available to the user.

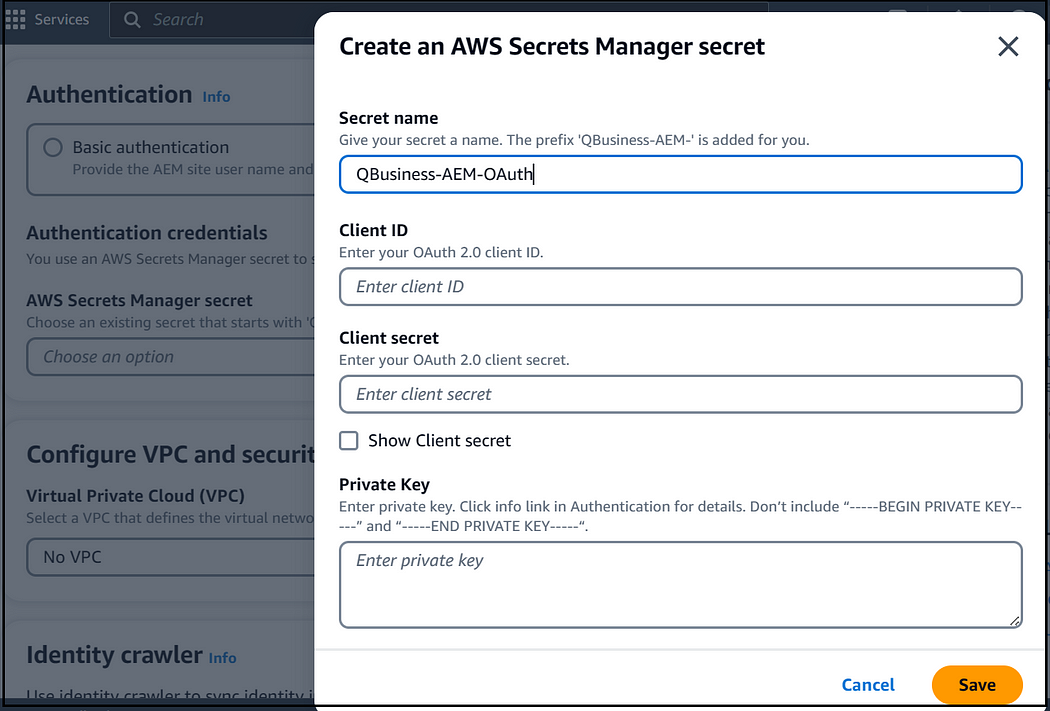
Basic authentication or OAuth can be utilized. For using OAuth authentication (Technical Account) with AEM as a Cloud Service, please refer to Adobe’s guide on generating access tokens for server-side APIs. It is essential that the user possesses administrator access. Additionally, you will need to create a new secret in AWS Secrets Manager to configure the details for basic or OAuth authentication. The configuration details will vary depending on the selected authentication method.
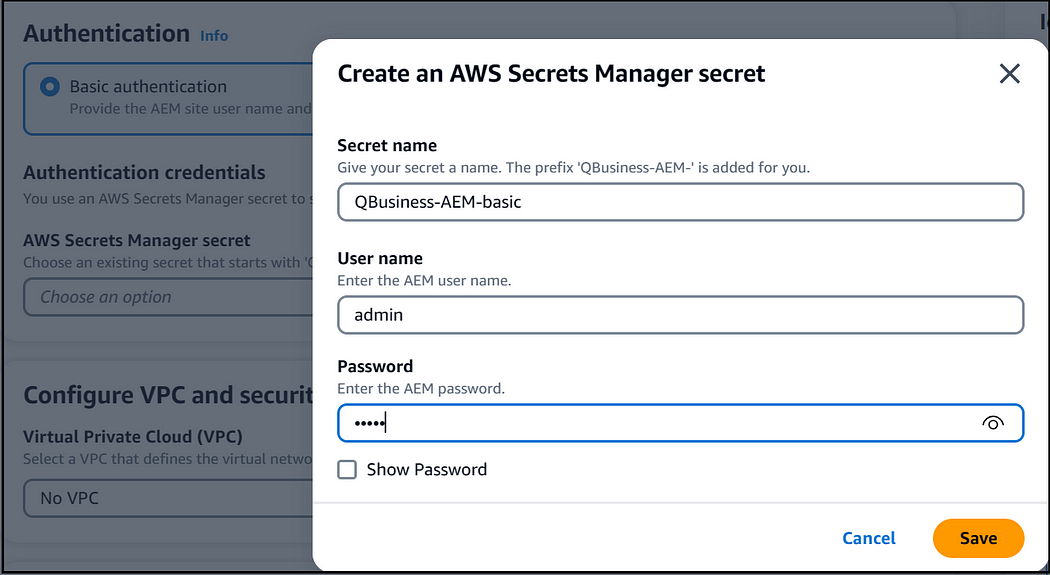
You can define the sync scope as shown in the below diagram
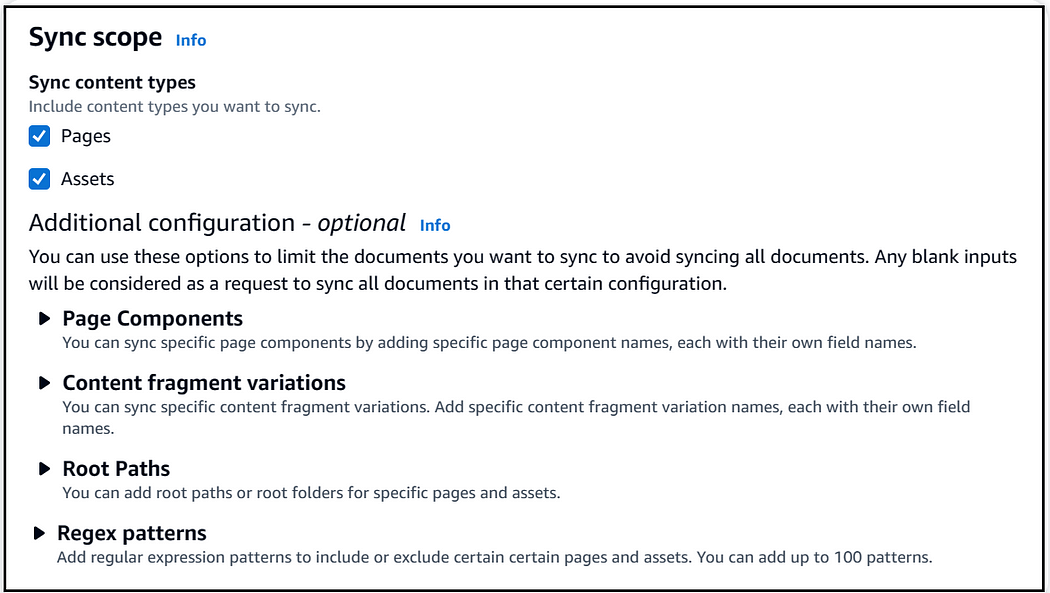
The crawling process can be limited to specific page component names

Additionally, you have the option to target specific content fragment variations, as indicated in the below diagram

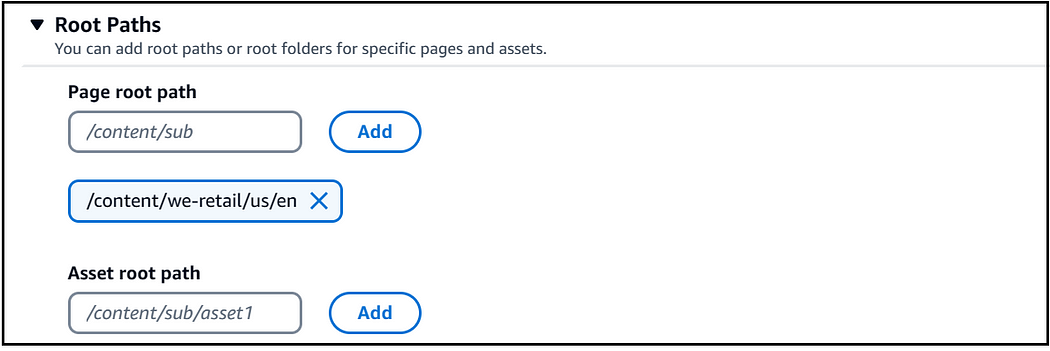
For the demonstration, I am restricting the crawling to a specific content root path, limiting it to ‘/content/we-retail/us/en’.
You can also establish include or exclude regex patterns.

Some of the remaining configurations are similar to those used in a web crawler. Once the data source is created, you can proceed with syncing the content.

Once the crawling and indexing processes are completed, you can begin interacting with the content through prompts.

Sample Prompt: ‘Provide a summary of Arctic Surfing in Lofoten.’ Following this prompt, a concise summary will be displayed, accompanied by a source reference to the AEM page.

Once the application is built and tested, it can be deployed, and the URL can be shared with the teams.

When deploying the application, you need to configure the identity provider to support SAML authentication.


Enable the SAML configuration in your Identity Provider (IDP) using the provided details and upload the corresponding metadata file.

Configure the email and group (optional) attributes of the SAML assertion.

Once the deployment is completed, you can access the chatbox URL and share it with your teams. To access the chatbox, you must authenticate with your Identity Provider (IDP).

For demonstration purposes, I have created two users in Adobe Experience Manager (AEM) with valid email addresses. These same users have been enabled in the IDP. However, one of these users does not have access to the ‘/content/we-retail/us/en’ directory(you need to resync for any permission or content changes).
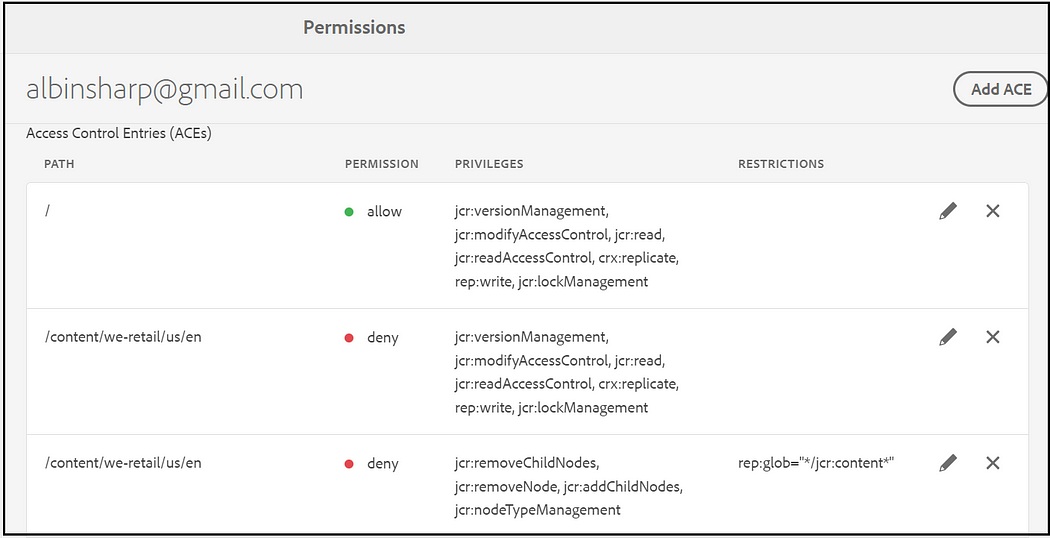
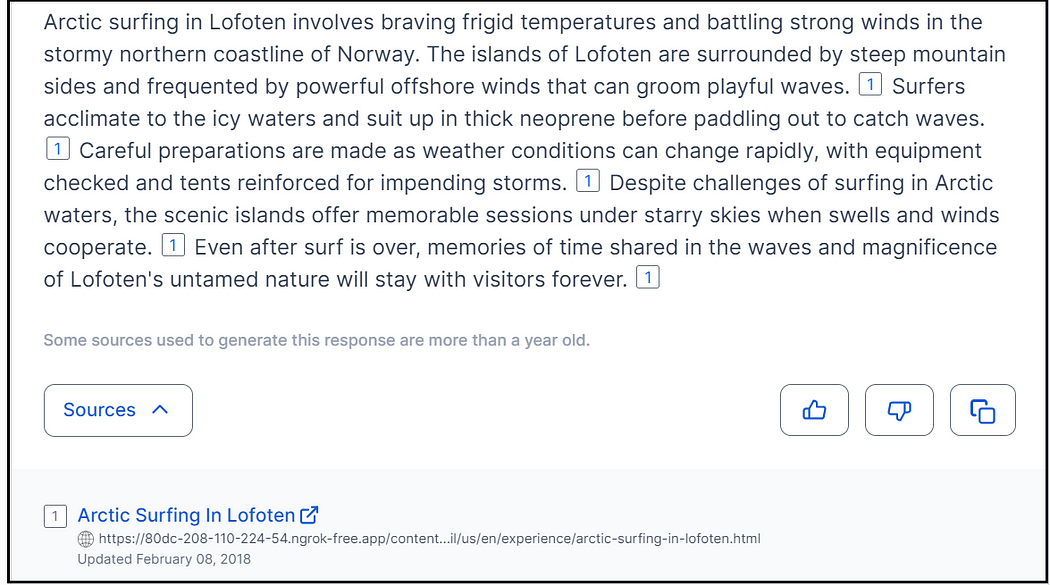
When the user logs into the chatbox using an email that has access to specific content, the chatbox will respond with the required details.
Prompt — “Provide summary on Arctic Surfing in Lofoten”
“When the user logs into the chatbox using an email that does not have access to the specific content, the chatbox will not provide a response.
Prompt — “Provide summary on Arctic Surfing in Lofoten”

In conclusion, Amazon Q represents a significant advancement in the realm of Generative AI Assistants, offering seamless integration with different sources including websites and Adobe Experience Manager (AEM) CMS data. By enabling authorization and configuring the Identity Provider for SAML authentication, users can unlock personalized and secure interactions based on the user’s access rights.