In this tutorial, let us discuss the different HTTP security headers and how to enable those headers for the AEM platform.
Headers are part of the HTTP specification, defining the metadata of the message in both the HTTP request and response.
Security headers are HTTP response headers that define whether a set of security precautions should be activated or deactivated on the web browser.
Let us see some of the most important security headers and how to enable those in the AEM platform.

Strict-Transport-Security
The HTTP Strict-Transport-Security response header lets a web site tell browsers that it should only be accessed using HTTPS, instead of using HTTP.
Strict-Transport-Security: max-age=63072000; includeSubDomains; preloadmax-age=<expire-time> — The time, in seconds, that the browser should remember that a site is only to be accessed using HTTPS.
includeSubDomains — If this parameter is specified, this rule applies to all of the site’s subdomains as well.
preload — this parameter indicates that the site is present on a global list of HTTPS-only sites
This would inform the visiting web browser that the current site (including subdomains) is HTTPS-only and the browser should access it over HTTPS for the next 2 years(63072000 seconds).
Before implementing this header, you must ensure all your website pages (including sub-domain pages) are accessible over HTTPS else they will be blocked by the browser.
The header should be enabled from the webserver(Dispatcher), to enable the header in Apache, use mod_header module and set the header as below in the virtual host file
Header always set Strict-Transport-Security "max-age=63072000; includeSubdomains;preload"X-Frame-Options
The X-Frame-Options HTTP response header can be used to indicate whether or not a browser should be allowed to render a page in a <frame>, <iframe>, <embed>, or <object>. Sites can use this to avoid click-jacking attacks, by ensuring that their content is not embedded into other sites.
X-Frame-Options: DENY
X-Frame-Options: SAMEORIGINDENY — The page cannot be displayed in a frame, regardless of the site attempting to do so.
SAMEORIGIN
The page can only be displayed in a frame on the same origin as the page itself.The header should be enabled from the webserver(Dispatcher), to enable the header in Apache, use mod_header module and set the header as below in the virtual host file
Header always append X-Frame-Options SAMEORIGINThe Content-Security-Policy(CSP) HTTP header has a frame-ancestors directive which overrides X-Frame-Options in modern browsers.
Refer to the below video for more details on X-Frame-Options and CSP frame-ancestors.
Content Security Policy (CSP)
Content-Security-Policy is the name of an HTTP response header that modern browsers use to enhance the security of the document. The Content-Security-Policy header allows you to restrict how resources such as JavaScript, CSS, or pretty much anything that the browser loads.
Content Security Policy (CSP) is an added layer of security that helps to detect and mitigate certain types of attacks, including Cross-Site Scripting (XSS) and data injection attacks.
The header should be enabled from the webserver(Dispatcher), to enable the header in Apache, use mod_header module and set the header as below in the virtual host file
Header always set Content-Security-Policy "default-src 'self';script-src 'self' https://sub.mydomain.com; img-src 'self' https://www.example.com;frame-ancestors 'self' http://mydomain.com:8000"The above header enables the browser to
load the scripts(script-src) only from the same domain and https://sub.mydomain.com
load the images(img-src) from the same domain and https://www.example.com
allows only the webpages from the current domain to iframe this page
Refer to the below URL for more details on CSP
X-Content-Type-Options
The X-Content-Type-Options header prevents “MIME sniffing” which is really a feature in Internet Explorer and Google Chrome. It allows the browser to scan or “sniff” the content and respond away from what the header may instruct.
The X-Content-Type-Options headers instruct browsers to set the content type as instructed(ensure you’ve set the content types correctly) and never detect the type of their own.
The header should be enabled from the webserver(Dispatcher), to enable the header in Apache, use mod_header module and set the header as below in the virtual host file
Header always set X-Content-Type-Options nosniffFeature-Policy
Feature Policy HTTP Security Header tells the modern browsers which browser features are allowed or denied. Feature Policy allows web developers to selectively enable, disable, and modify the behavior of certain APIs and web features in the browser. Feature Policy allows you to control which origins can use which features, both in the top-level page and in embedded frames.
The header should be enabled from the webserver(Dispatcher), to enable the header in Apache, use mod_header module and set the header as below in the virtual host file
Disable the geolocation and camera API’s for all the contexts
Header always set Feature-Policy "geolocation 'none'; camera 'none'"Enable the geolocation and camera API’s only for the pages from the current domain and the pages from myexample1.com
Header always set Feature-Policy "geolocation 'self' https://myexample1.com; camera 'self' https://myexample1.com"Refer to the below URL for more details on Feature-Policy
These are some of the critical HTTP security headers that can be enabled to protect the AEM platform from security attacks.
Feel Free to provide your comments.
Sunday, October 25, 2020
Adobe Experience Manager(AEM): HTTP Security Headers for Websites

Friday, September 25, 2020
How to enable image maps for Adobe Experience Manager(AEM) assets? | Launch Map in Adobe Experience Manager
An image map is an image with clickable areas. The areas are defined with one or more <area> tags. The HTML <map> tag defines an image map.
<img src="workplace.jpg" alt="Workplace" usemap="#workmap"><map name="workmap">
  <area shape="rect" coords="34,44,270,350" alt="Computer" href="computer.htm">
  <area shape="rect" coords="290,172,333,250" alt="Phone" href="phone.htm">
  <area shape="circle" coords="337,300,44" alt="Coffee" href="coffee.htm">
</map>
The idea behind an image map is that you should be able to perform different actions depending on where in the image you click.
In this tutorial let us see how to enable image maps for AEM assets through the Image core component.
AEM enables the support to define the image map for assets along with Image Core components, the image maps can be defined through the Asset UI and the Image Core components enable the map configurations to output HTML
To enable the image map, edit the image through Asset UI
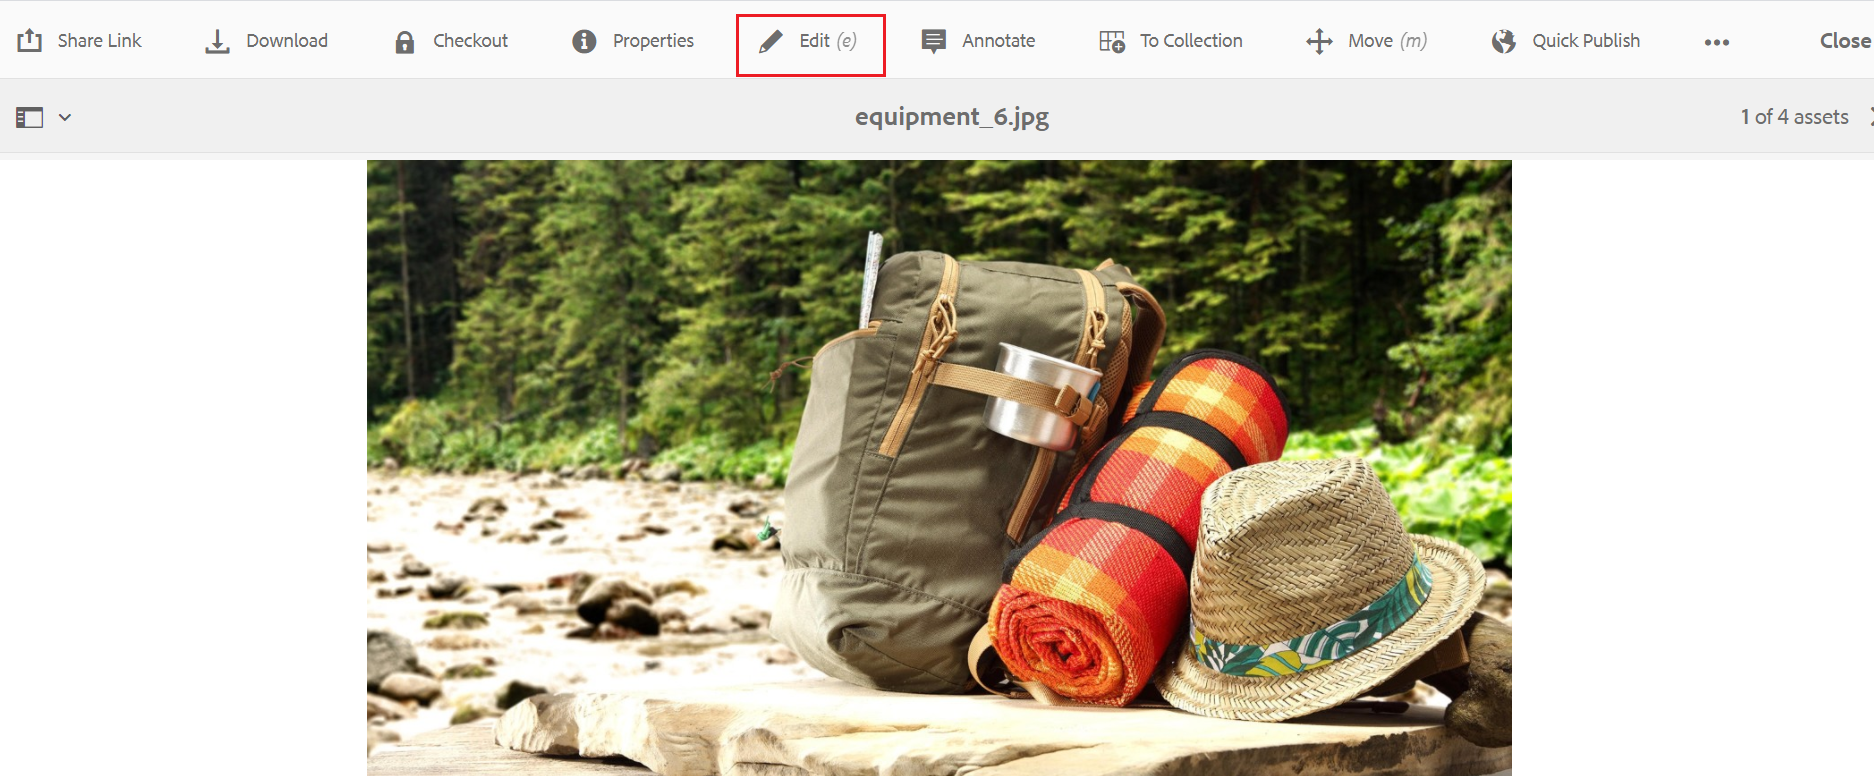
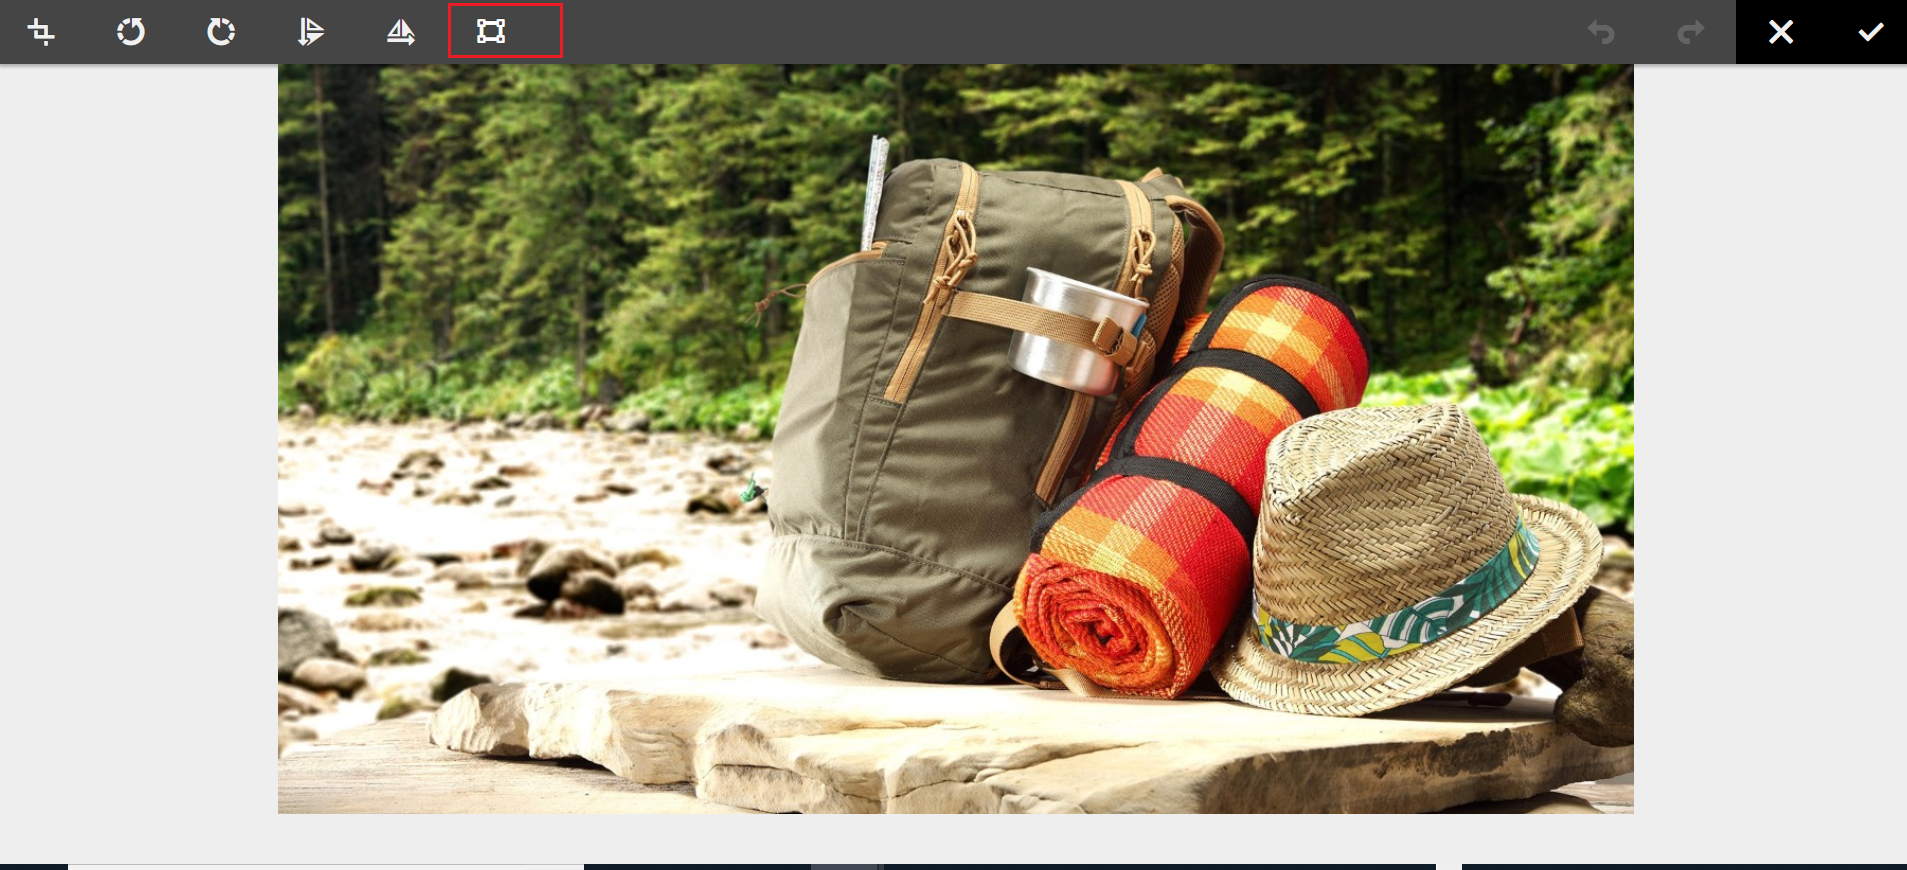
Click on Launch Map — Launch Map feature(AEM 6.3 with Service Pack 3 or AEM 6.4 with Service Pack 2 or other higher versions)along with core component(2.1.0+) enables the support to configure the image map — clickable areas to the assets.
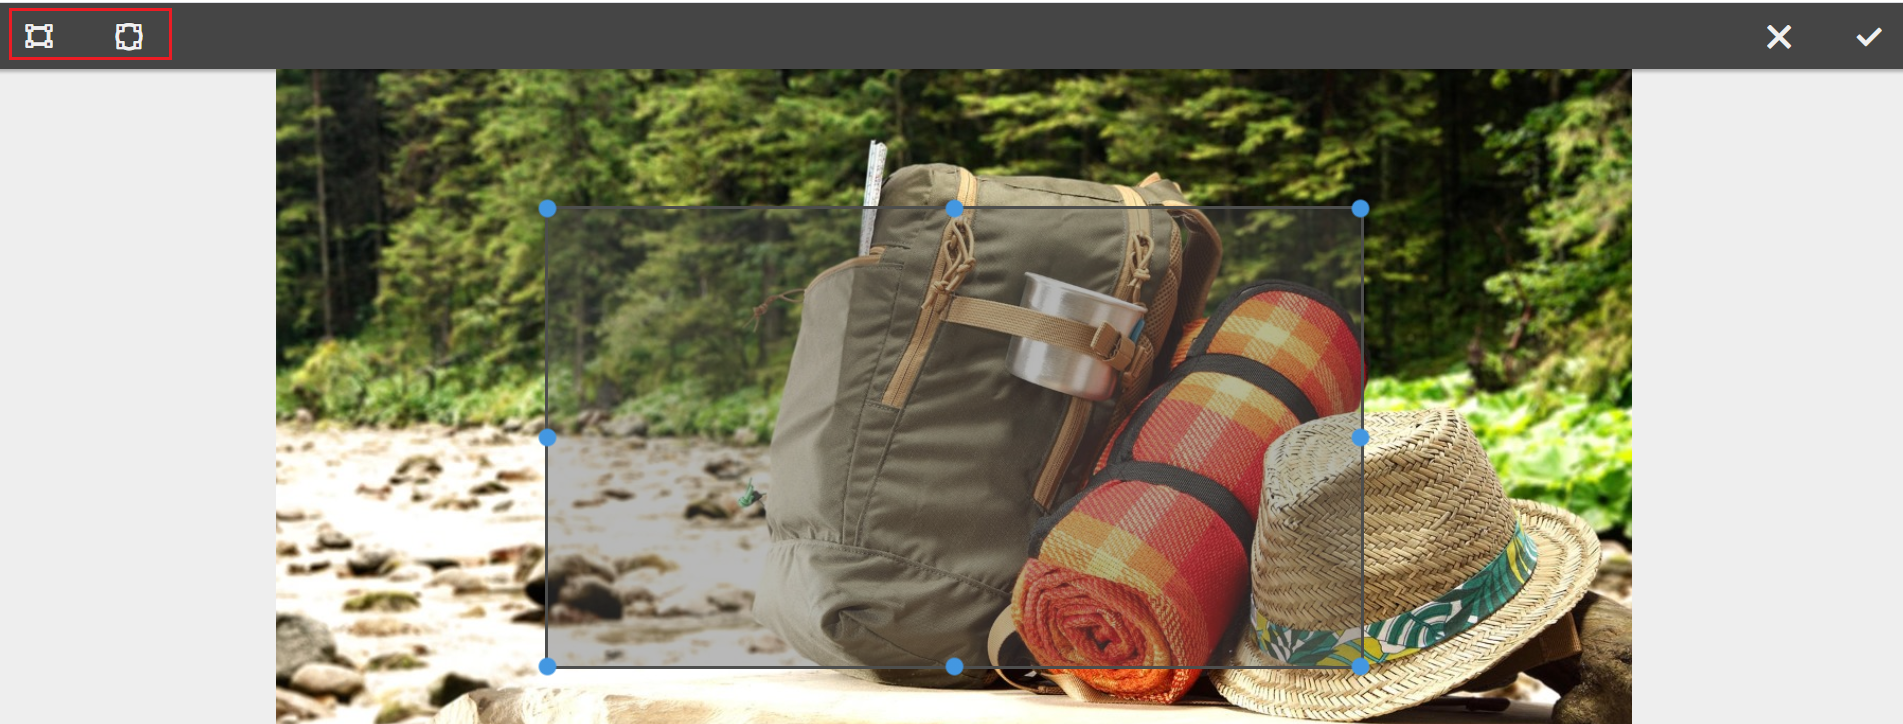
Now you should be able to enable the Rectangular or Circular Map
Define the URL path, Alt Text, and the Target for each Map’s
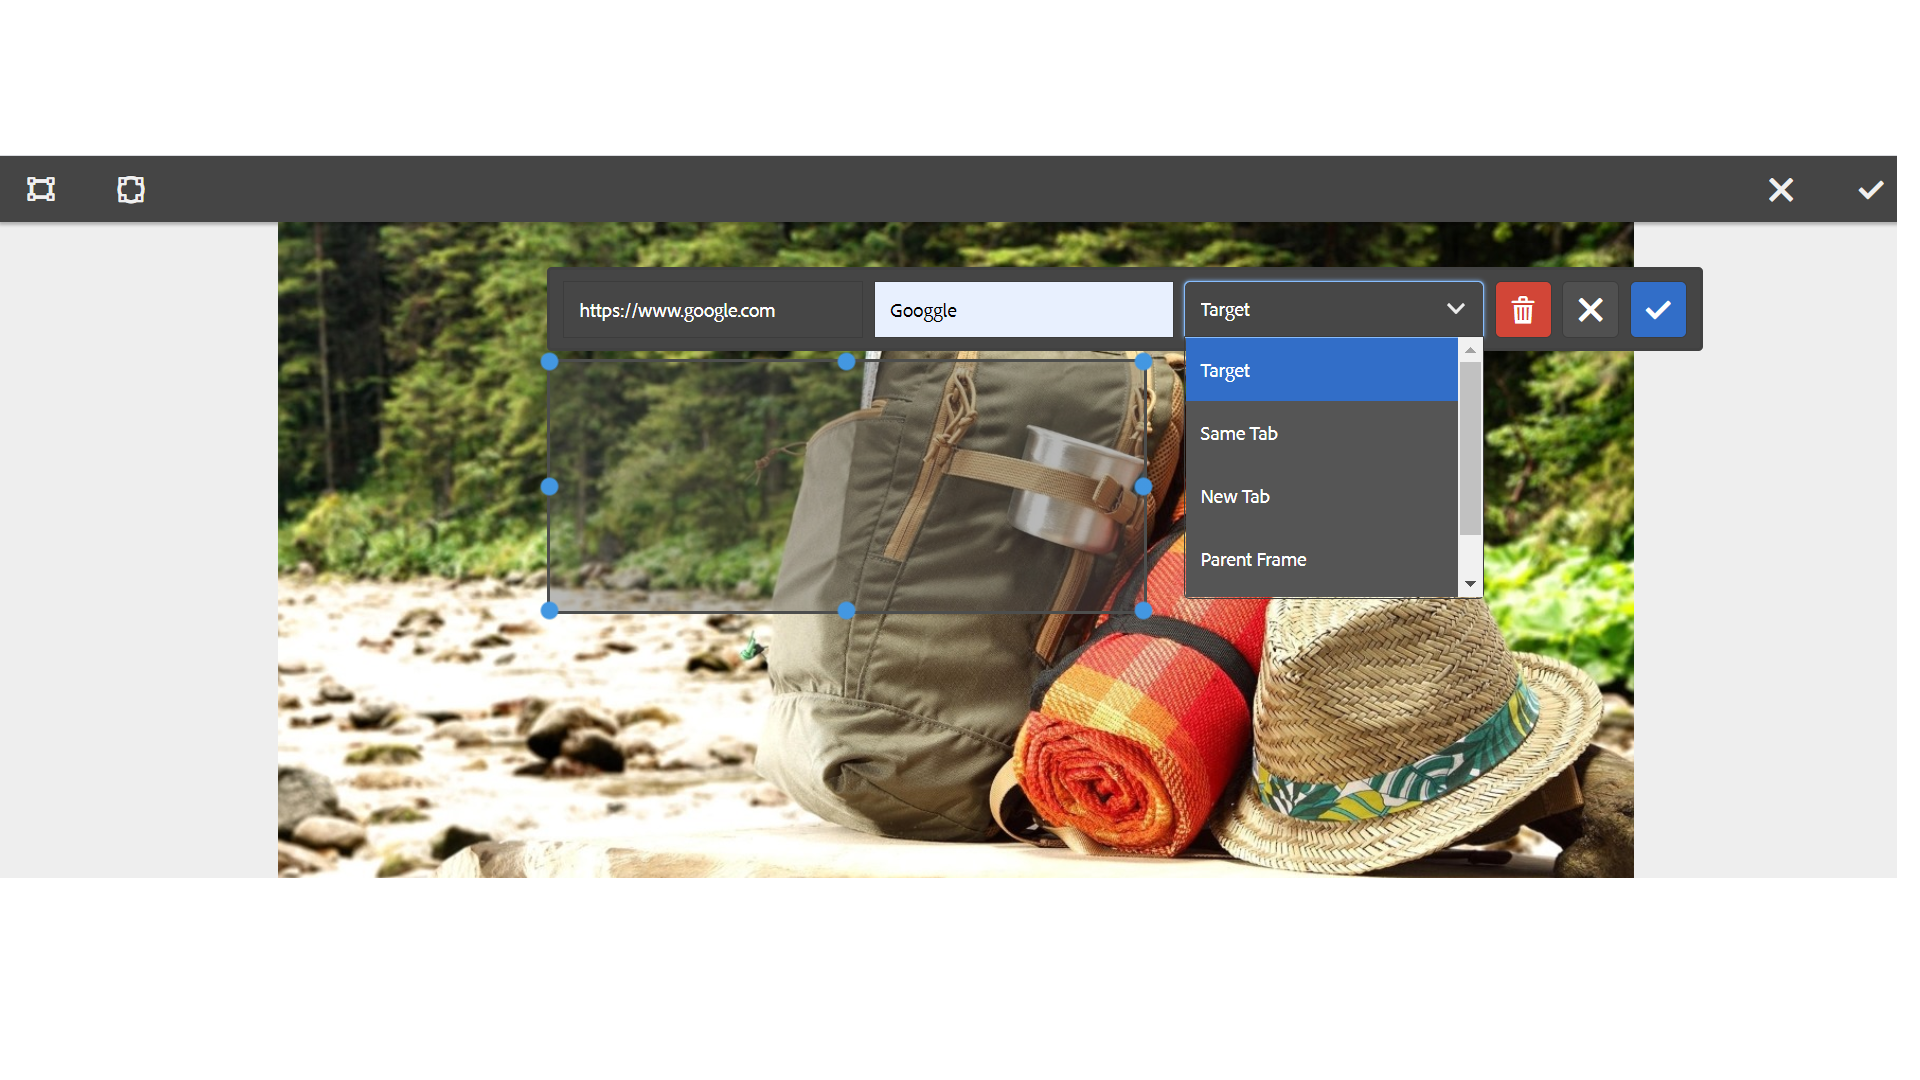
The image map details are stored to the repository upon saving

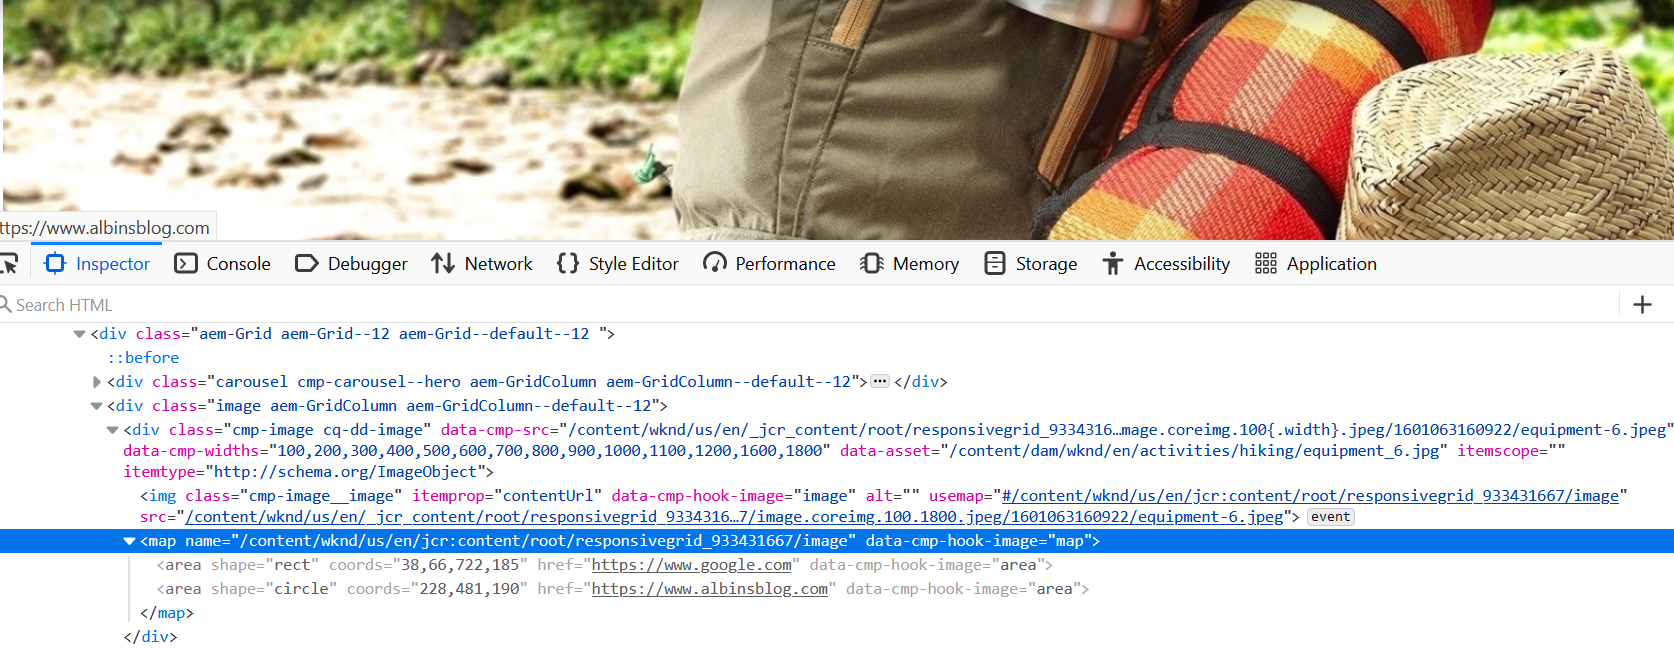
The Image core component can be used to author the image into the pages, the image core component(https://github.com/adobe/aem-core-wcm-components/blob/master/content/src/content/jcr_root/apps/core/wcm/components/image/v2/image/image.html) generates the image map HTML based on the configuration enabled by the author.
<img src="${image.src}" class="cmp-image__image" itemprop="contentUrl" data-cmp-hook-image="image" data-sly-attribute.usemap="${image.areas ? usemap : ''}"                 alt="${image.alt}" title="${image.displayPopupTitle && image.title}"/><map data-sly-test="${image.areas}" data-sly-list.area="${image.areas}" name="${resource.path}" data-cmp-hook-image="map">
   <area shape="${area.shape}" coords="${area.coordinates}" href="${area.href}" target="${area.target}" alt="${area.alt}" data-cmp-hook-image="area" data-cmp-relcoords="${area.relativeCoordinates}">
</map>
This will generate the required HTML output and enable the clickable area based on the configuration that can direct the users to different URLs based on the area where they clicked, redirect the user to a specific URL based on where the user clicked.
This is the useful feature and can be used by authors to define the image maps through visual editor, AEM internally calculates the coordinates for the selected area and assign the target URL.
The image map configuration changes will not reflect automatically to the images already referenced in the pages, the images should be reconfigured into the pages to reflect the latest image map configurations.
Another observation is, in some cases, the calculated image coordinates are not working as expected — the required HTML is enabled but the areas are not clickable in the UI.


