How to enable Google CDN for custom origin websites | Google CDN for external websites
Introduction
Some of the features of Google Cloud CDN
- HTTP/2 support
- Global distribution with anycast IP
- Integrated with Google Cloud – Cloud Monitoring and Cloud Logging
- Purge cache instantly
Prerequisite
- Google Cloud Account
- Externally accessible websites
Scenario
I have a website running in external server – test.albinsblog.com, I want to activate the CDN in front of my website.Steps
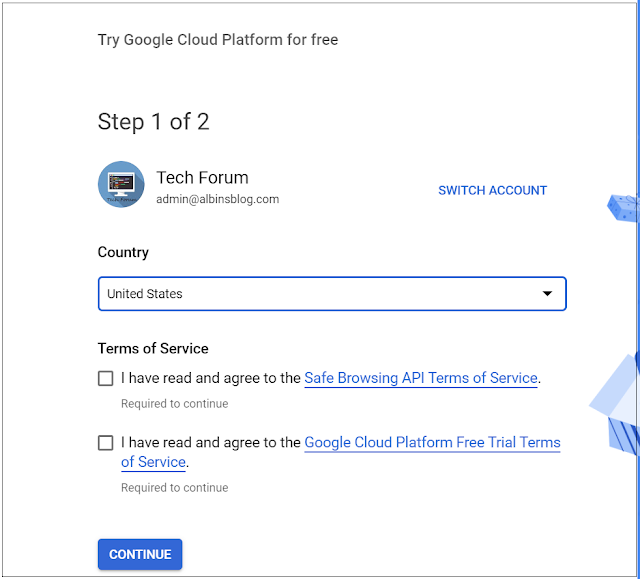
- Register for a Google Cloud Account
- Create new HTTP(S) Load Balancer
- Enable CDN
- Enable A-Record for DNS
Register for a Google Cloud CDN
Create new HTTP(S) Load Balancer
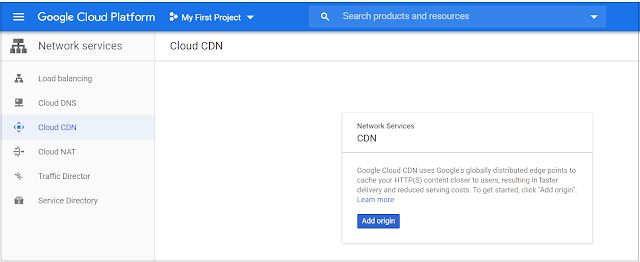
As a first step, let us configure the new HTTP(S) Load Balancer. Click Add origin on the previous screen and Click on Continue on the Next screen. Select “Use a custom origin” and click on “Create a load balancer.
Enter a name and select backend Type as “Internet Network endpoint group”, change the protocol as required – this protocol will be used by Google Load balancer to connect to the origin server. I am going with HTTP protocol for the demo
Select “Create Internet network endpoint group” from "Internet network endpoint group" dropdown
Enter a name for Internet network endpoint group, select “Network endpoint group type” as Network endpoint group (Internet).
Add the default port to connect to origin server – my case the server is accessible through port 80, enter the IP address or the Fully qualified name of the origin server – I am configuring the IP address
Add the default port to connect to origin server – my case the server is accessible through port 80, enter the IP address or the Fully qualified name of the origin server – I am configuring the IP address
Click on Create
Select the created Internet network endpoint group in backend service configuration screen and click on Done
Select "Enable Cloud CDN" and click on create
Select Host and Path Rules and enable the require rules – I am going with default rule configurations
Now click on Frontend Configurations
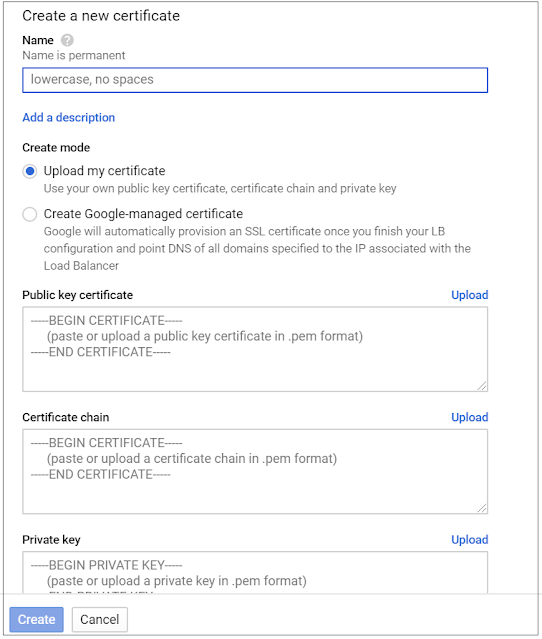
Select the protocol users uses to connect to the website, the SSL certificate should be uploaded if the protocol is selected as HTTPS with supported Domains.
I am going with HTTP for the demo
Review the configurations and click on Create
Enable A-Record for DNS
e.g test.albinsblog.com A-Record 34.120.141.59
Now test.albinsblog.com should be accessible through Google CDN, you can monitor the traffics through console and also the cache path can be invalidated whenever required.
My backend server is running on Apache, I have enabled the Virtual host configuration to support test.albinsblog.com - Google CDN sends the DNS values as part of Host header, enable different virtual host to support multiple websites.
<VirtualHost *:80>
ServerAdmin [email protected]
DocumentRoot "C:\opt\communique\dispatcher\cache"
ServerName test.albinsblog.com
ServerAlias localhost
RewriteEngine On
RewriteRule ^/test.html$ http://test.albinsblog.com/content/wknd/fr/fr.html [L]
<Directory />
Options Indexes FollowSymLinks Includes
# Set includes to process .html files
AddOutputFilter INCLUDES .html
AddOutputFilterByType INCLUDES text/html
AllowOverride None
</Directory>
</VirtualHost>


How to setup cloud cdn please help me , i will pay , i want to setup for my external website, which is hosted in Amazon ec2, help me
ReplyDelete