Saturday, May 9, 2020

AEM(Adobe Experience Manager) as a Cloud Service — Setting up Local Development Environment in Windows

AEM(Adobe Experience Manager) as a Cloud Service — Setting up Local Development Environment in Windows

Introduction

This tutorial walks through setting up a local development environment for Adobe Experience Manager (AEM) using the AEM as a Cloud Service SDK for Windows machine, includes the development tooling required to develop, build and compile AEM Projects, as well as local run times allowing developers to quickly validate new features locally before deploying them to AEM as a Cloud Service via Adobe Cloud Manager.
AEM(Adobe Experience Manager) is now available as a Cloud Service and has the following benefits:
  • Is the cloud-native way of leveraging the AEM applications.
  • Provides Continuous Delivery and Continuous Integration for updates with zero downtime.
  • Is based on a dynamic architecture that autoscales, thus removing infrastructure considerations.
  • Is security focused, using automated tests to scan for common vulnerabilities.
  • Validates customer code using automated tests.
  • Has performance topologies optimized for maximum resilience and efficiency.
  • Significantly reduces the manual configuration required.
  • Is deeply integrated with the Adobe Experience Cloud.

Local Dev environment structure
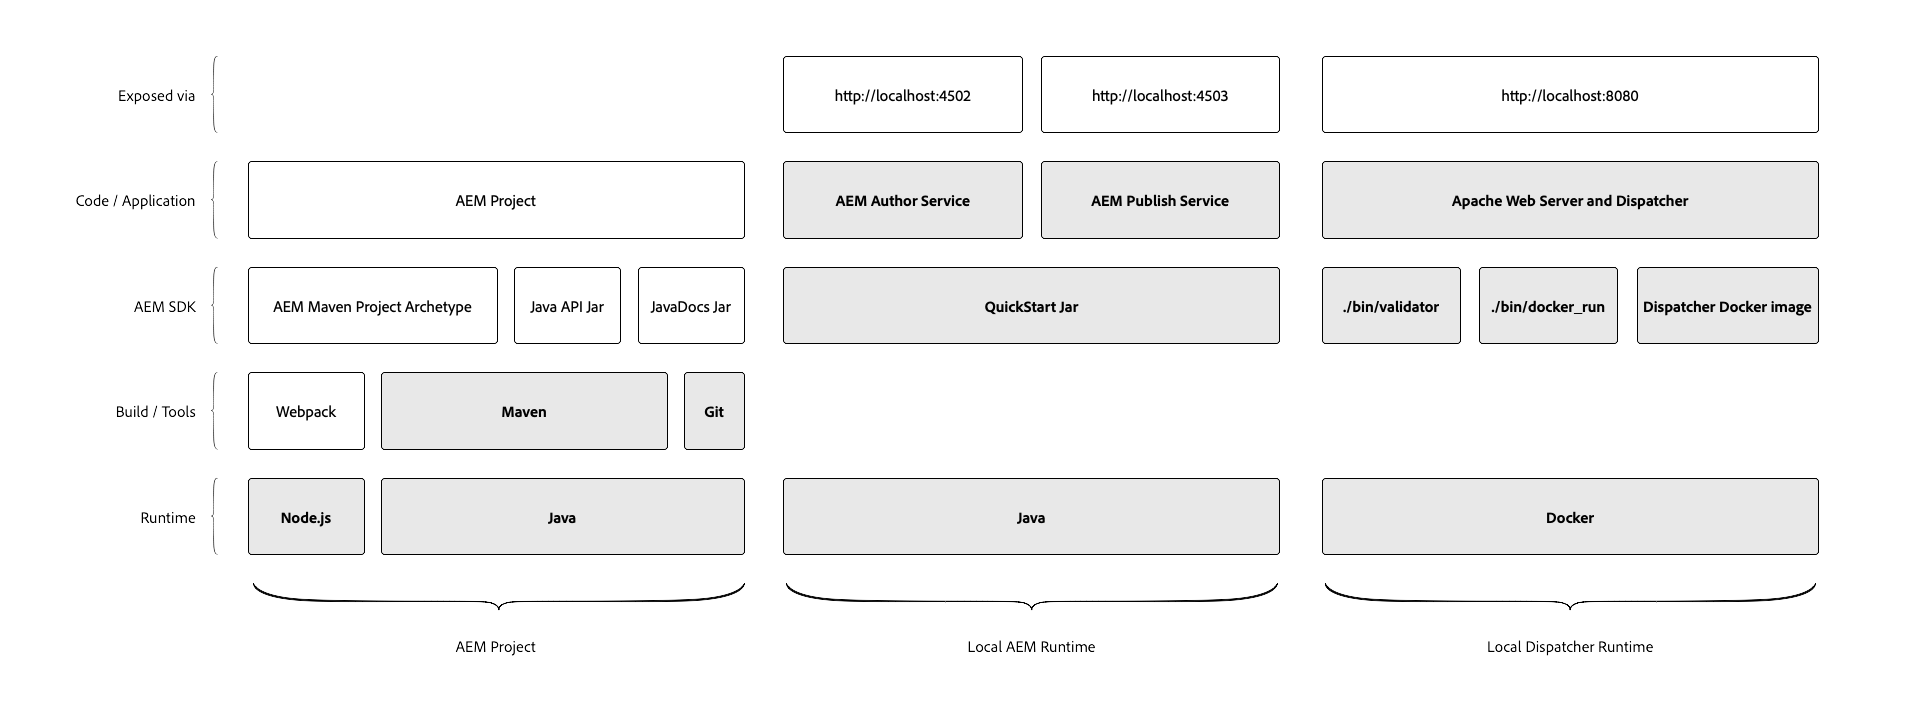
Prerequisites

  • Maven
  • Java
  • AEM SDK.
  • Docker Desktop

Download the required software's

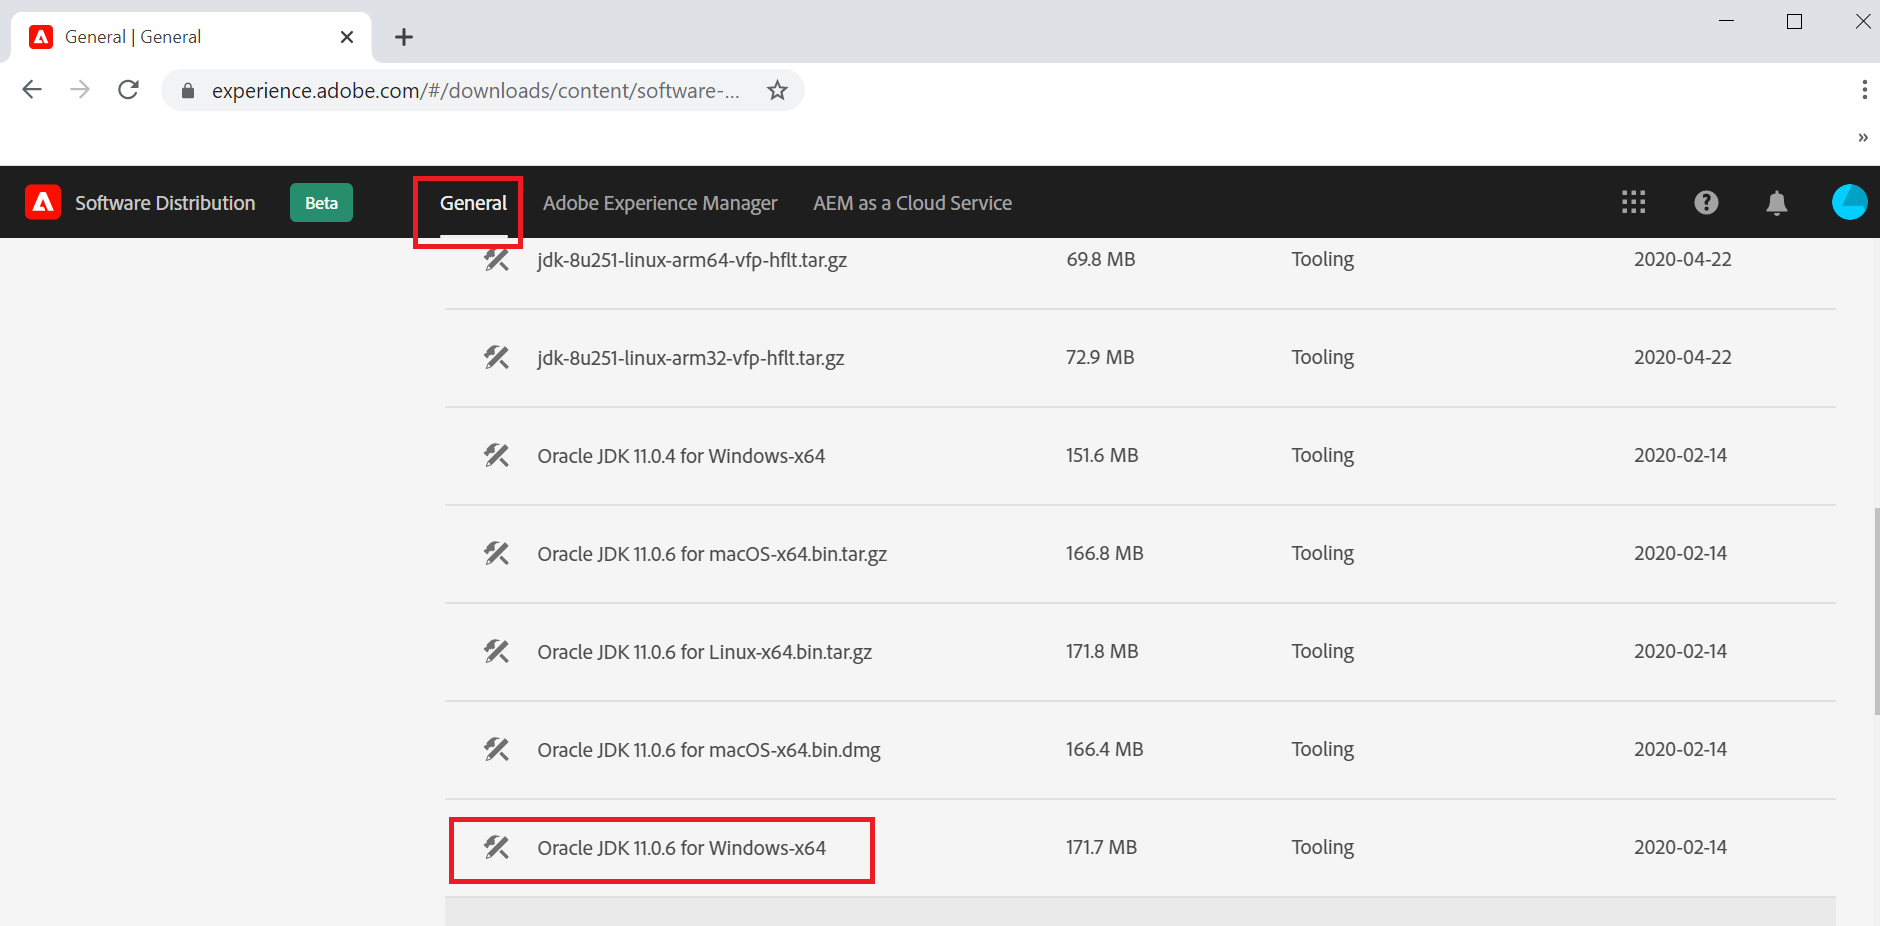
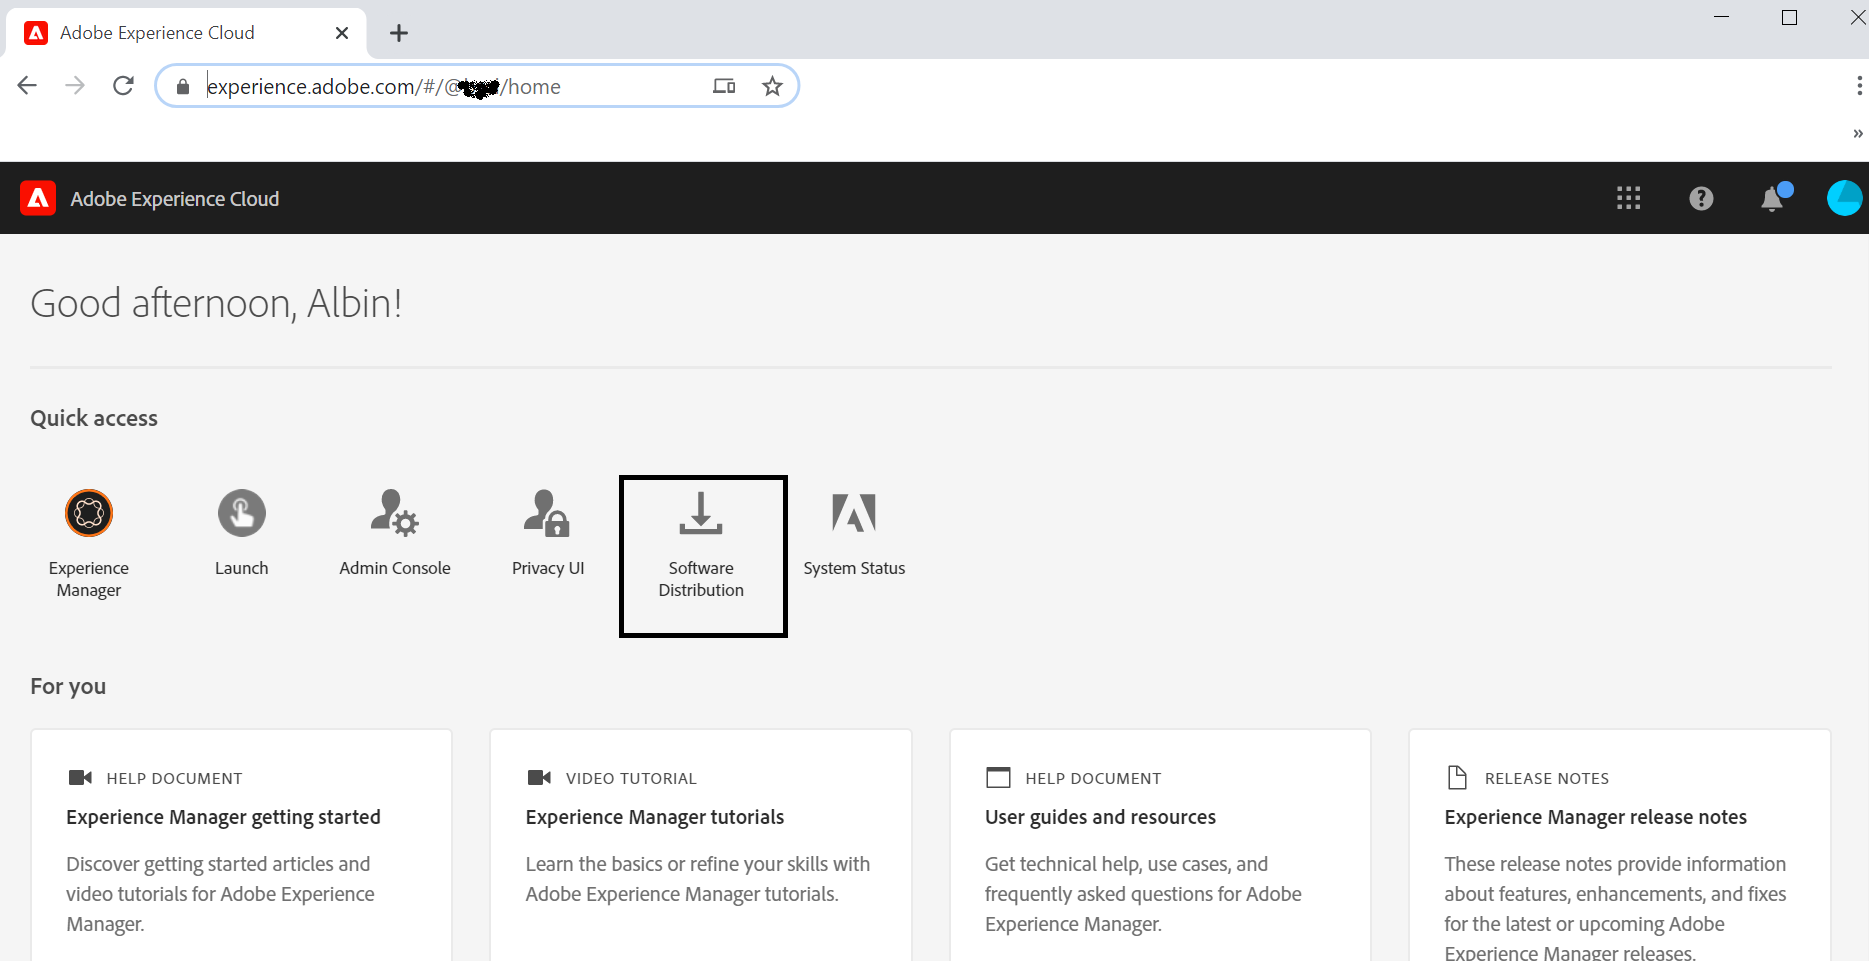
Download Java and AEM SDK software’s from https://experience.adobe.com/(your user id should have the required permissions to download the software's).
Latest SDK
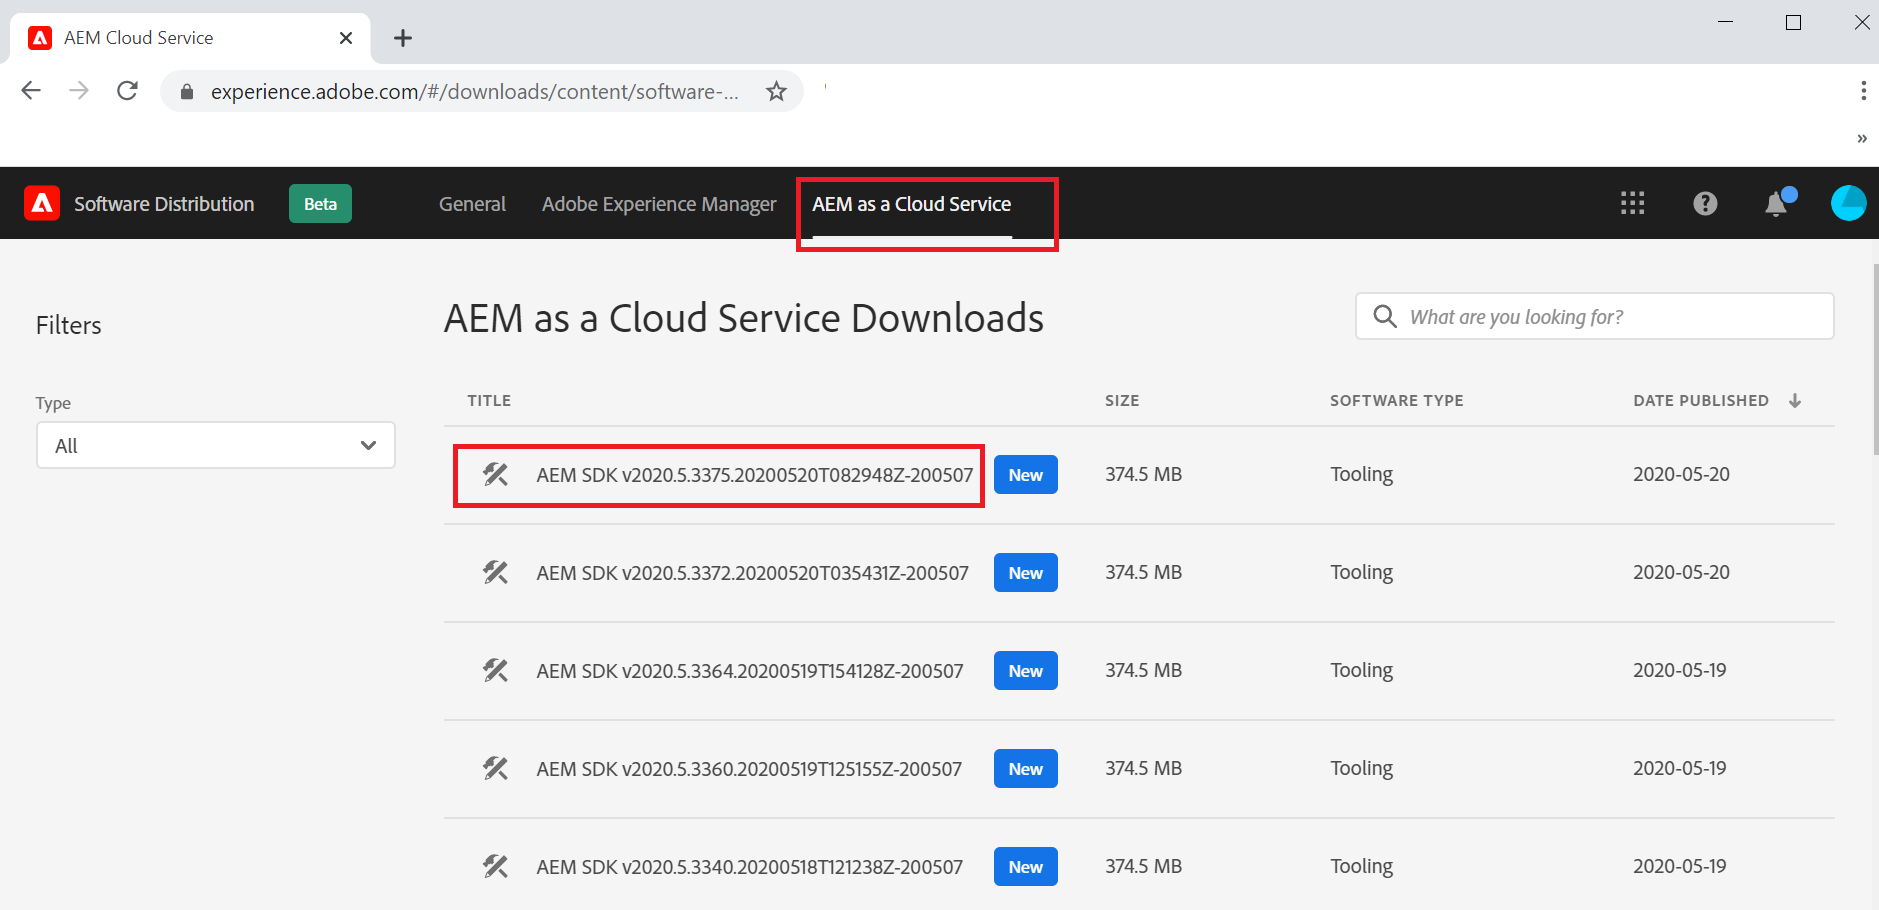
Extract the Java(jdk-11.0.6_windows-x64_bin.zip) and AEM SDK(aem-sdk-2020.5.3375.20200520T082948Z-200507.zip) files into a local folder

Setup AEM Publisher

Create a local folder with name publish and copy aem-sdk-quickstart-2020.5.3375.20200520T082948Z-200507.jar file from the extracted SDK folder into the publish folder
Rename aem-sdk-quickstart-2020.5.3375.20200520T082948Z-200507.jar file to aem-sdk-quickstart-publish-p4503.jar
Open a windows command prompt and navigate to the folder(publish) where the jar file is(aem-sdk-quickstart-publish-p4503.jar) located.
Set the JAVA_HOME and PATH environment variables pointing to the JDK 11(ignore this step if the JDK is already installed and configured through system variables)
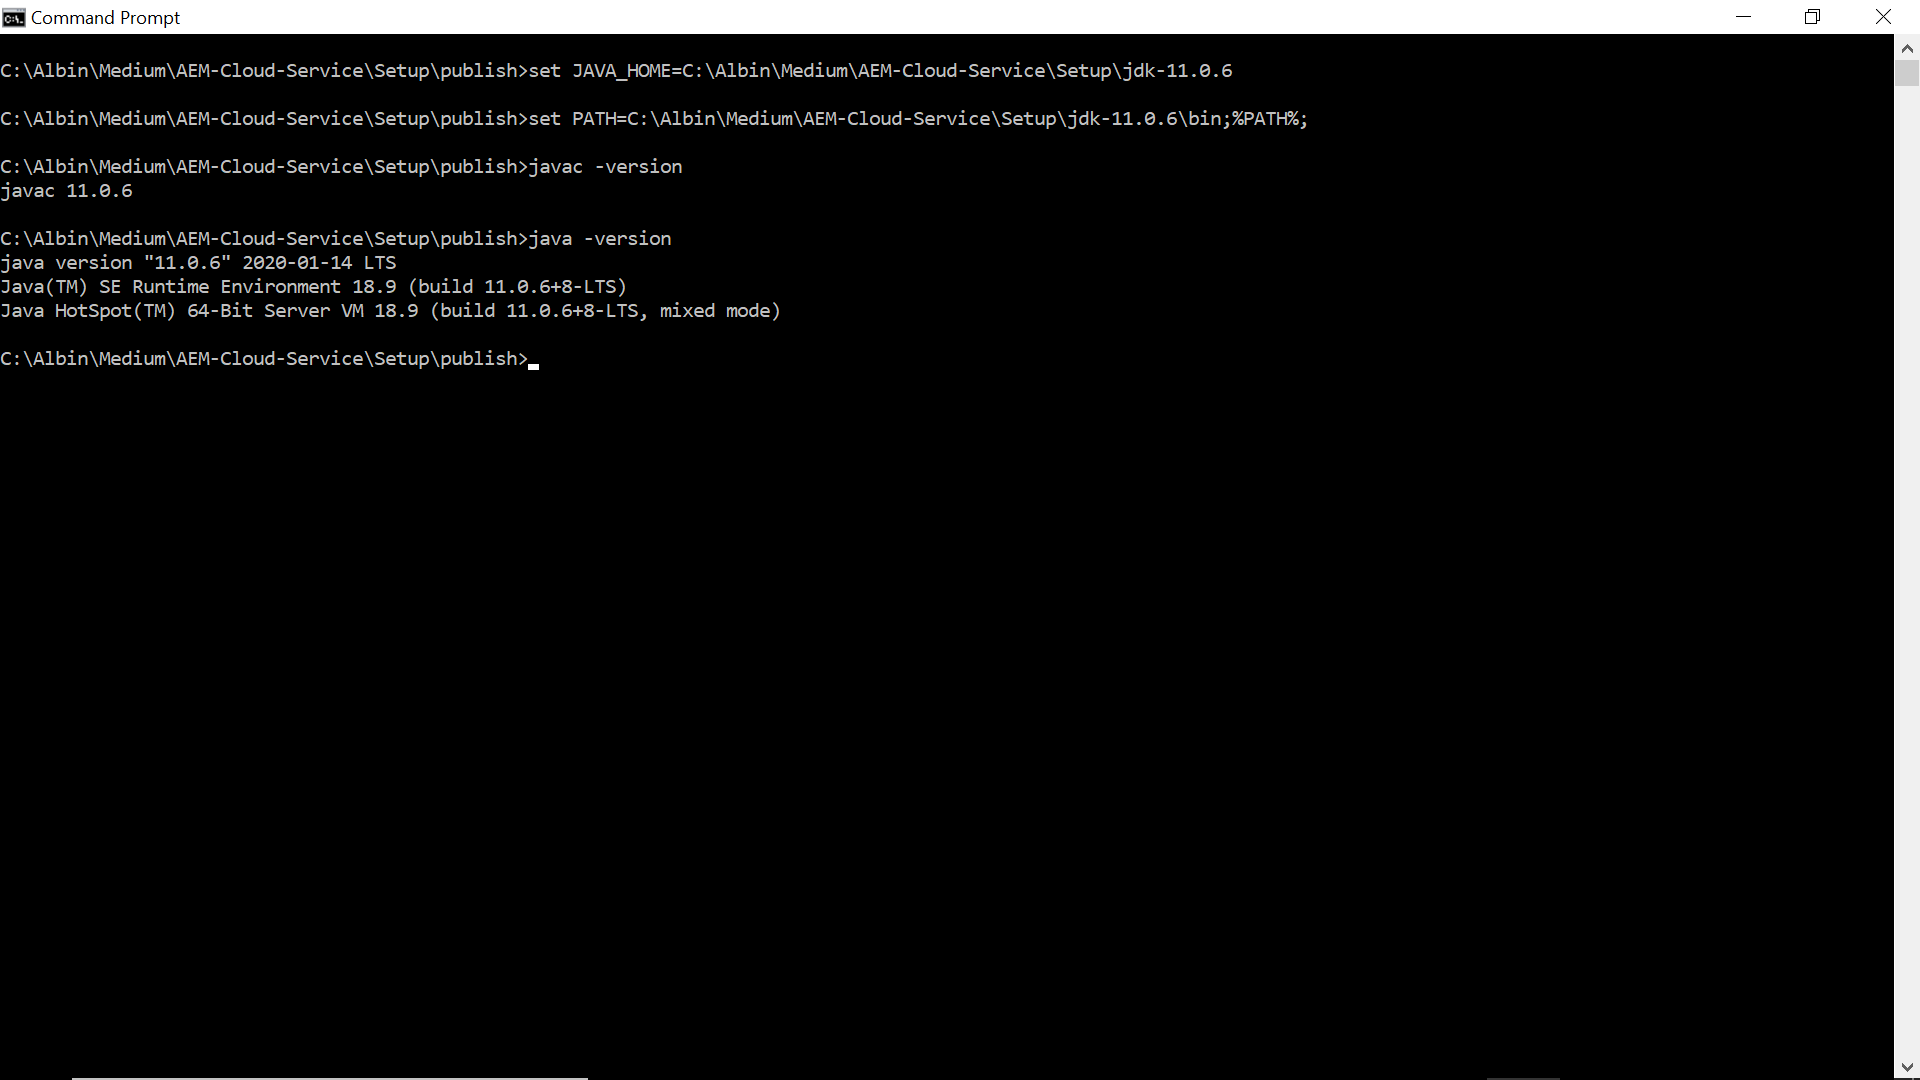
Execute the following command — java -jar aem-sdk-quickstart-publish-p4503.jar(enter the required admin password).
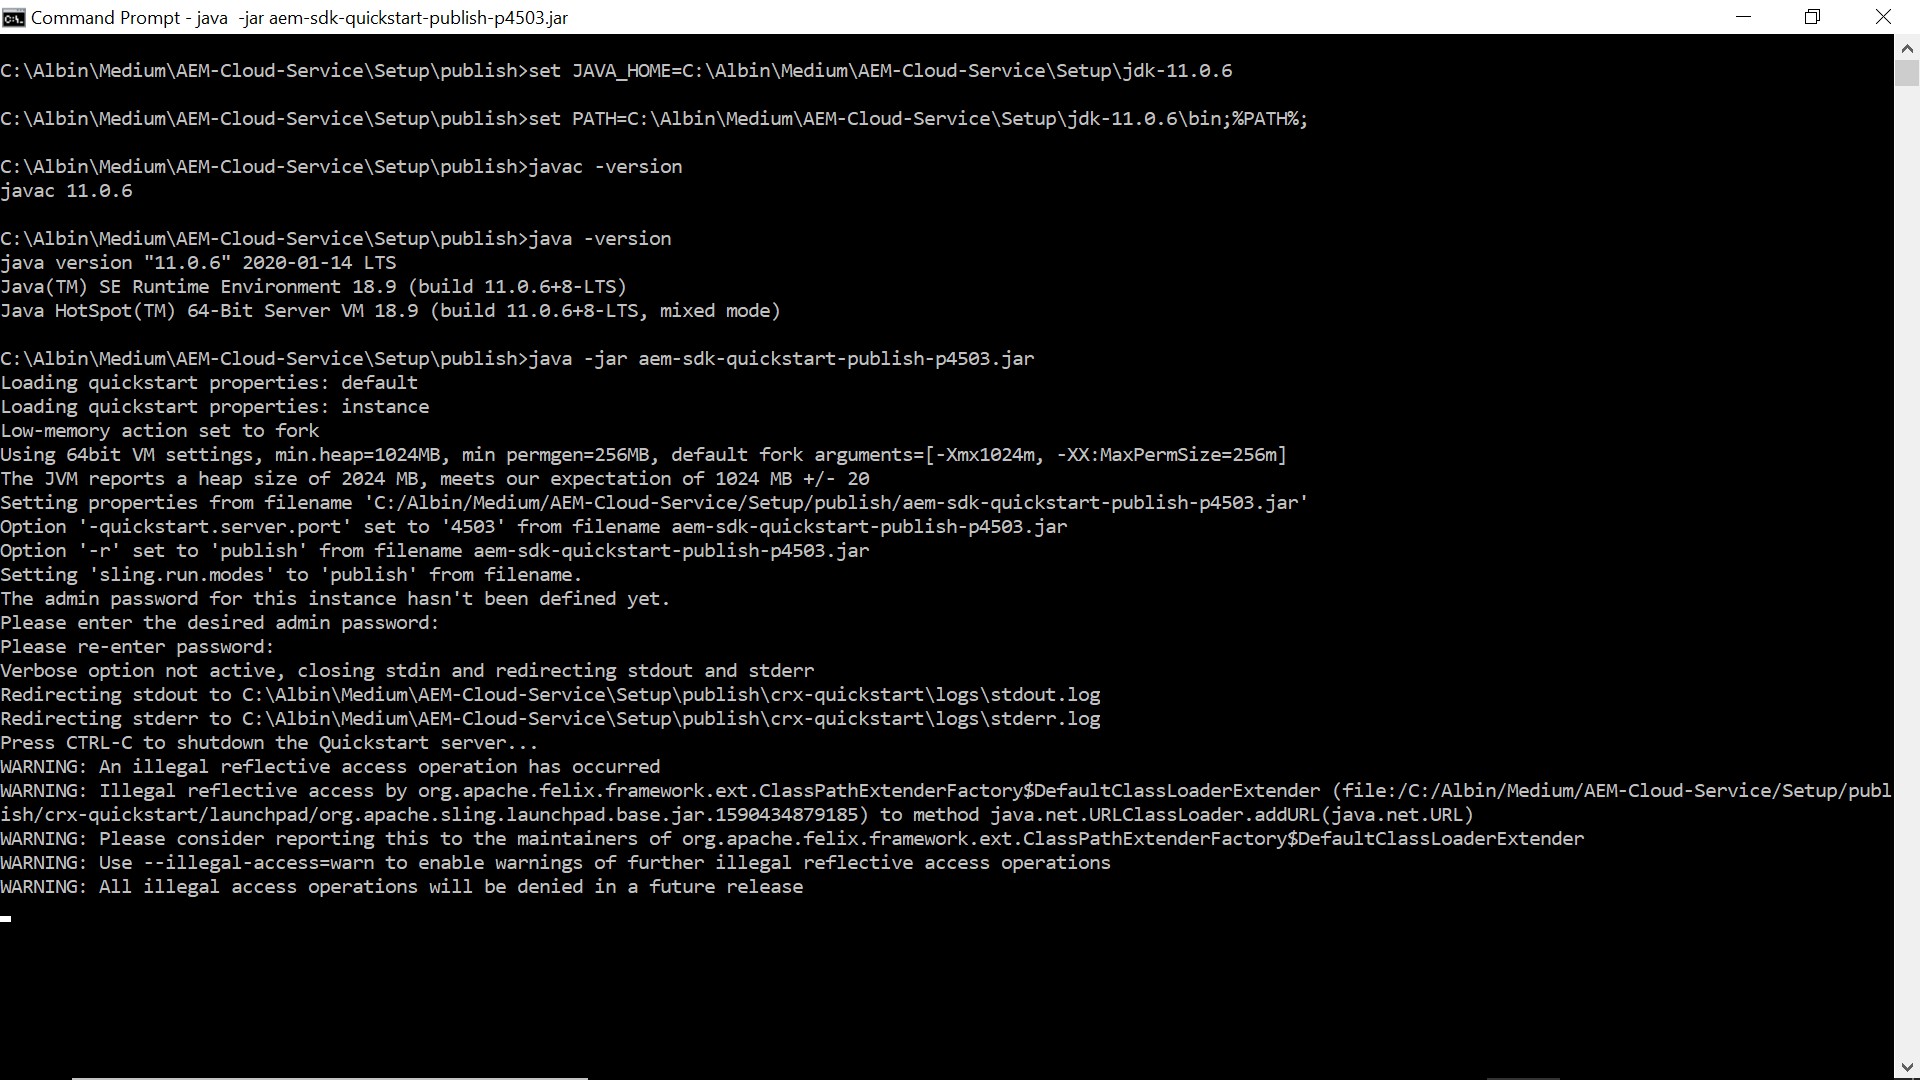
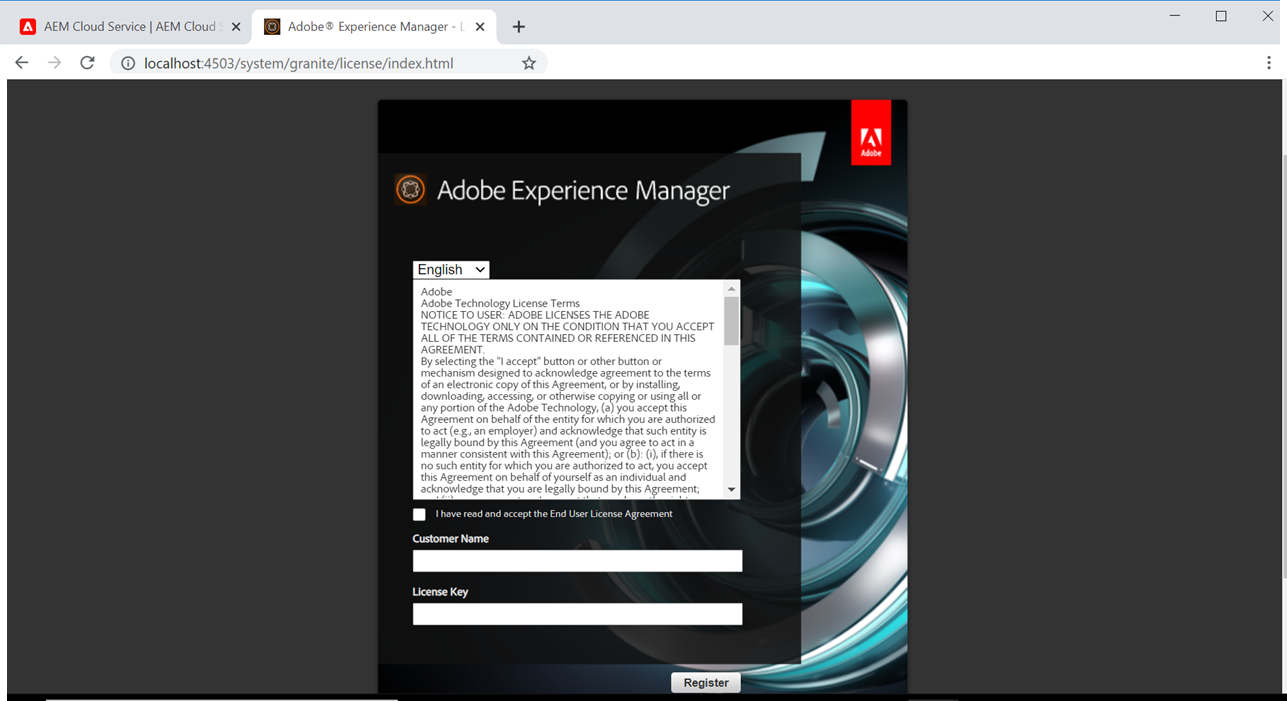
The server URL — http://localhost:4503 should be accessible once after the installation is completed, you should have the valid AEM license to access the server URL’s. Enter the license details first time when the URL’s are accessed
The ‘Not Found’ page is displayed as there is no default AEM website enabled on the server.
Note: — The same steps can be followed for Author — rename the jar file to aem-sdk-quickstart-author-p4502.jar

Setup WKND Website

There is no default website configured in the new AEM instance, we can download the the sample WKND website package — aem-guides-wknd.all-0.0.2.zip from https://github.com/adobe/aem-guides-wknd/releases(you can also download the code and deploy).
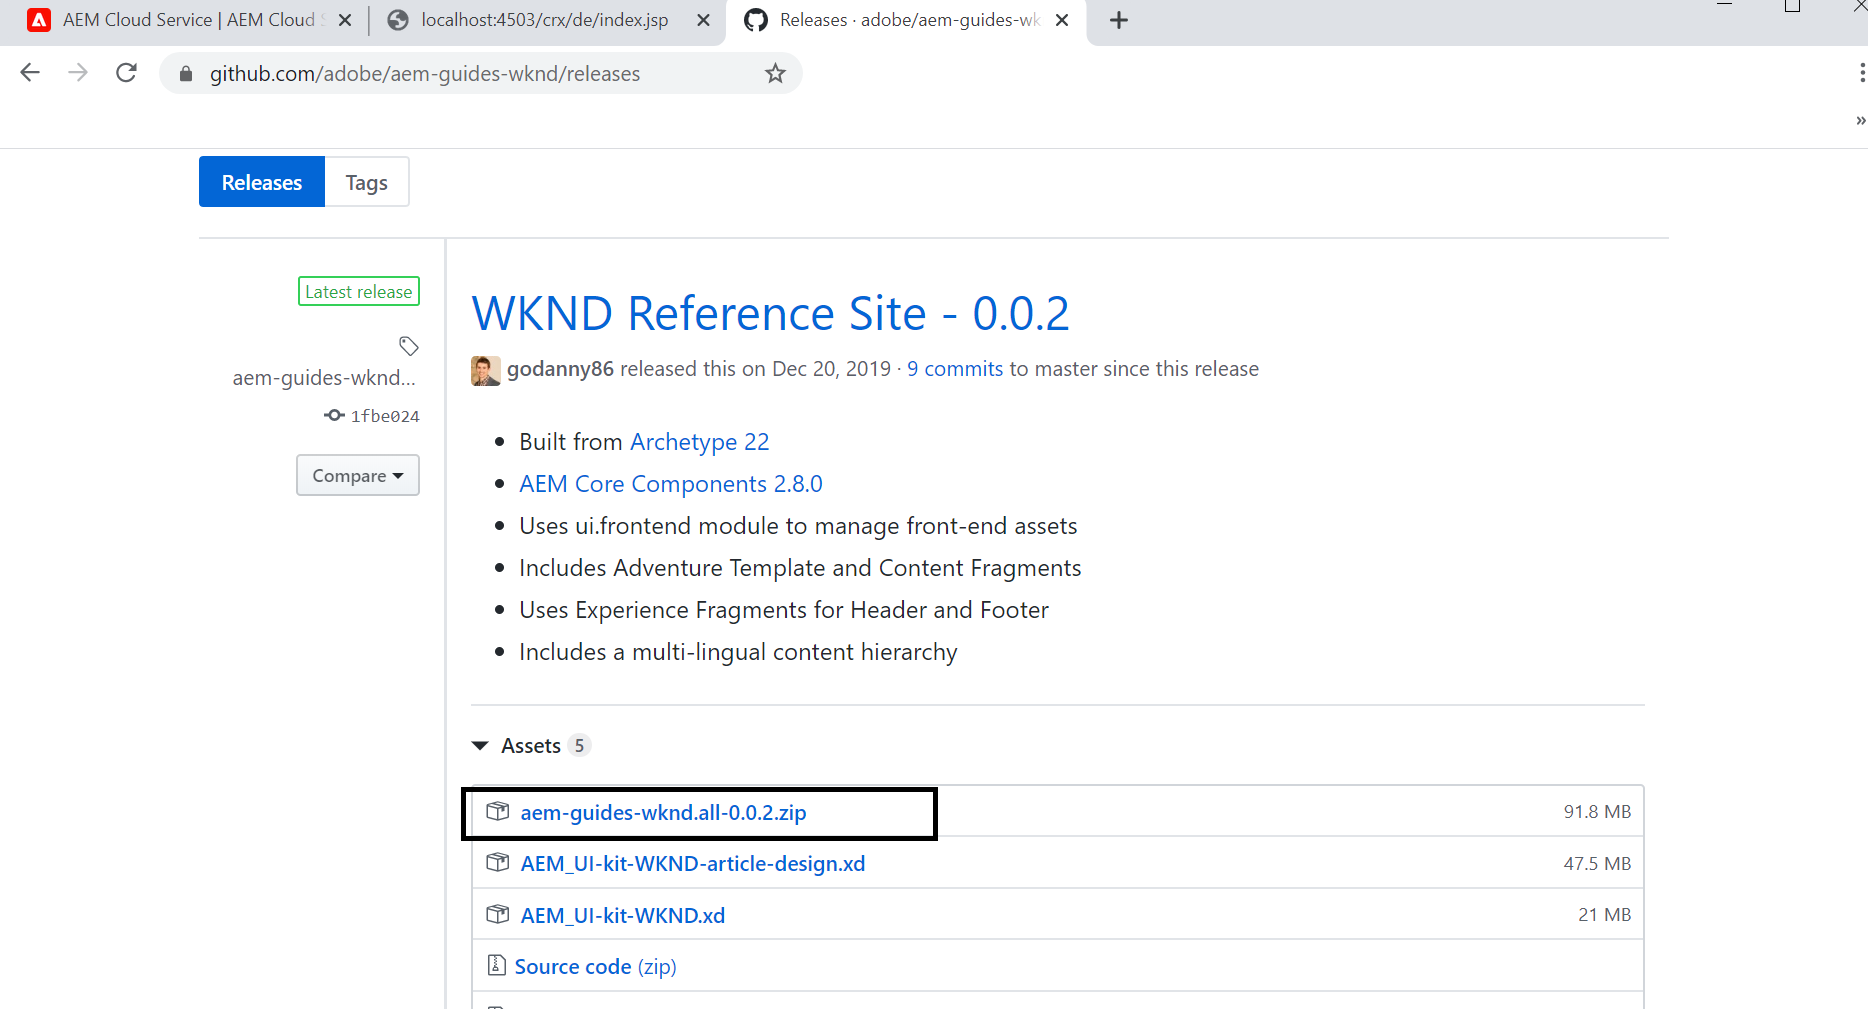
Upload the package to AEM package manager(http://localhost:4503/crx/packmgr/index.jsp) and install
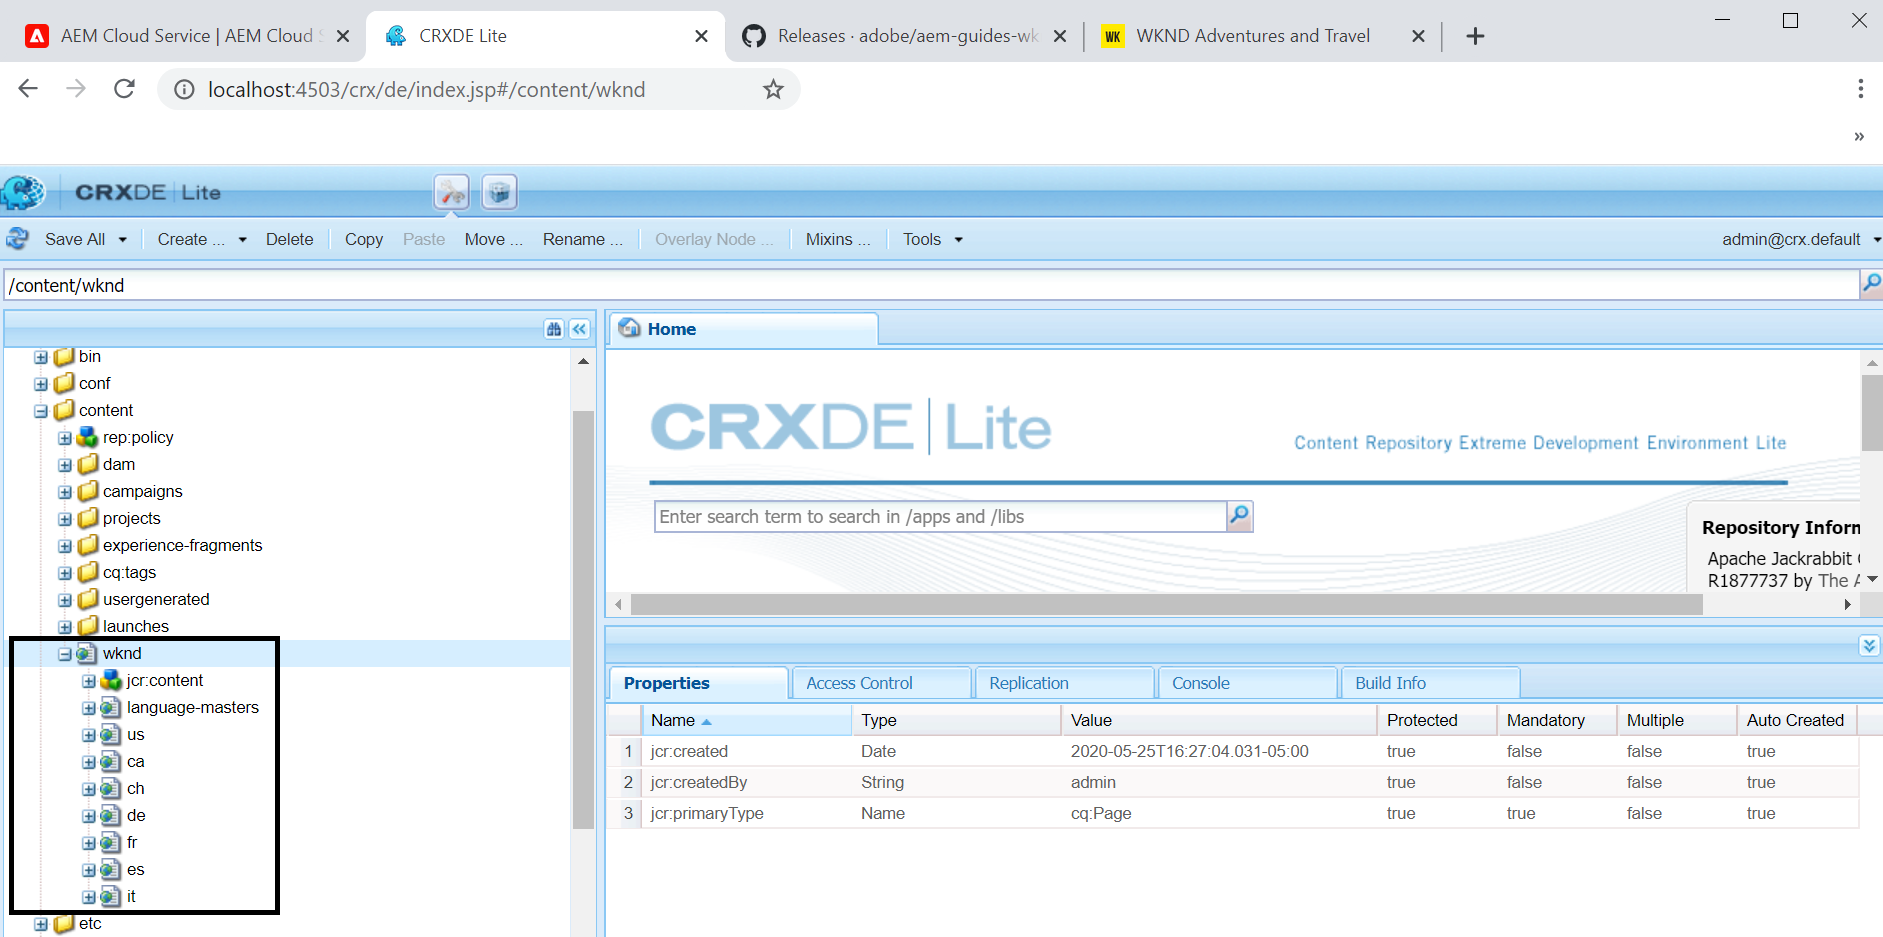
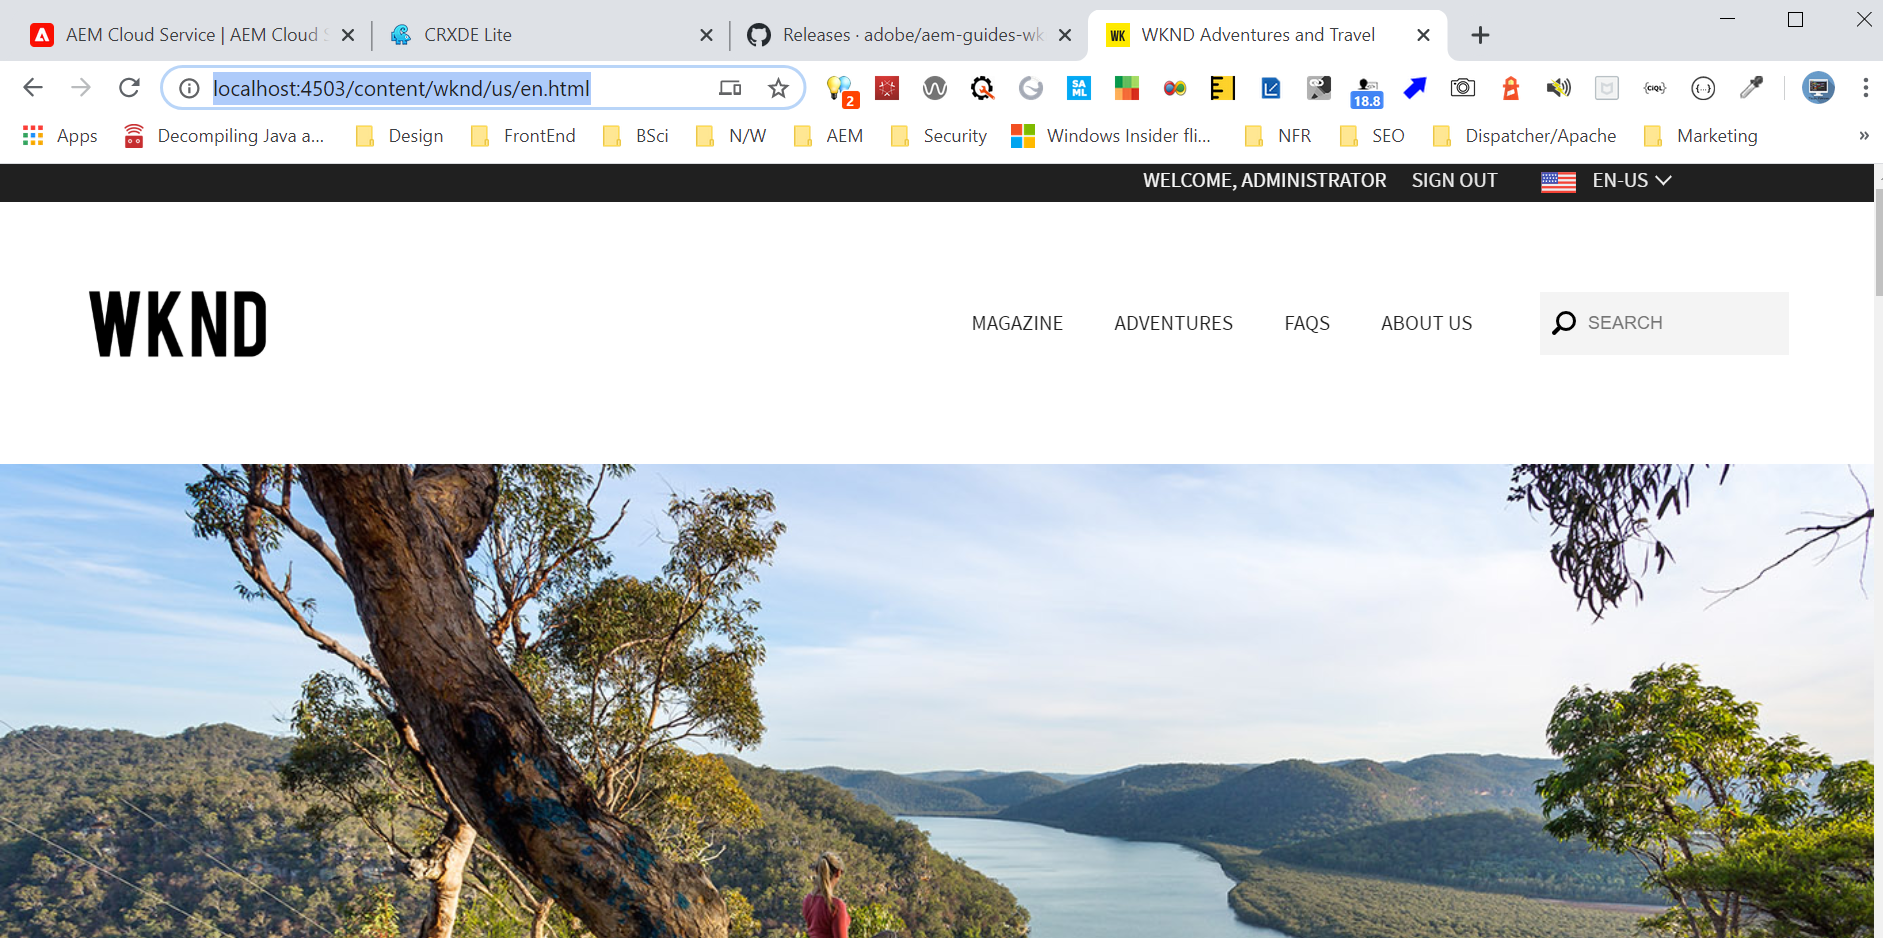
Now the WKND website is accessible through publisher — http://localhost:4503
Setup AEM Dispatcher

Extract aem-sdk-dispatcher-tools-2.0.22-windows.zip file created by extracting the SDK zip file(aem-sdk-2020.5.3375.20200520T082948Z-200507.zip) into the dispatcher folder(create the dispatcher local folder).
Download and Install the latest version of docker desktop — https://www.docker.com/products/docker-desktop, start the docker desktop before proceeding with the next steps.
Validate the default dispatcher configurations, the default configurations are available under the dispatcher folder created above — dispatcher/src/conf.d and dispatcher/src/conf.dispatcher.d
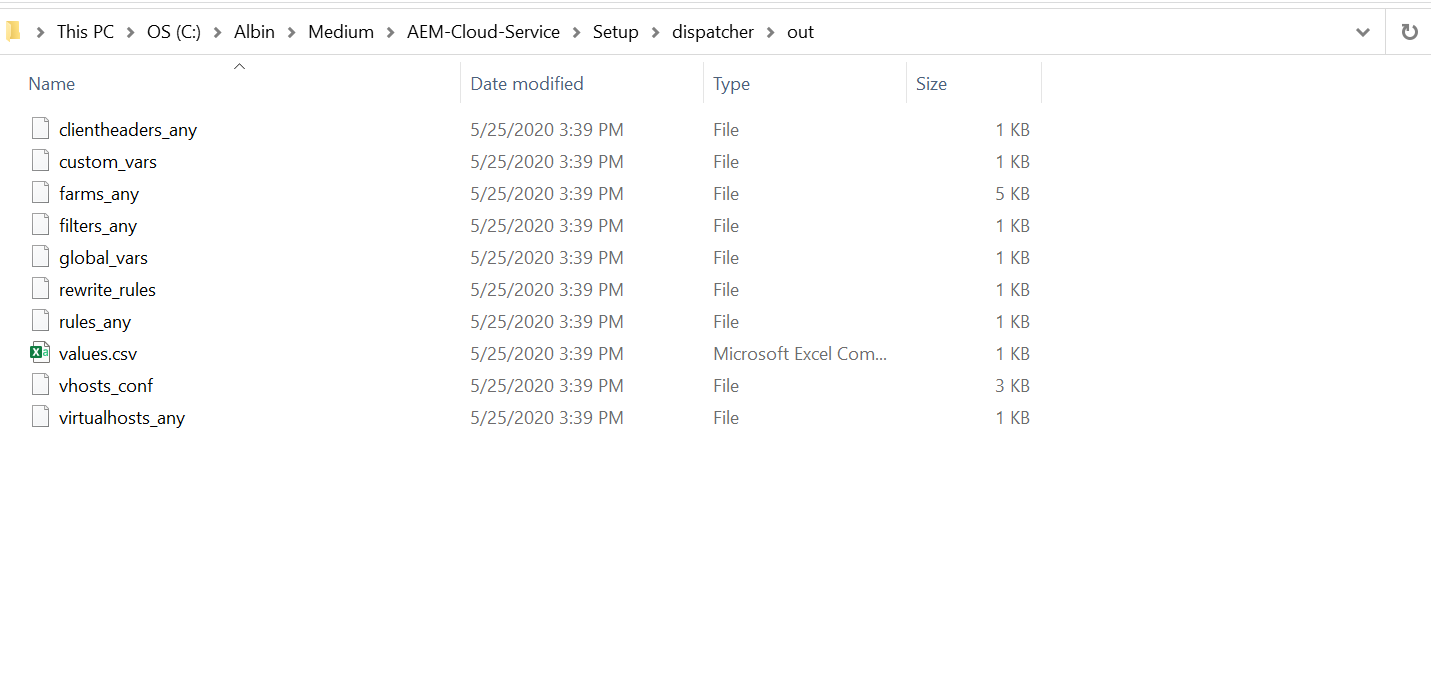
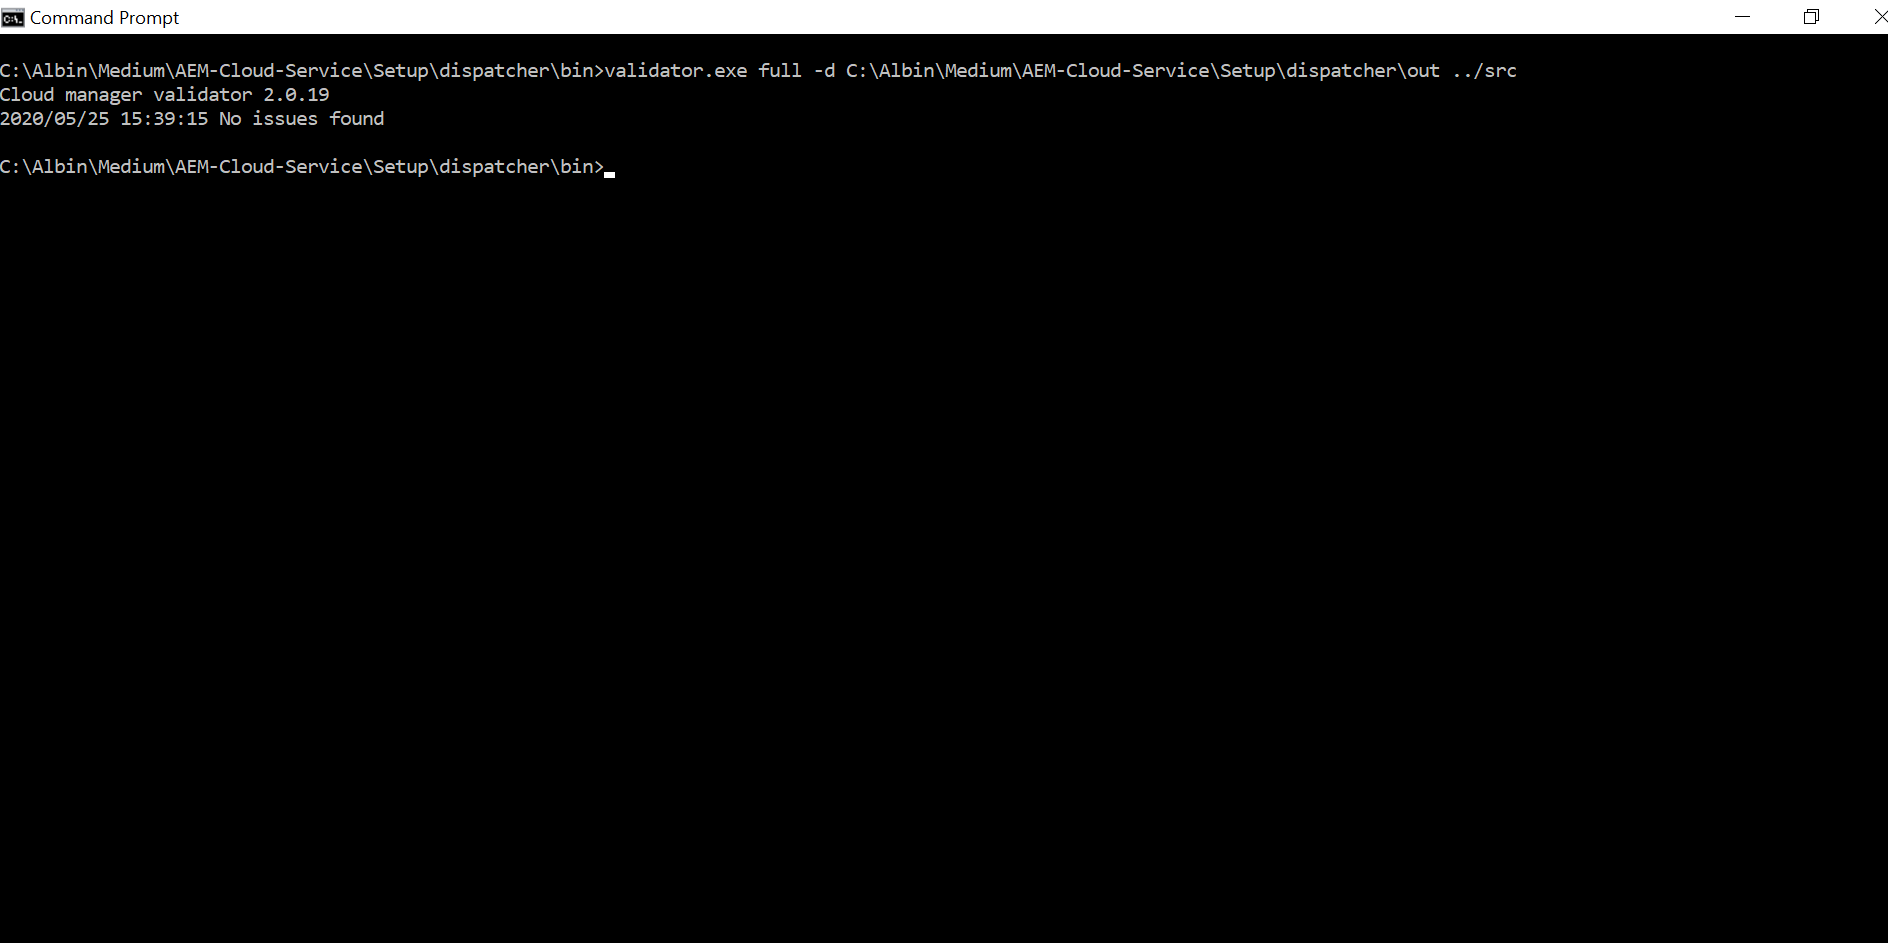
Navigate to dispatcher/bin folder from windows command prompt and execute — validator.exe full -d C:\Albin\Medium\AEM-Cloud-Service\Setup\dispatcher\out ../src
C:\Albin\Medium\AEM-Cloud-Service\Setup\dispatcher\out — output folder to keep the generated dispatcher configurations for docker
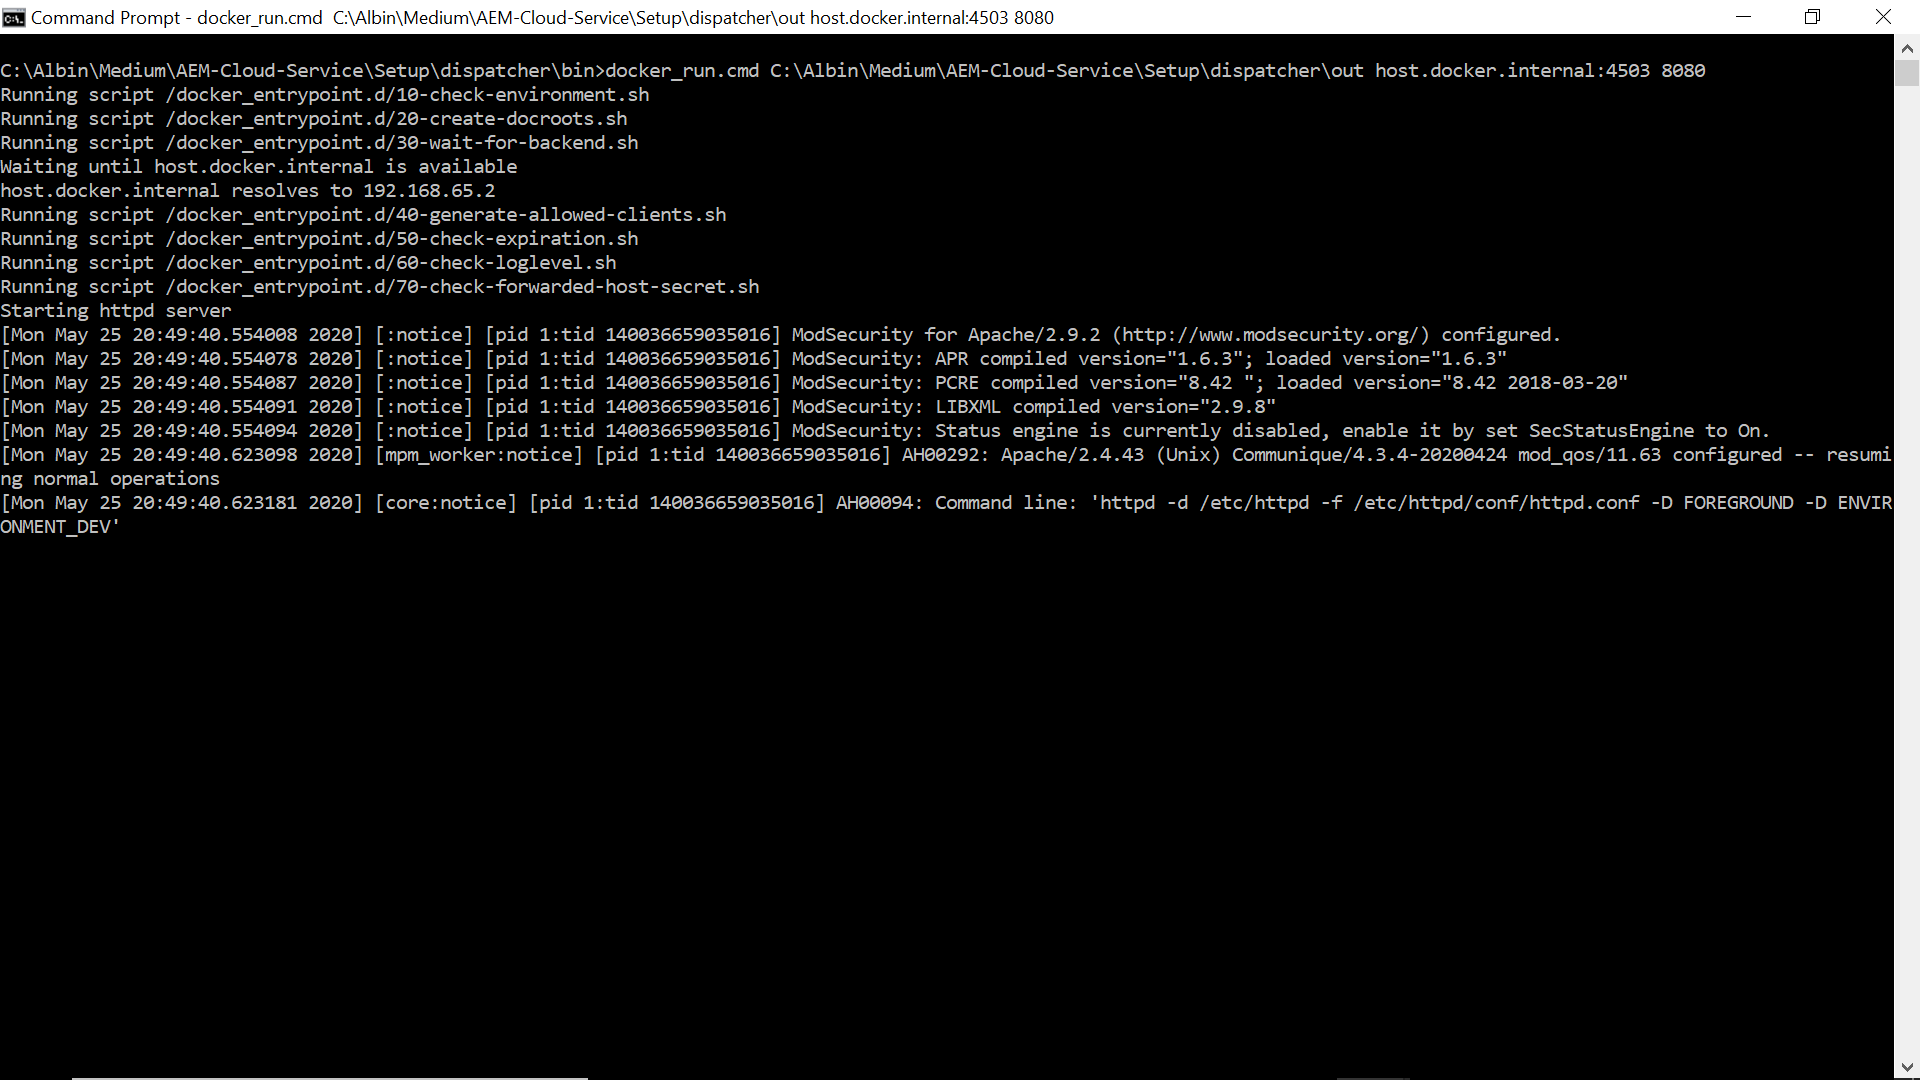
Navigate to dispatcher/bin folder in command prompt and execute — docker_run.cmd C:\Albin\Medium\AEM-Cloud-Service\Setup\dispatcher\out host.docker.internal:4503 8080
4503 — AEM Publisher port
8080 — Dispatcher port
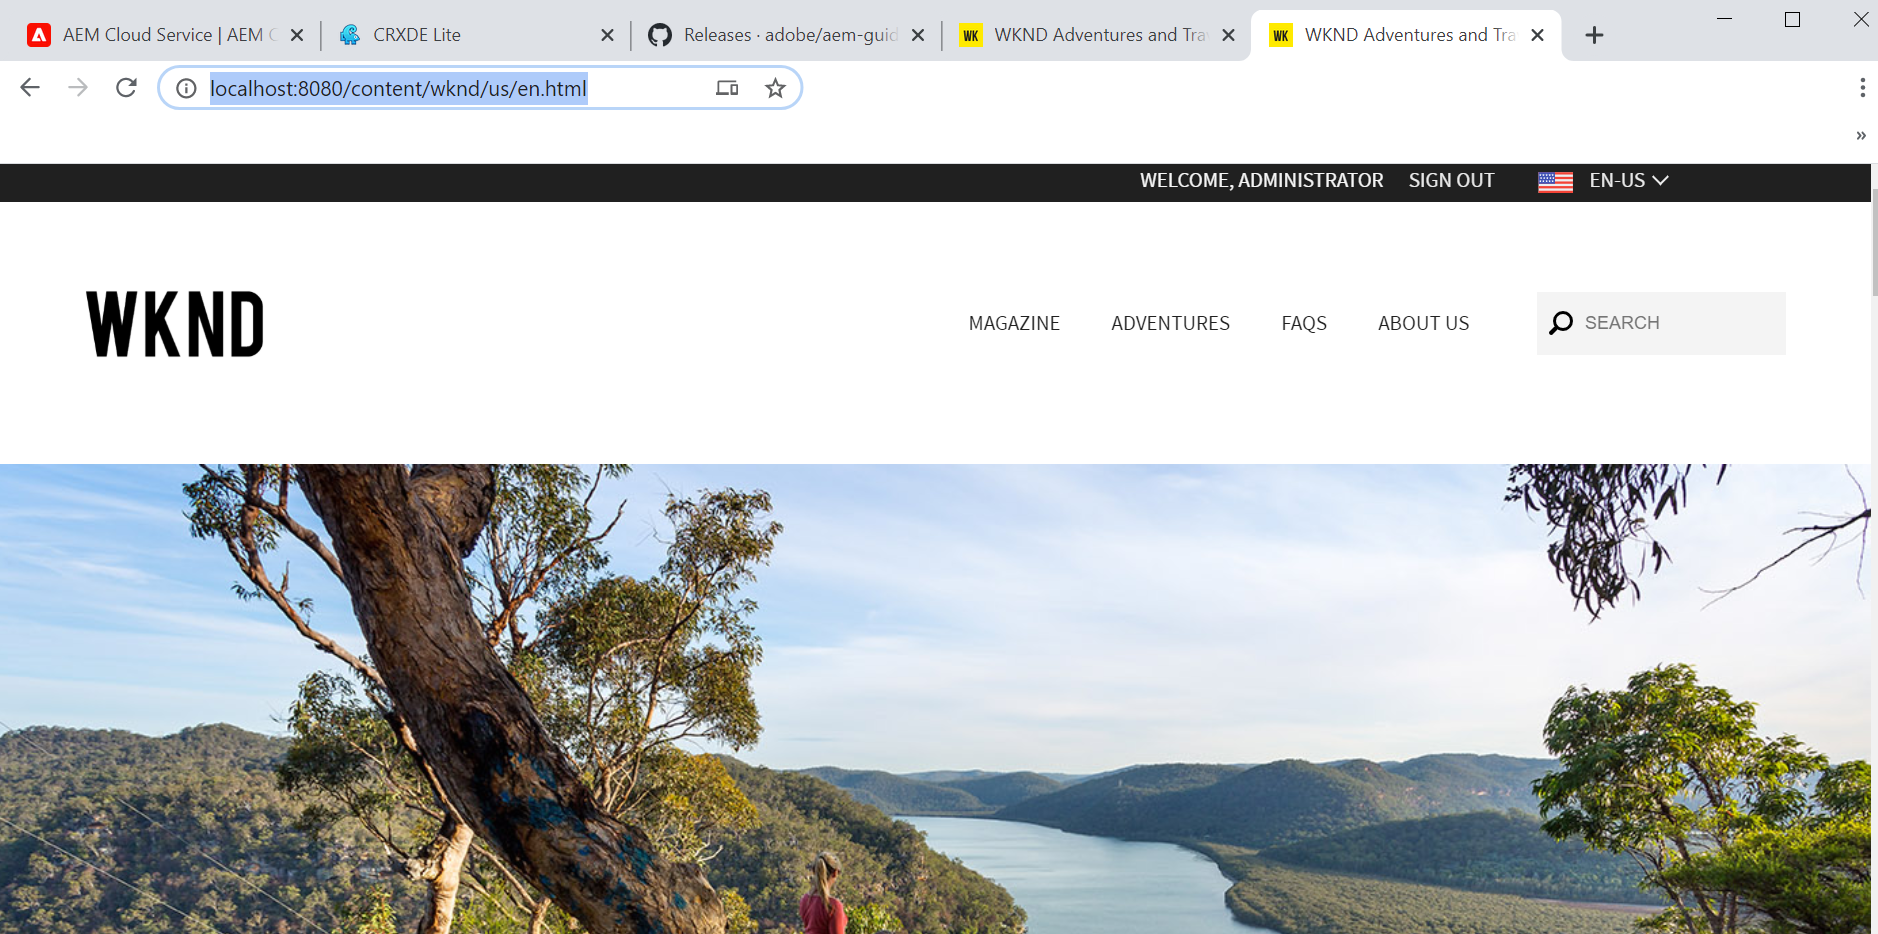
Now the dispatcher is running on port 8080 and connected to AEM publisher on port 4503
Access the WKND website through dispatcher — http://localhost:8080/
The basic local setup for the AEM as cloud service is completed now, follow the below steps to create new custom project for AEM cloud.

Create a new AEM Project for AEM Cloud

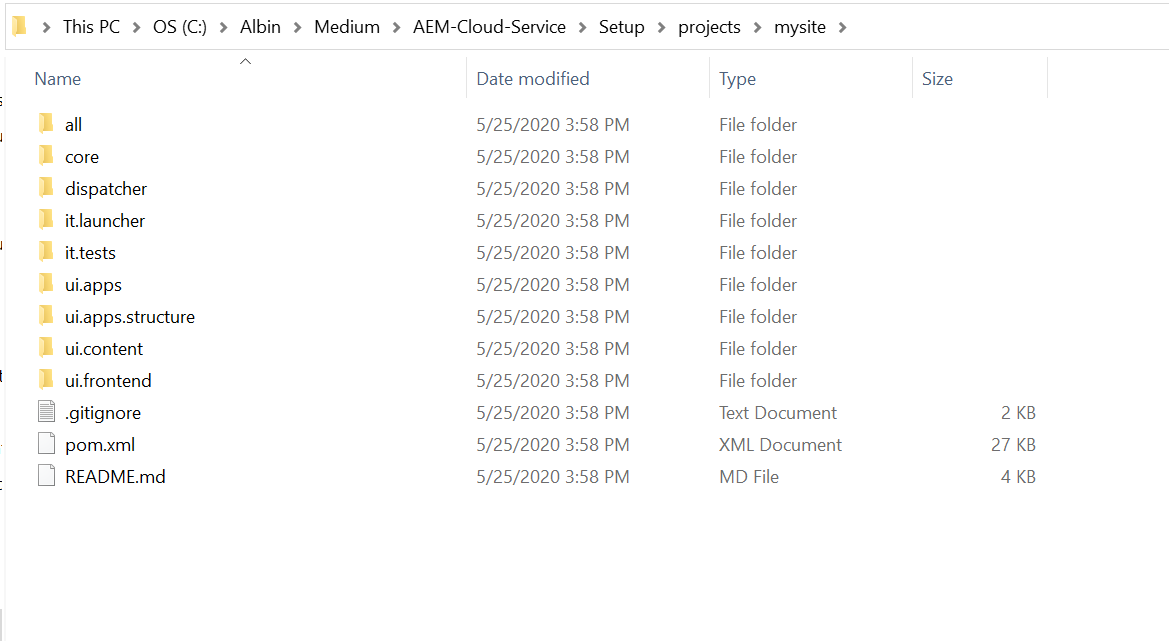
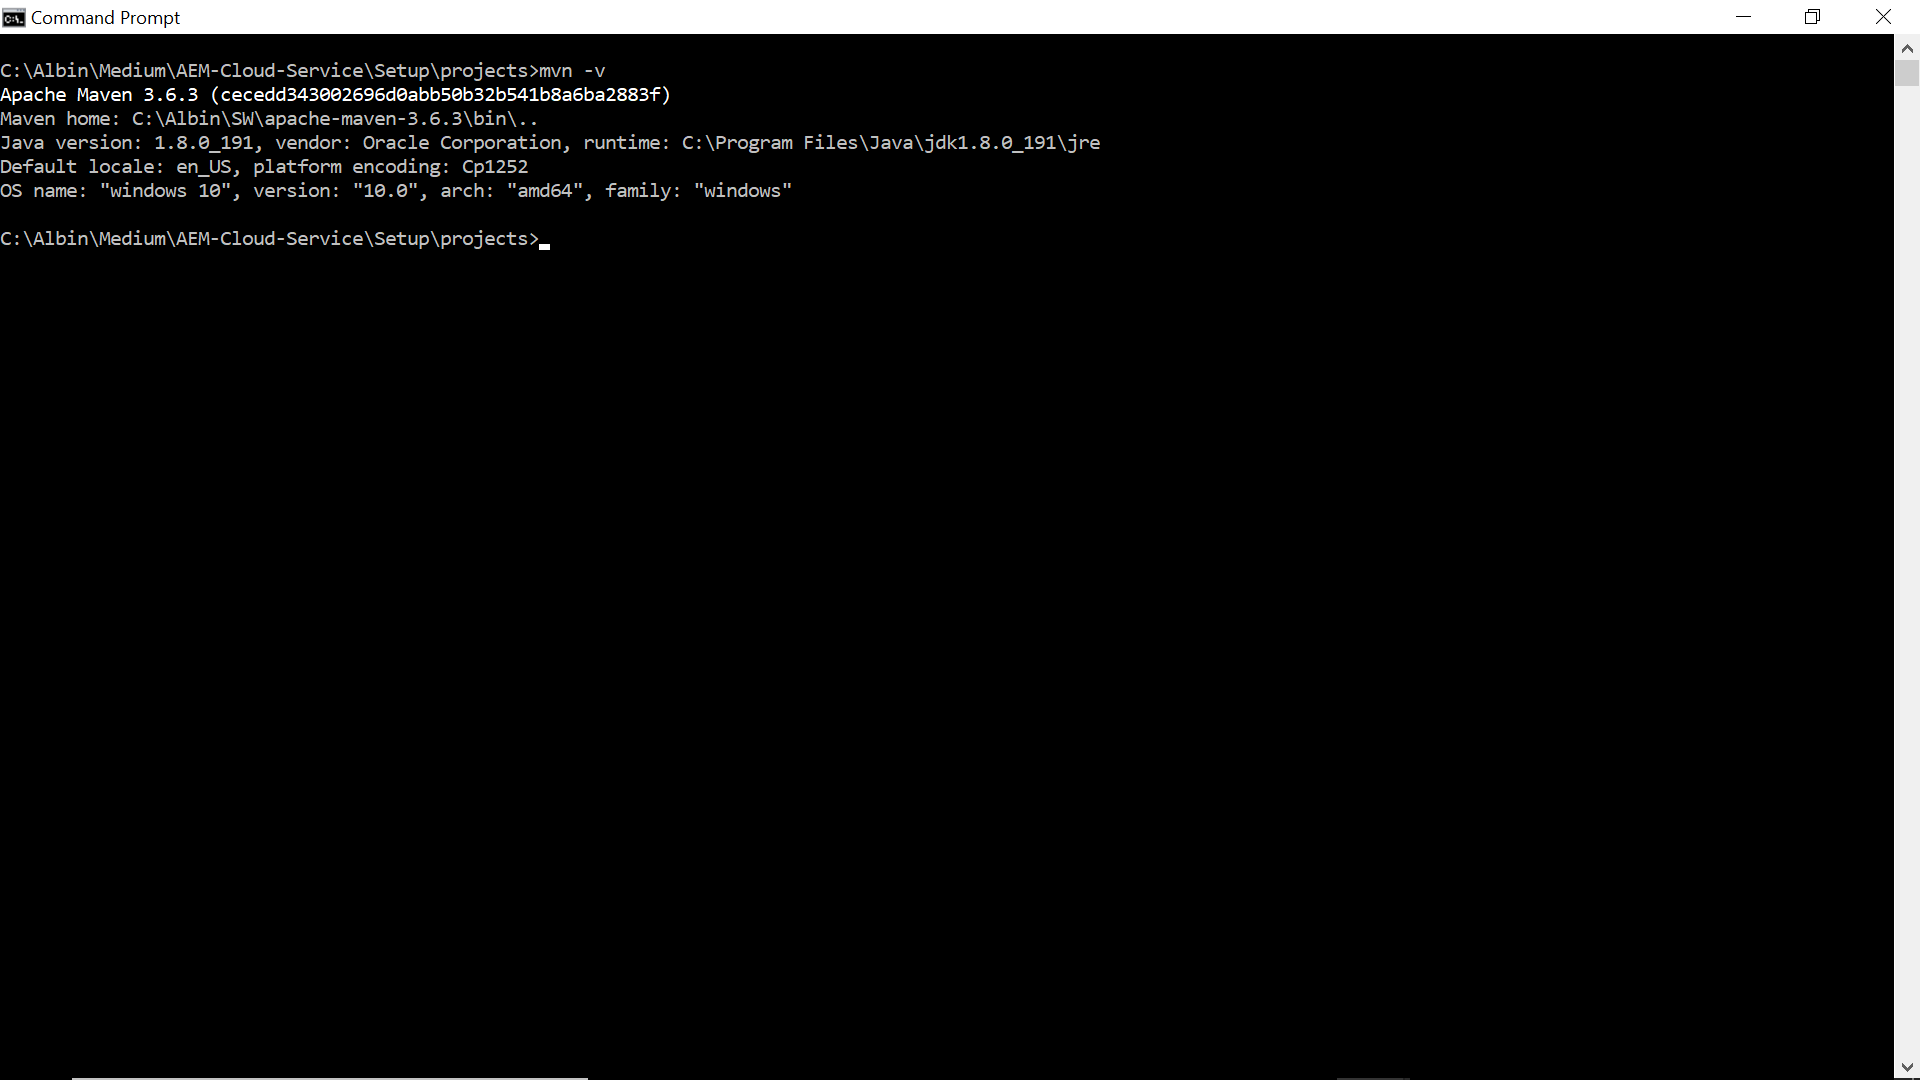
The new project supported for AEM cloud service can be created by using the below Maven command (the command should be executed as a administrator or with elevated access, the latest Maven version should be installed on the system)
mvn -B archetype:generate -D archetypeGroupId=com.adobe.granite.archetypes -D archetypeArtifactId=aem-project-archetype -D archetypeVersion=23 -D aemVersion=cloud -D appTitle=”My Site” -D appId=”mysite” -D groupId=”com.mysite” -D frontendModule=general -D includeExamples=n
You can modify the project files and deploy to Local AEM server through the below mvn command(execute the command from the root folder of the project)
Author — mvn clean install -PautoInstallPackage
Publish — mvn clean install -PautoInstallPackagePublish


Conclusion

This concludes the local setup for AEM as Cloud service development in windows system(AEM servers and Dispatcher), this helps to develop and test the changes before moving the code packages on to the Cloud Service. The tested changes(AEM or Dispatcher) can be deployed to AEM as a Cloud service through Adobe Cloud Manager (Cloud Manager will run a CI/CD pipeline to ensure the quality of the deployment). AEM as a Cloud Service now provides the seamless upgrade experience to the AEM platforms.

Sunday, May 3, 2020

How to enable search synonyms in AEM with Lucene?

How to enable search synonyms in AEM with Lucene?


This tutorial explains how to enable search synonyms in AEM with Lucene.


Search Synonyms


Synonyms are used to inform the search engine that searching for one word should also search for others e.g searching for gigabyte should also consider gigabytes, gib and gb etc

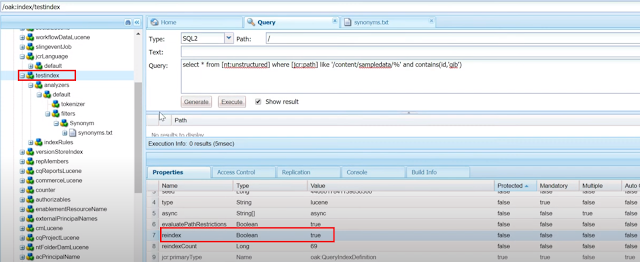
The analyzer should be configured for custom oak index to support the search synonyms.

Refer the following tutorial to configure custom oak index and analyzers

https://www.albinsblog.com/2020/04/oak-lucene-index-improve-query-in-aem-configure-lucene-index.html#.Xu7oD2hKjb1

https://www.albinsblog.com/2020/05/how-to-enable-case-insensitive-search-in-aem-lucene.html#.Xu7nAWhKjb1

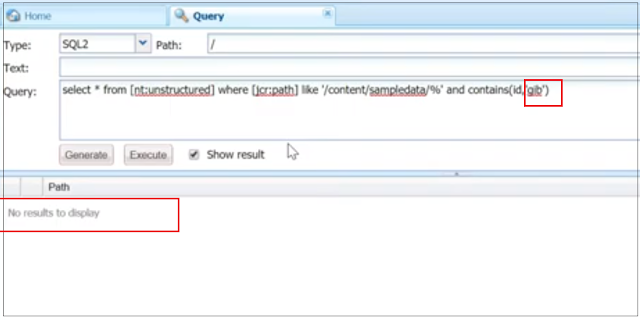
I have a data node with id property value as "gigabyte", the node will be returned while searching with the value "gigabyte" but not returned while searching with "gigabytes", "gib" or "gb".

aem-search-synonyms-with-lucene1

aem-search-synonyms-with-lucene2.png

aem-search-synonyms-with-lucene

Configure Analyzer


Let us now configure the Analyzer to support the search synonyms.

Create a node "Synonym" with the the primary type of  "nt:unstructured" under analyzers\default\filters (refer the sample configuration package from the git link posted in the bottom of the tutorial)

aem-search-synonyms-with-lucene


Add the following properties to synonyms node

format - solr or wordnet
synonyms - synonyms.txt, file with synonyms definitions

There are two possible formats for the dictionary, I am using solr format for the demo
  • wordnet: based on the popular Wordnet community. This required the synonyms configuration in specific format
  • solr: it’s more plain text. Comma separated values 
The synonym.txt file is a simple comma-separated list of synonyms. All matching terms should exist in a single row. Any word that is searched in the row will match all other words in that same row. Common uses for Synonyms are matching on variations of a word.

synonyms.txt

GB,gib,gigabyte,gigabytes
MB,mib,megabyte,megabytes
Television, Televisions, TV, TVs

The configurations are ready now, let us re-index the data. Change the value of reindex property under the custom index to true - this will initiate the re-indexing, the property value will be changed to false once the re-indexing is initiated

aem-search-synonyms-with-lucene

Wait for few minutes to the index to complete

Let us now search with "gib" - there is no node with value "gib" for id property under /content/sampledata but "gib" is configured as a synonym for "gigabyte" so the node with id property value "gigabyte" will be returned as a result.

aem-search-synonyms-with-lucene


Synonyms Configuration - https://github.com/techforum-repo/youttubedata/tree/master/lucene


Define a custom index with synonyms and configure all the possible synonyms to the synonyms.txt file. The configured data can be used to search the data with different synonyms.

Saturday, May 2, 2020

How to enable case insensitive search in AEM with Lucene?

How to enable case insensitive search in AEM with Lucene?


This tutorial explains how to enable case insensitive search in AEM with Lucene.

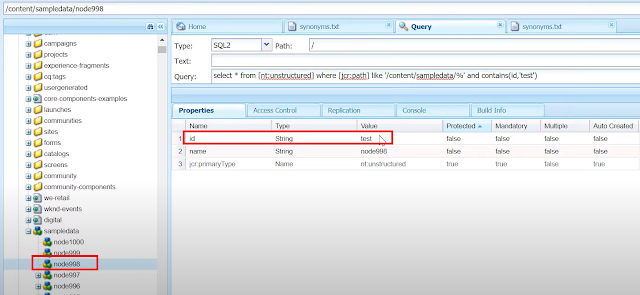
I have two nodes with property "id" under /content/sampledata with same value in different case e.g TEST and test

aem-case-insensitive-search-with-lucene1

aem-case-insensitive-search-with-lucene

By default, the Lucene search is case sensitive so the query will return only the matching node - the node matching with value "test"

aem-case-insensitive-search-with-lucene

The case insensitive can be enabled through analyzers in Lucene index

Refer the following URL to configure the custom Lucene index - https://www.albinsblog.com/2020/04/oak-lucene-index-improve-query-in-aem-configure-lucene-index.html#.Xu7oD2hKjb1

Analysis, in Lucene, is the process of converting field text into its most fundamental indexed representation, terms. These terms are used to determine what documents match a query during searching.

An analyzer tokenizes text by performing any number of operations on it, which could include extracting words, discarding punctuation, removing accents from characters, lowercasing (also called normalizing), removing common words, reducing words to a root form (stemming), or changing words into the basic form (lemmatization).

This process is also called tokenization, and the chunks of text pulled from a stream of text are called tokens. Tokens, combined with their associated field name, are terms.

In Lucene, an analyzer is a java class that implements a specific analysis. Analysis occurs any time text needs to be converted into terms, which in Lucene’s core is at two spots: during indexing and when searching.
An analyzer chain starts with a Tokenizer, to produce initial tokens from the characters read from a Reader, then modifies the tokens with any number of chained TokenFilters.

Let’s see the some important built-in analyzer available in Lucene bundle:

WhitespaceAnalyzer, as the name implies, splits text into tokens on whitespace characters and makes no other effort to normalize the tokens. It doesn’t lowercase each token. 

SimpleAnalyzer first splits tokens at nonletter characters, then lowercases each token. Be careful! This analyzer quietly discards numeric characters but keeps all other characters. 

StopAnalyzer is the same as SimpleAnalyzer, except it removes common words. By default, it removes common words specific to the English language (the, a, etc.), though you can pass in your own set.

KeywordAnalyzer treats entire text as a single token. 

StandardAnalyzer is Lucene’s most sophisticated core analyzer. It has quite a bit of logic to identify certain kinds of tokens, such as company names, email addresses, and hostnames. It also lowercases each token and removes stop words and punctuation. 

The built-in analyzers can be used directly by specifying the class name or the analyzers can be composed with tokenizer and series of filters – there are multiple Tokenizers e.g Standard, Keyword, CharTokenizers and Token Filters e.g Stop, LowerCase,Standard 

org.apache.lucene.analysis.standard.StandardAnalyzer 

org.apache.lucene.analysis.core.SimpleAnalyzer

There are multiple standard analyzers, tokenizers and Token Filters, custom analyzers/Tokenizer/TokenFilters can be created if required. 

The analyzers is configured via the analyzers node (of type nt:unstructured) inside the oak:index definition. 

The default analyzer for an index is configured in the default child of the analyzer’s node(of type nt:unstructured). 

Create a child node with name "tokenizer" of type "nt:untstrutured" under default node and add the property "name" with value "Standard"

aem-case-insensitive-search-with-lucene

Create a child node with name "filters" of type "nt:untstrutured" under default node.

Create a child node with name "LowerCase" of type "nt:untstrutured" 

This will index the data by lower casing and also match data by lower casing during the search.

The configurations are ready now, let us index the data. Change the value of reindex property under the custom index to true - this will initiate the re-indexing, the property value will be changed to false once the re-indexing is initiated

aem-case-insensitive-search-with-lucene

Let me now re-execute the query, this time the query returns both nodes with uppercase and lowercase values(TEST and test)

aem-case-insensitive-search-with-lucene


Saturday, April 25, 2020

AEM Core components deep dive | How to extend AEM core components | Proxy Components in AEM

AEM Core components deep dive | How to extend AEM core components | Proxy Components in AEM


This tutorial explains the details on AEM core components

In AEM, we use either custom or OOTB components to build the website, these components are called as WCM(Web Content Management) components.

aem-wcm-core-components

Core components 


  •  introduced in AEM 6.2 but are strongly recommended to use from 6.3
  •  provides robust extensible base components
  •  built on the latest technology and follows the best practices
  •  adhering to accessibility guidelines and compliant with the WCAG 2.0 AA standard
  •  makes page authoring more flexible and customizable
  • simple to extend to offer custom functionalities


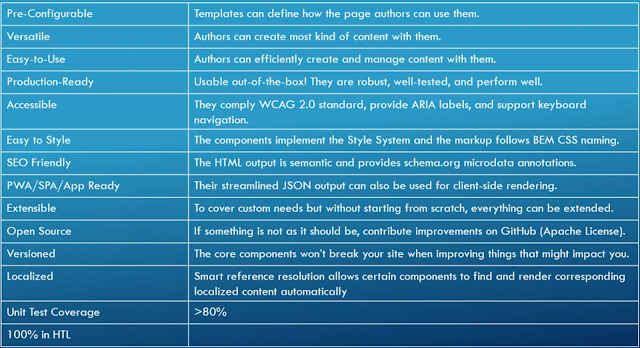
Core components - Features


aem-wcm-core-components

Core Components - Architecture


aem-wcm-core-components


  • Design dialog defines what authors can or cannot do it in the edit dialog
  • Edit dialog shows authors only options they are allowed to use
  • Sling model verifies and prepares the content for the view(template)
  • The result of the sling model can be serialized to JSON for SPA use cases
  • HTL renders the HTML server-side for traditional server-side rendering
  • The HTML output is semantic, accessible, search-engine optimized and easy to style.
The Core components follows the MVC (Model View Controller) design pattern.

aem-wcm-core-components


aem-wcm-core-components

The Controller(Content) refers the proxy component (View), the proxy component is extended from WCM core components. Proxy Components are site-specific components which are inherited from core components, these are called as proxy component as no implementation is required but refers the core component as the resourceSuperType, can be extended as required.

The core components refers the Sling Model (Model) to retrieve the required data for rendering. 

The Controller(Content) also refers the templates and configuration policies.

The Delegate pattern can be used to extend the model class for the core component, the responsibility of the model class is delegated to the implementations based on the resource type.

The core components uses the model interfaces and delegated to the right model implementation at runtime based on the resourceType in the model implementation.

 Enable Core Components


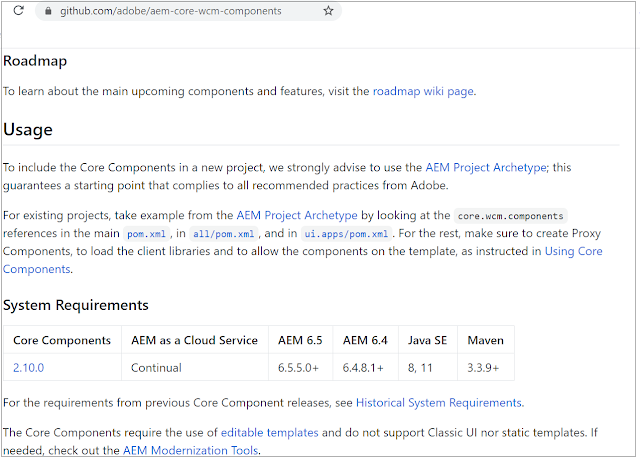
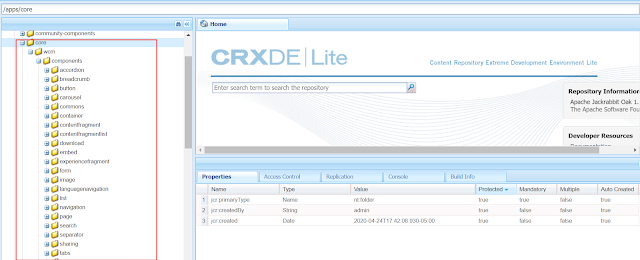
The Core Components are open sourced through github, the components implementation and details can be referred from https://github.com/adobe/aem-core-wcm-components

Either one of the below approach can be followed to install the Core Components to AEM
  • Install through package manager
  • Include through code package


Install through package manager


The latest version is listed in the github page, the previous versions can be accessed by clicking on "Historical System Requirements"

aem-wcm-core-components

aem-wcm-core-components


Click on the version based on the system requirement and download the packages

aem-wcm-core-components

Install the downloaded package through package manager, the core components are now enabled to the AEM instance

aem-wcm-core-components