This tutorial explains how to share or access the local files externally through ngrok and Python http server.
I have the below two scenarios
a set of files that needs to be shared outside
share a simple website externally
The above scenarios can be achieved through Apache Server and external DNS configurations but require more configurations efforts.
Prerequisites
ngrok free or paid version
Python latest version
Let us see how to enable the above scenarios through ngrok and python HTTP server with minimal configuration effort.
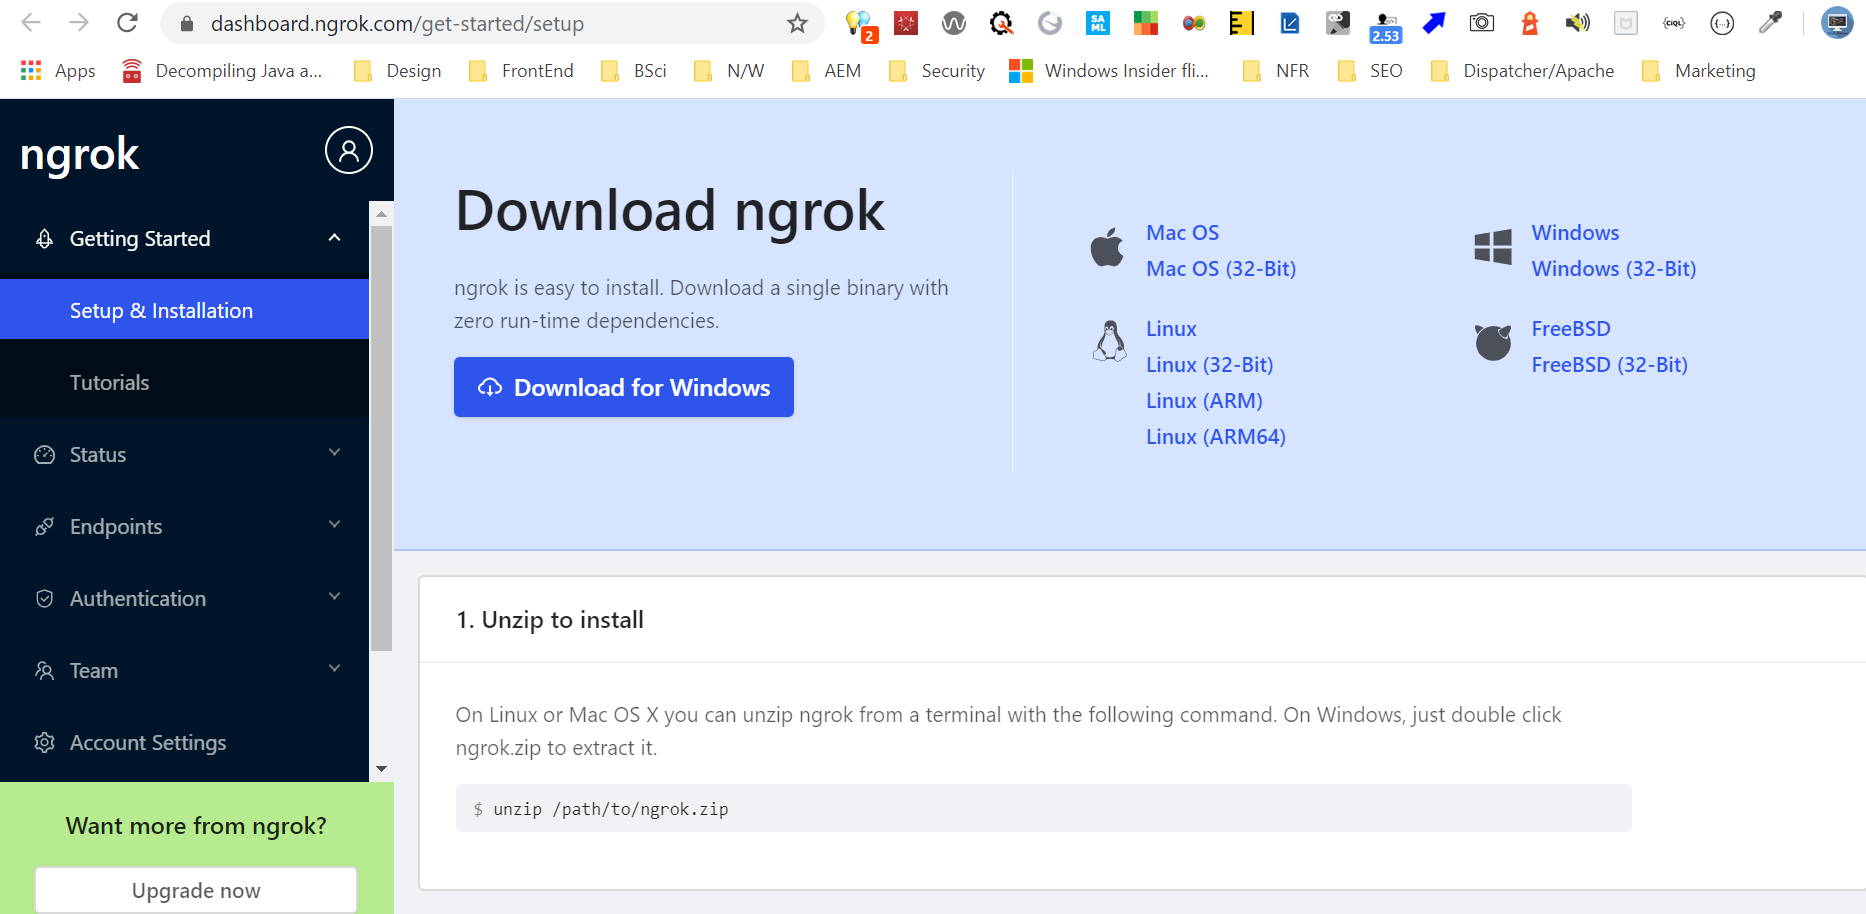
As a first step download ngrok(ngrok.com) for the required OS and extract the files
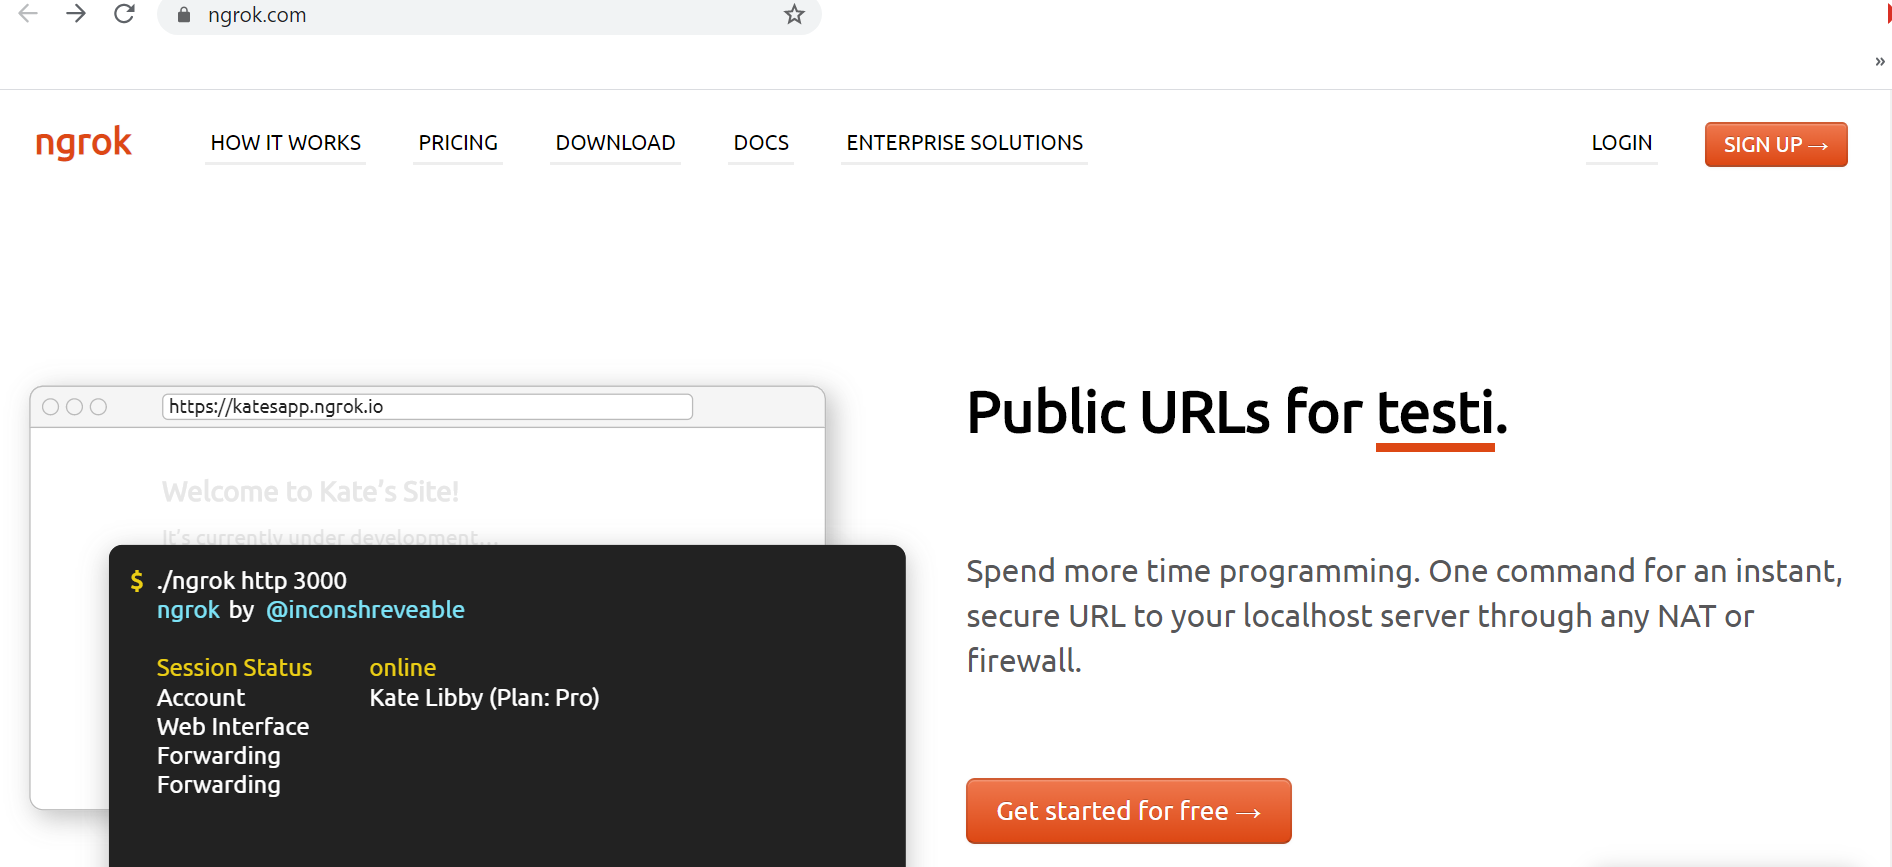
The ngrok allows you to expose a webserver running on your local machine to the internet. Just tell ngrok what port your web server is listening on.
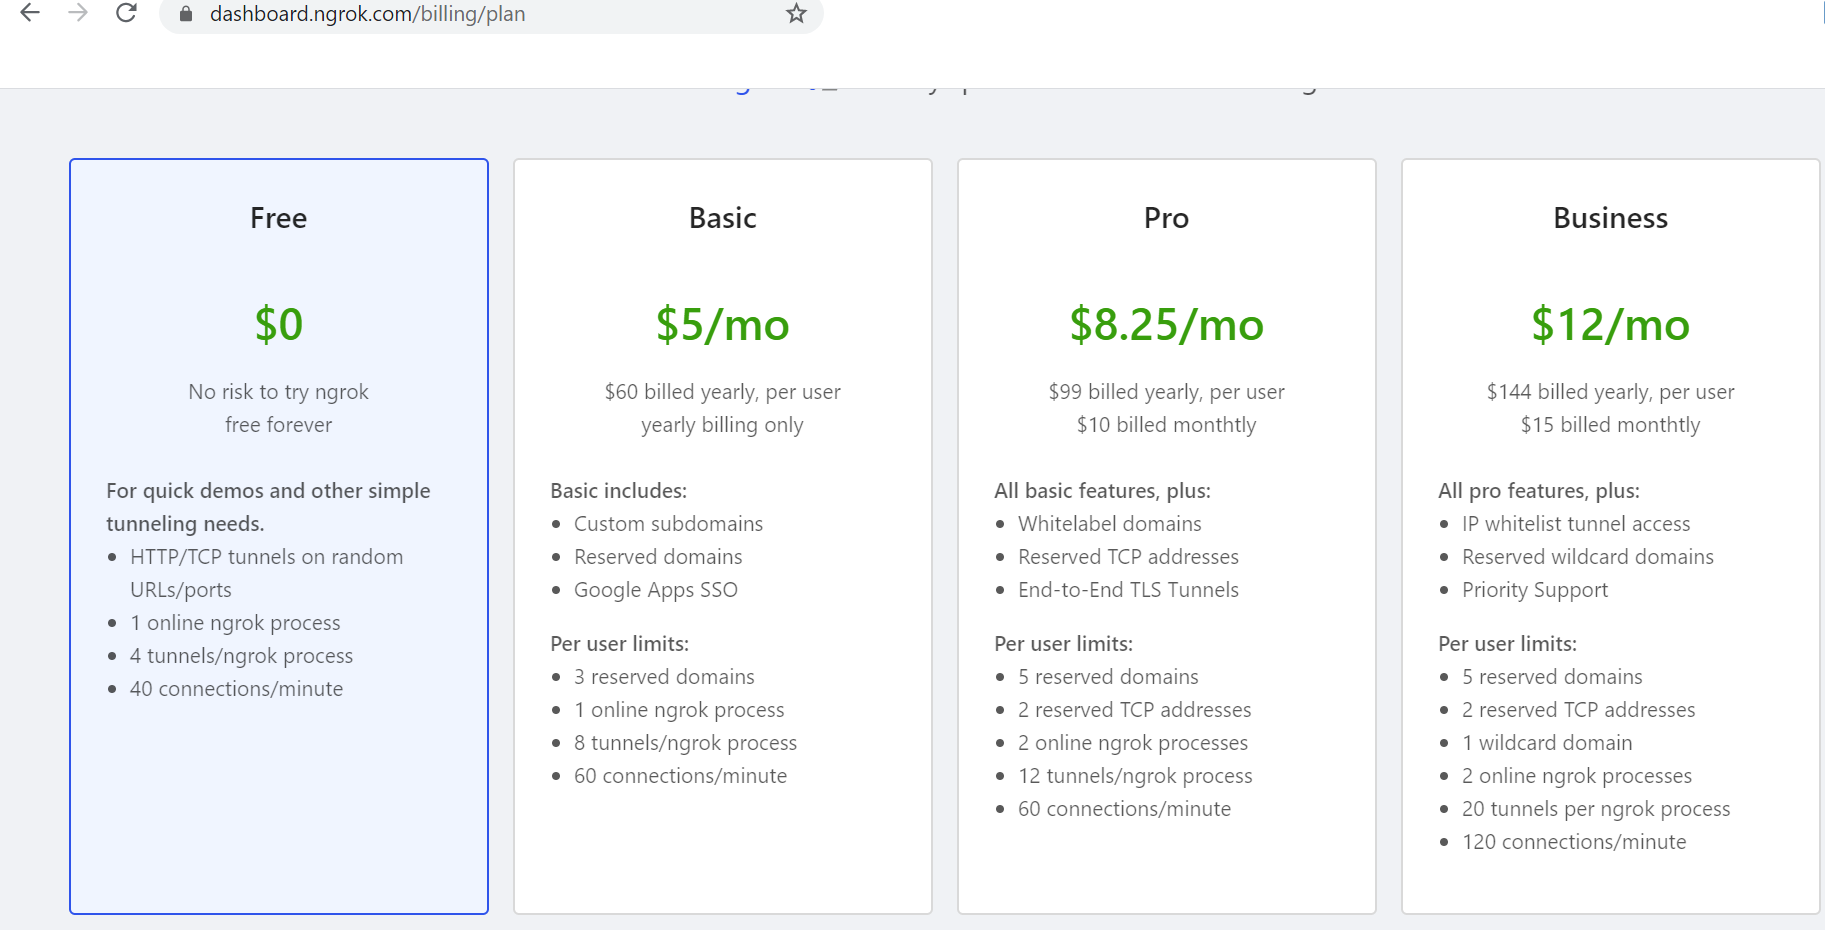
On the free plan, ngrok’s URLs are randomly generated and temporary. If you want to use the same URL every time, you need to upgrade to a paid plan so that you can use the subdomain option for a stable URL. There are different paid plans they will provide some advance features like custom/reserved domains and multiple tunnels etc
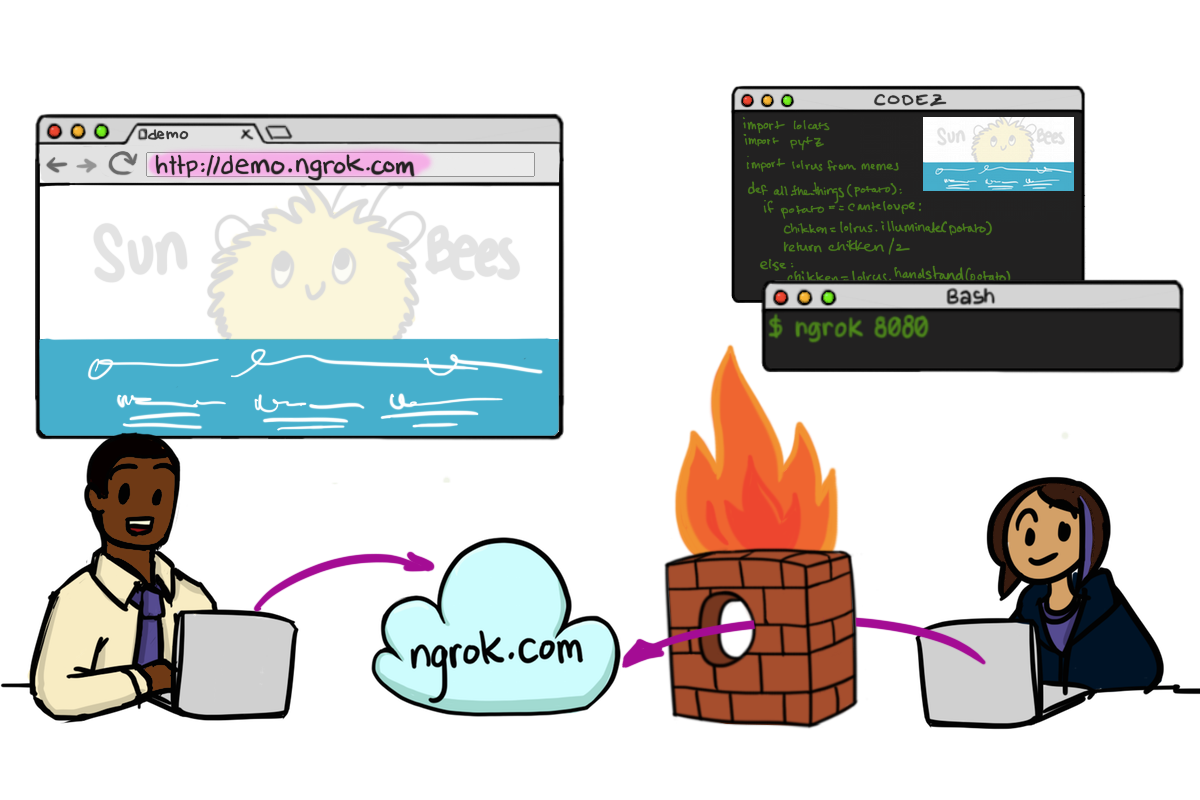
How ngrok works
You download and run a program on your machine and provide it the port of a network service, usually a web server.
It connects to the ngrok cloud service which accepts traffic on a public address and relays that traffic through to the ngrok process running on your machine and then on to the local address you specified.
Python HTTP Server
Python standard library comes with an in-built webserver which can be invoked for simple web client server communication
The required port number can be assigned and the web server is accessed through this port
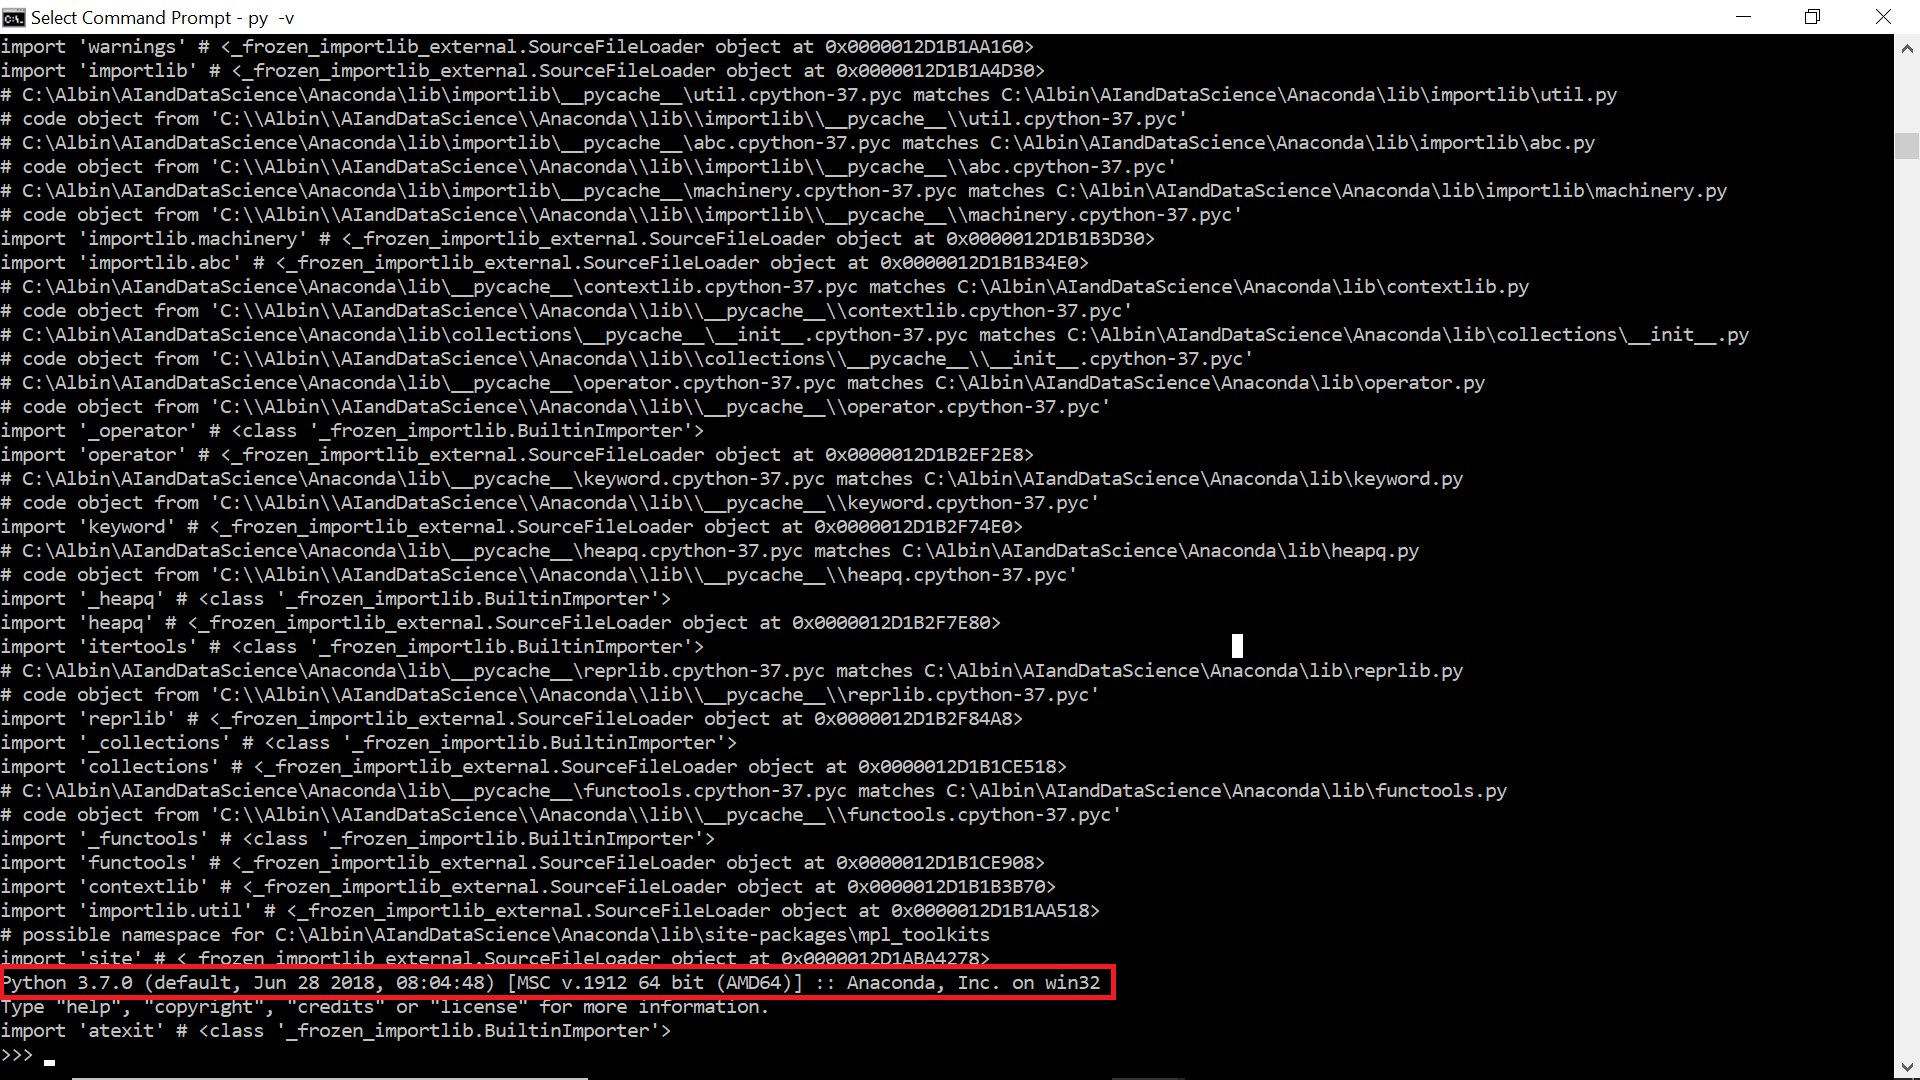
My system has python version 3.7.0 installed— “py -vi”
In the first scenario, i want to share some regular files externally
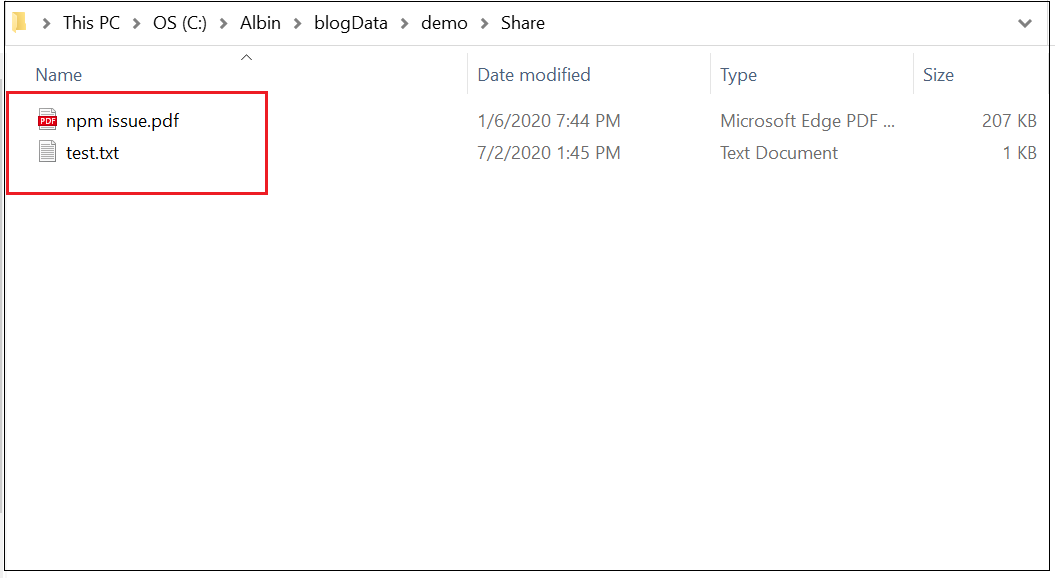
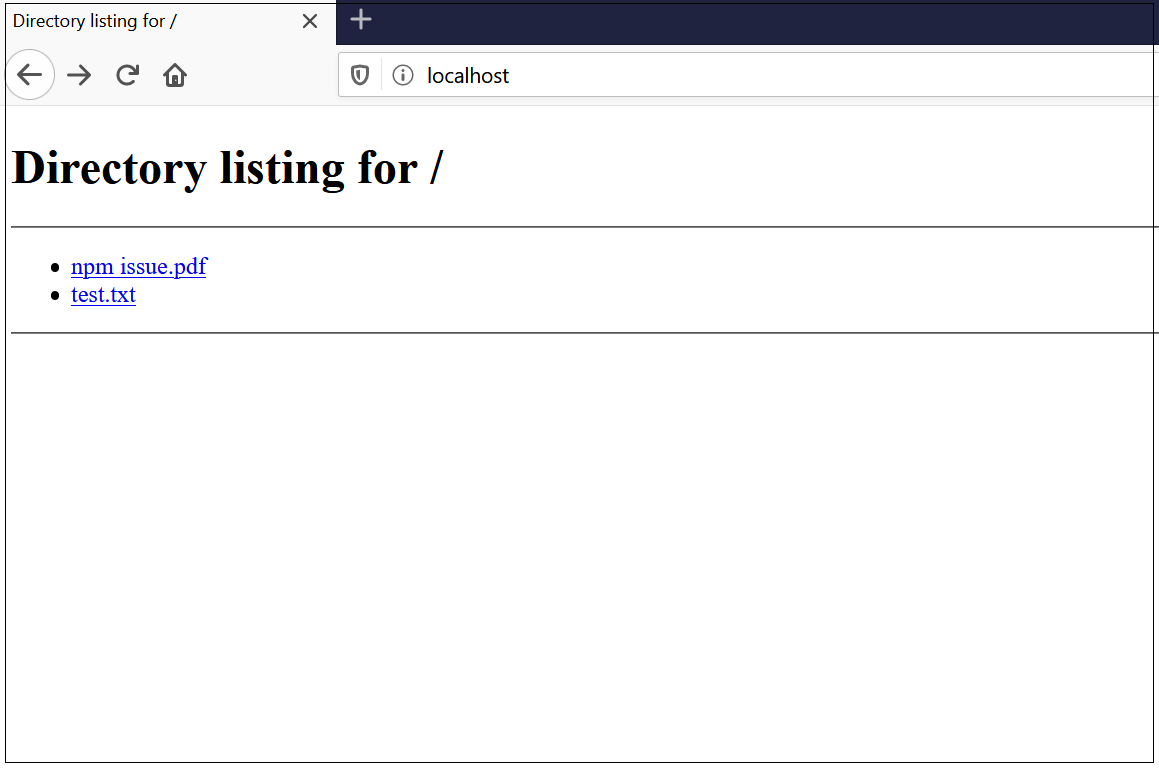
To start the HTTP server, cd to to the folder that should be shared(C:\Albin\blogData\demo\Share) through command prompt and execute the command “py -m http.server 80” — change the port number as required
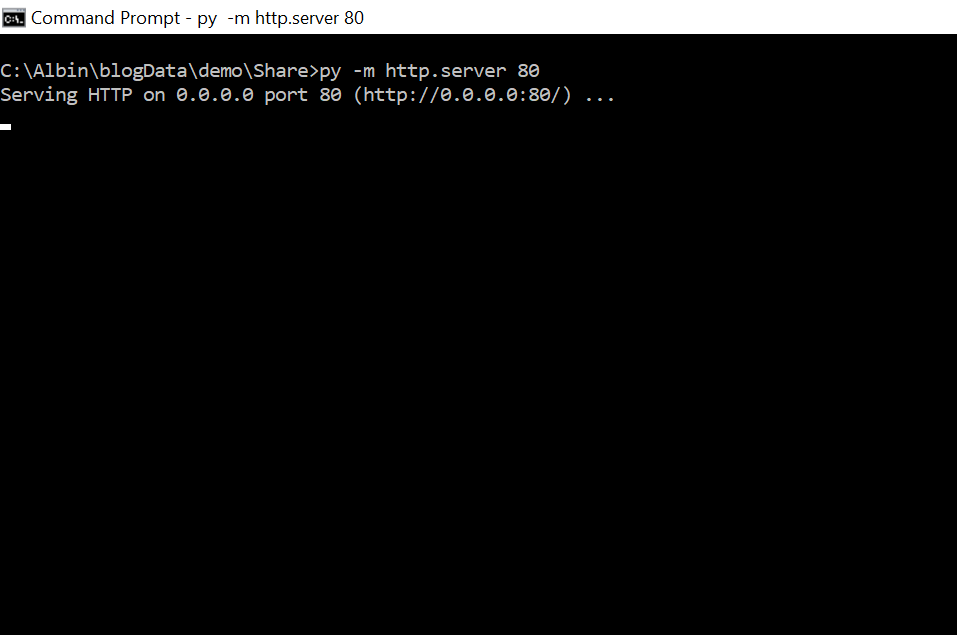
Now the files are accessible through localhost
Let's now start ngrok to share this folder externally, cd to the folder where ngrok was extracted(C:\Albin\SW\ngrok-stable-windows-amd64)
Execute “ngrok.exe http 80”(80 is where python HTTP server running)
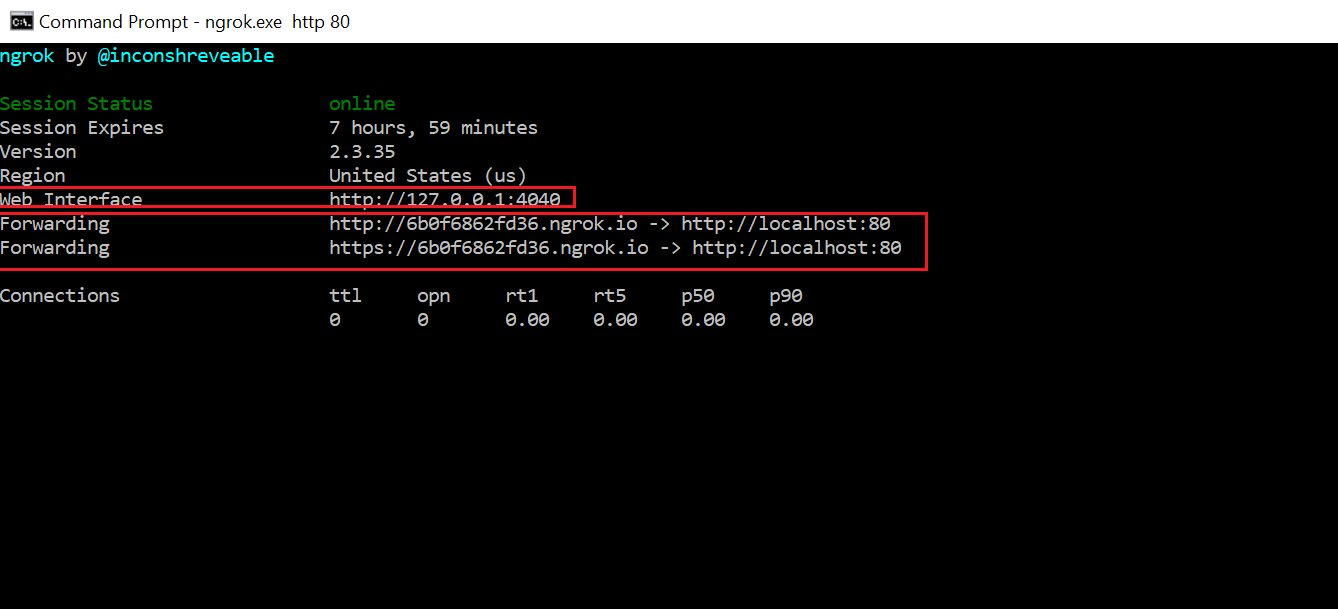
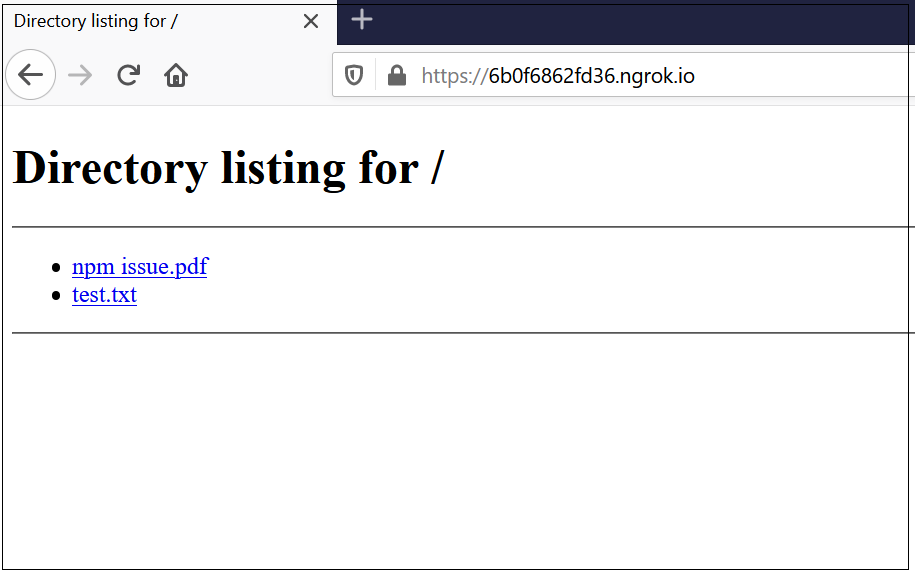
Now the external requests(http/https) are forwarded to localhost webserver through ngrok proxy domain
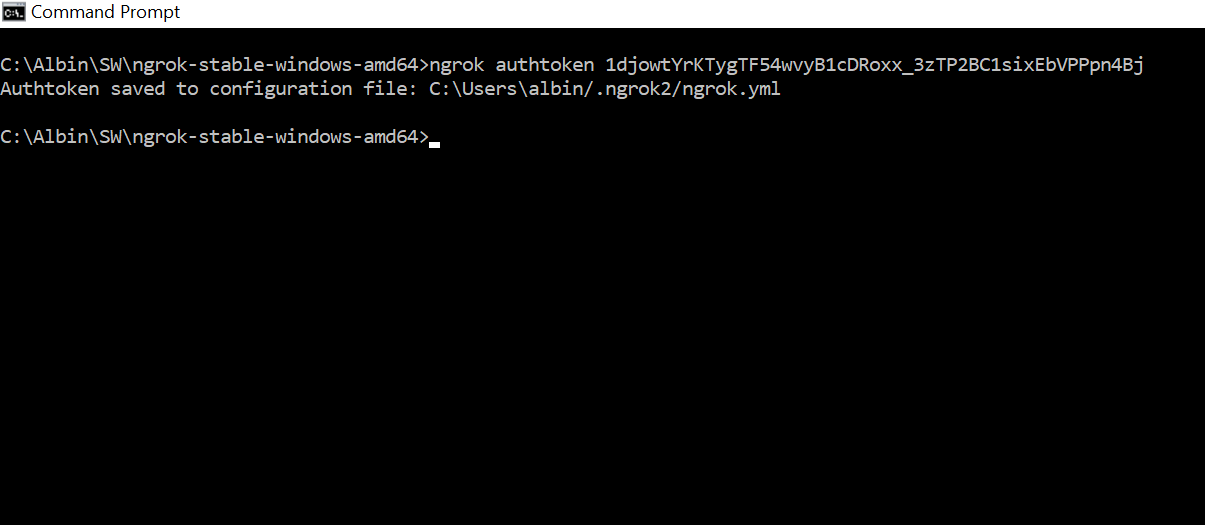
The local folders can be shared directly without a HTTP server through inbuilt ngrok file server. To share the local folder directly through ngrok , as a first step configure the authtoken to the ngrok
The authtoken can be retrieved through ngrok dashboard — the user should signup for a account , copy the command to set the authtoken by navigating to the dashboard.
Execute the command
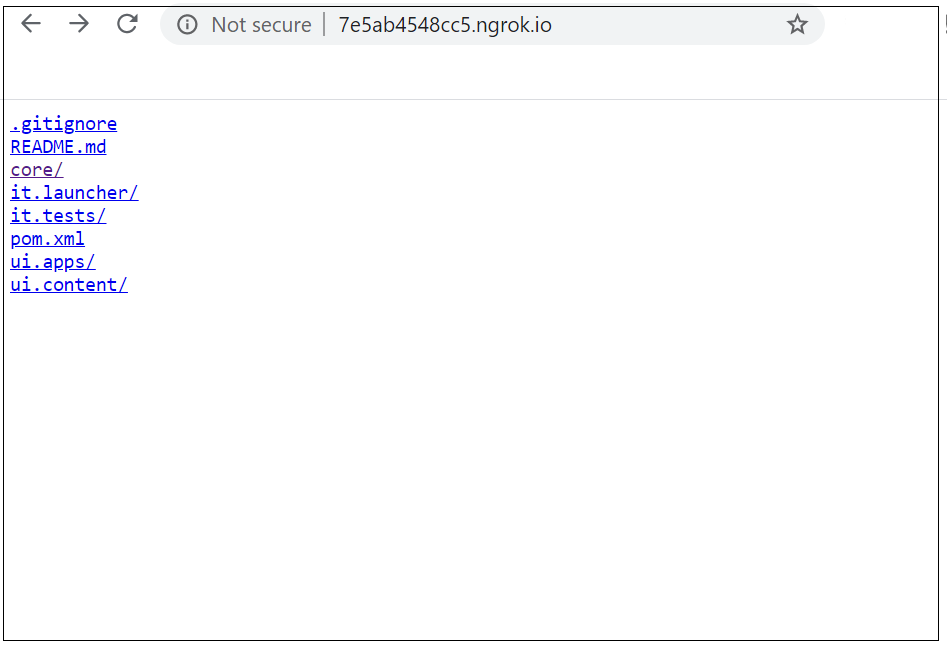
Start the ngrok process — e.g ngrok http “file:///C:\Albin\blogData\demo\blogproject.blogproject
Now the files under the specific folder is accessible externally
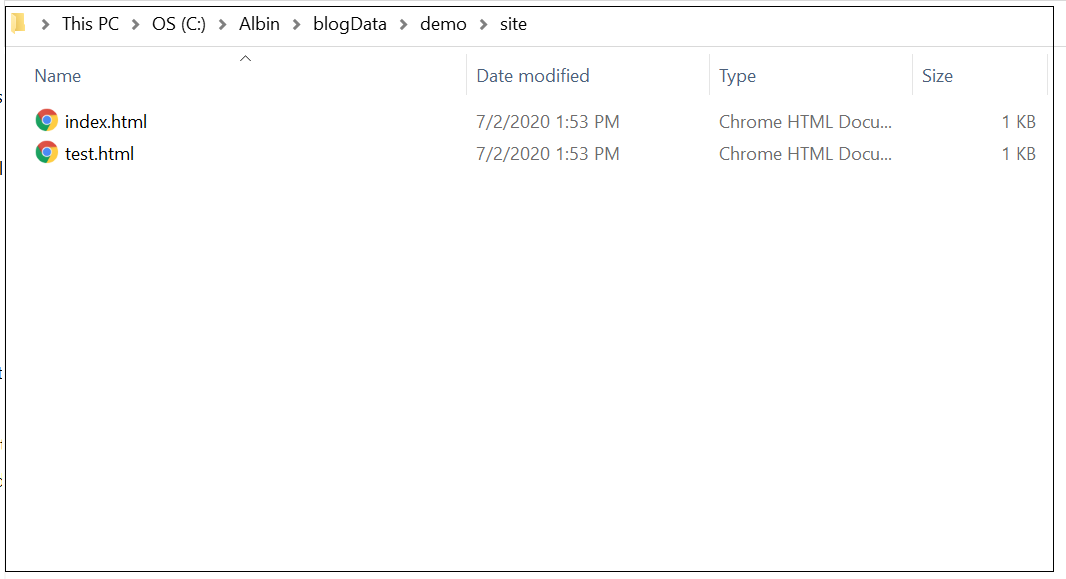
Let us now see how to enable the second scenario, to access simple website externally, created a index.html file along with some test files into a folder(C:\Albin\blogData\demo\site), cd to the folder where the index.html and other files are located
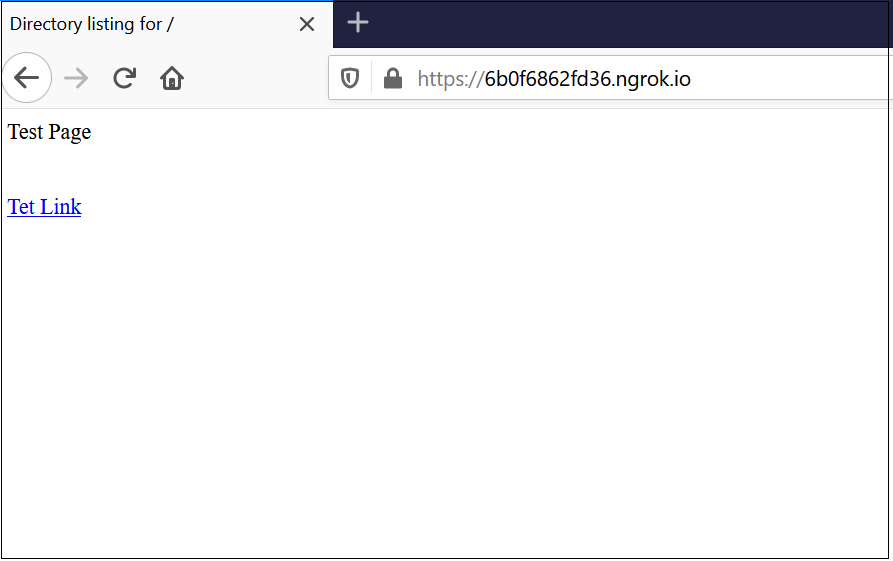
Re-start the HTTP server, the pages are now accessible outside
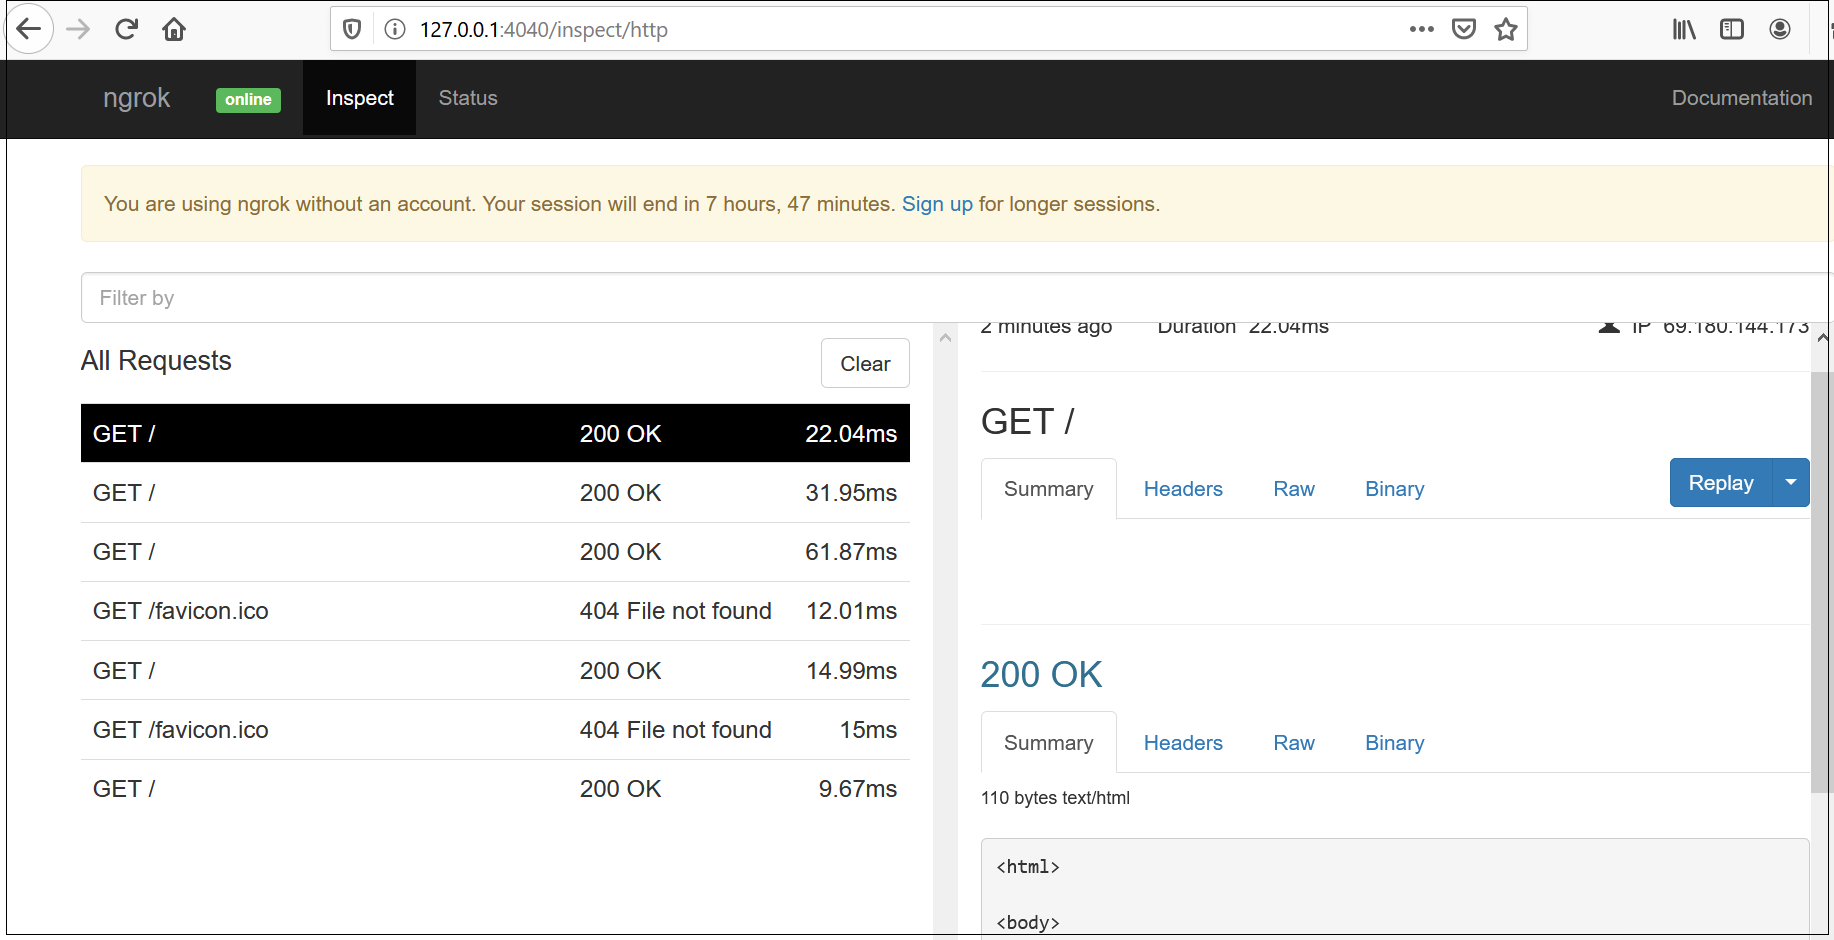
This tutorial explain the approach to enable Geo Location based redirects with CloudFront and Apache.
Geo IP based redirection
Geo IP based redirection is the process of automatically redirecting a website visitor by their geolocation.
There are multiple options to enable the location based redirects in Apache, one of the option is using Geo IP database like MaxMind Geo IP database to map users’s IP to their location. Maxmind Geo IP database can be enabled through Apache module.
If you are using any of the CDN e.g CloudFront provides specific headers with request location, CloudFront will detect the user’s country of origin and pass along the county code to origin server in the CloudFront-Viewer-Country header. You can use this information to customize your responses e.g redirecting the users to specific URL based on origin country.
Prerequisites
Website enabled with CloudFront CDN and Apache
CloudFront Configurations
As a first step white list the CloudFront-Viewer-Country header in Cloudfront distribution
RewriteCond %{REQUEST_URI} ^/content/we-retail.html RewriteCond %{HTTP:CLOUDFRONT-VIEWER-COUNTRY} ^US$ RewriteRule ^.*$ https://test.albinsblog.com/content/we-retail/us/en.html [R=302,L] RewriteCond %{REQUEST_URI} ^/content/we-retail.html RewriteCond %{HTTP:CLOUDFRONT-VIEWER-COUNTRY} ^IT$ RewriteRule ^.*$ https://test.albinsblog.com/content/we-retail/it/it.html [R=302,L] RewriteCond %{REQUEST_URI} ^/content/we-retail.html RewriteCond %{HTTP:CLOUDFRONT-VIEWER-COUNTRY} ^CA RewriteRule ^.*$ https://test.albinsblog.com/content/we-retail/ca/en.html [R=302,L] RewriteCond %{REQUEST_URI} ^/content/we-retail.html RewriteCond %{HTTP:CLOUDFRONT-VIEWER-COUNTRY} ^FR$ RewriteRule ^.*$ https://test.albinsblog.com/content/we-retail/fr/fr.html [R=302,L] <Directory /> Options Indexes FollowSymLinks Includes # Set includes to process .html files AddOutputFilter INCLUDES .html AddOutputFilterByType INCLUDES text/html AllowOverride None </Directory>
</VirtualHost>
I am using some VPN tool to initiate the connection from different origin country.
Connected the VPN to Canada
Now the user is redirected to Canada specific URL
The user is redirected to the country specific URL based on the users country of origin, CloudFront will detect the user’s country of origin and pass along the county code to origin server(Apache) in the CloudFront-Viewer-Country header. The Apache server redirect the user to the country specific URL’s based on the country code values in CloudFront-Viewer-Country header.
The dynamic facet is used to create new range selections automatically at the time of search. The facets are included dynamically based on the search result.
The Dynamic Facets feature is not enabled in Adobe Search&Promote, by default. Contact Technical Support to activate the feature for your use.
In our previous tutorial, we have seen how to enable static facet for the search results. Refer the below link for the details, the steps are going to be same for Dynamic facet with small changes.
Facets that are sparsely populated across your website and only appear for a subset of searches are good candidates to make dynamic.
In our example, the product with type “Watch” will have an additional attribute with name “size” and the facet associated with “size” is applicable only for the searches with keyword “Watch”.
The search with key word “Watch” will shows two facets “productType”(static) and “size”(dynamic) but the search with “Book” will shows only “productType”(static) facet.
Configuring Dynamic Facet
Some additional configuration required to enable Dynamic Facet compared to Static Facet(Refer Static facet tutorial for basic configurations)
Enabled additional product attribute to the feed file based on the product Type — “size”, “size” attribute is applicable only for the productType “Watch”
Create a new meta data definition for “size” field, Settings → Metadata →Definitions
Enable Dynamic Facet option for the metadata
Update the IndexConnector configurations with new meta data field “size”, Settings → Crawling →Index Connector
Configure facet with name “size” — there is no “Dynamic Facet” setting in Facet, only the configuration is in the underlying metadata configuration(already enabled), Design →Navigation →Facets
Configure a new Query Cleaning rule, Rules → Query Cleaning , to set the backend parameter “sp_sfvl_df_count”, the sp_sfvl_df_count parameter determines the total number of dynamic facet fields to return.
Update the back end transport with Dynamic Facet Support
The configuration can be pushed live after successful validation and run a live index →Full Index →Live Index →Run Full Index
The URL to access live data http://xxxxxxxxxxx.guided.ss-omtrdc.net/do=json&sp_q=Watch
The facet data in the response can be used to present the filtering options to users to narrow down the website search. The Dynamic Facet option enables the facets based on the search data.
How to implement autocompletion and search suggestion in AEM through Lucene | Predictive Search in AEM | AEM Search Suggestions
This tutorial explain the approach to implement autocompletion and search suggestion in AEM through Lucene.
When you start typing something in search form most of the applications helps you by suggesting the data matching to your search term.
The purpose of autocomplete is to resolve a partial query , i.e., to search within a controlled vocabulary for items matching a given character string.
Starting from AEM 6.1 the feature of suggestion is available through the suggest module of Lucene. Prior to AEM 6.1, all the possible combination of the words needs to be indexed to support the autocompletion.
The Lucene Suggest module provides a dedicated and optimized data structure allows the engine to give autocompletion and suggestion feature without indexing all the possible combination of a word.
There is a specific analyzer (AnalyzingInfixSuggester) used that loads the completion values from the indexed data and then build the optimized structure in memory for a fast lookup.
In order to implements the autosuggestion, feature you need to define an index of type Lucene and for each property X of nodes that you are indexing you can add a specific property useInSuggest to tell to the engine to use X for suggesting query to the user.
I have already enabled a custom Lucene index(testindex) for the property "id", add a property "useInSuggest" to tell the engine to use id for suggesting query to the user.
An additional property suggestUpdateFrequencyMinutes define the frequency of updating the indexed suggestions - useful to mitigate performance issues that can arise if indexed properties are frequently updated by the users of your application. The default value is 10 minutes but the values can be modified as required.
To enable the property "suggestUpdateFrequencyMinutes ", create a node with name "suggest" of type "nt:unstructured" under "testindex" and update the value as required
In order to use Lucene index to perform search suggestions, the index definition node (the one of type oak:QueryIndexDefinition) needs to have the compatVersion set to 2.
Let us now execute the query to find the suggestions - either one of the below query can be used.
The testindex was defined for the content path "/content/sampledata" so the query will be executed based on the "testindex" but the index name is explicitly defined in the first query.
SELECT [rep:suggest()] FROM [nt:unstructured] WHERE SUGGEST('te') OPTION(INDEX NAME [testindex]) /* oak-internal */
SELECT [rep:suggest()] FROM [nt:unstructured] WHERE SUGGEST('te') AND ISDESCENDANTNODE('/content/sampledata')
The above query uses path restriction to filter the data, it requires evaluatePathRestrictions property should enabled as true on index definition.
The Query tool shows the total number of unique suggestions matching with the search data but it wont displays the matching node details
The below Servlet can be used to fetch the suggestion data through QueryManager API